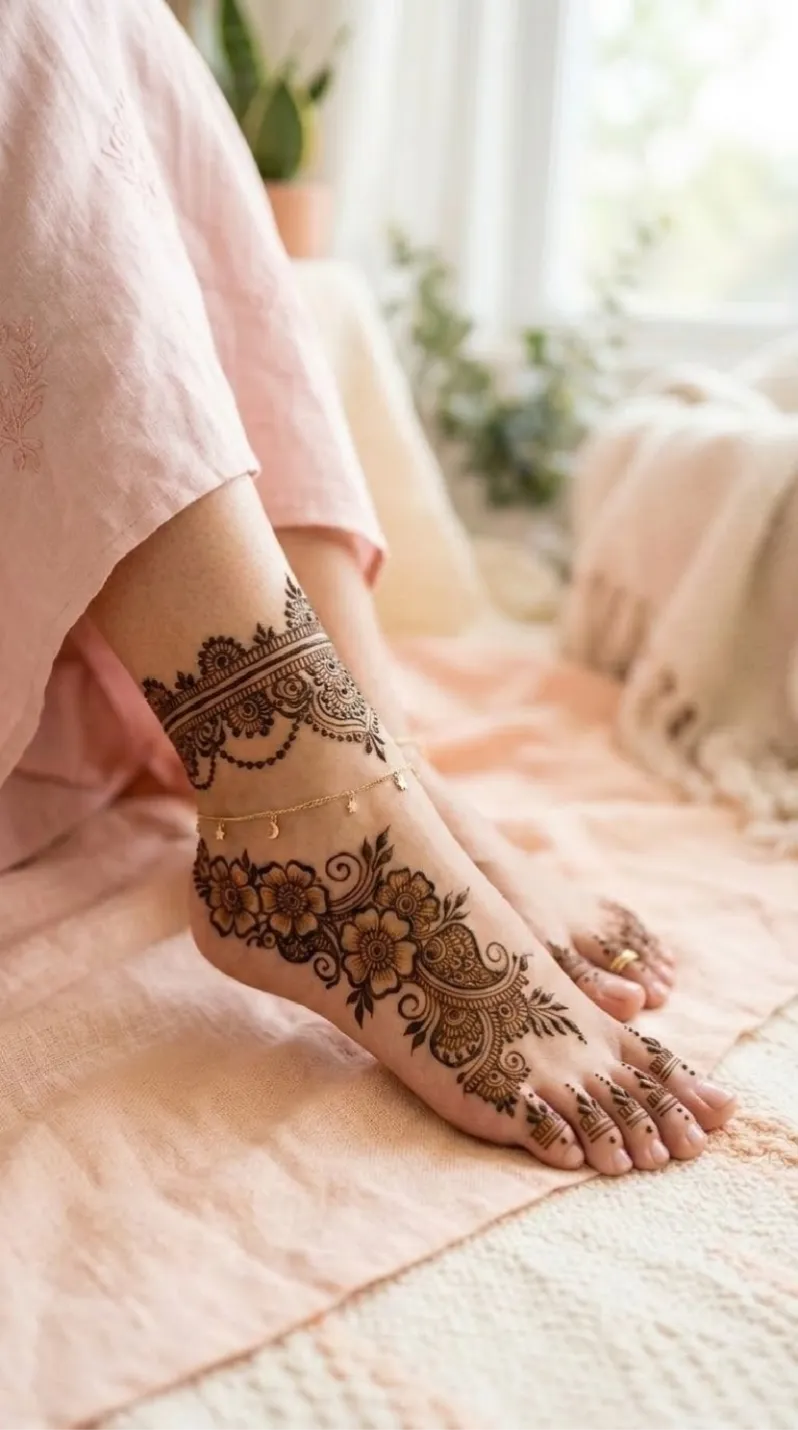
Symmetrical Arch (Mehrab) Foot Mehndi Design with Floral Fill
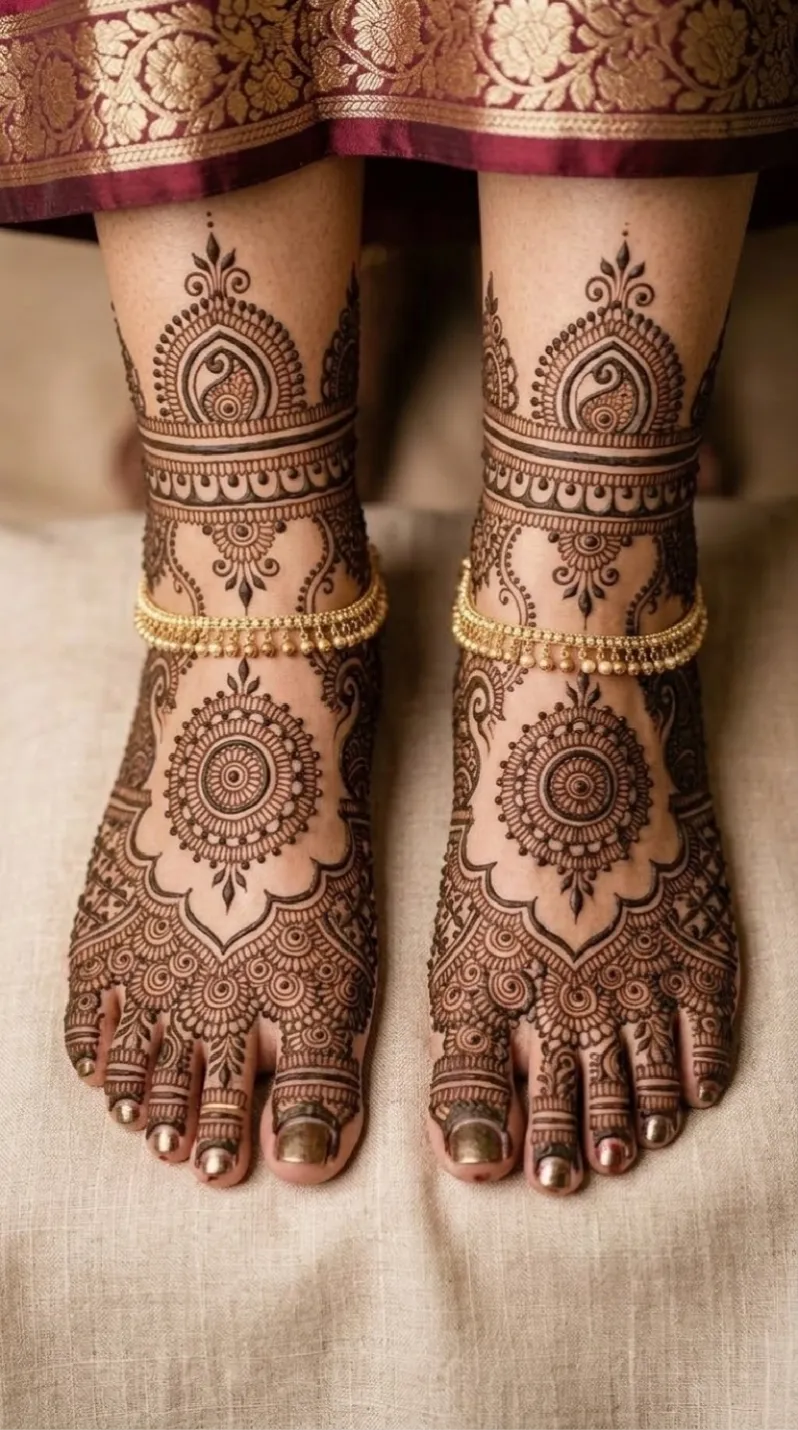
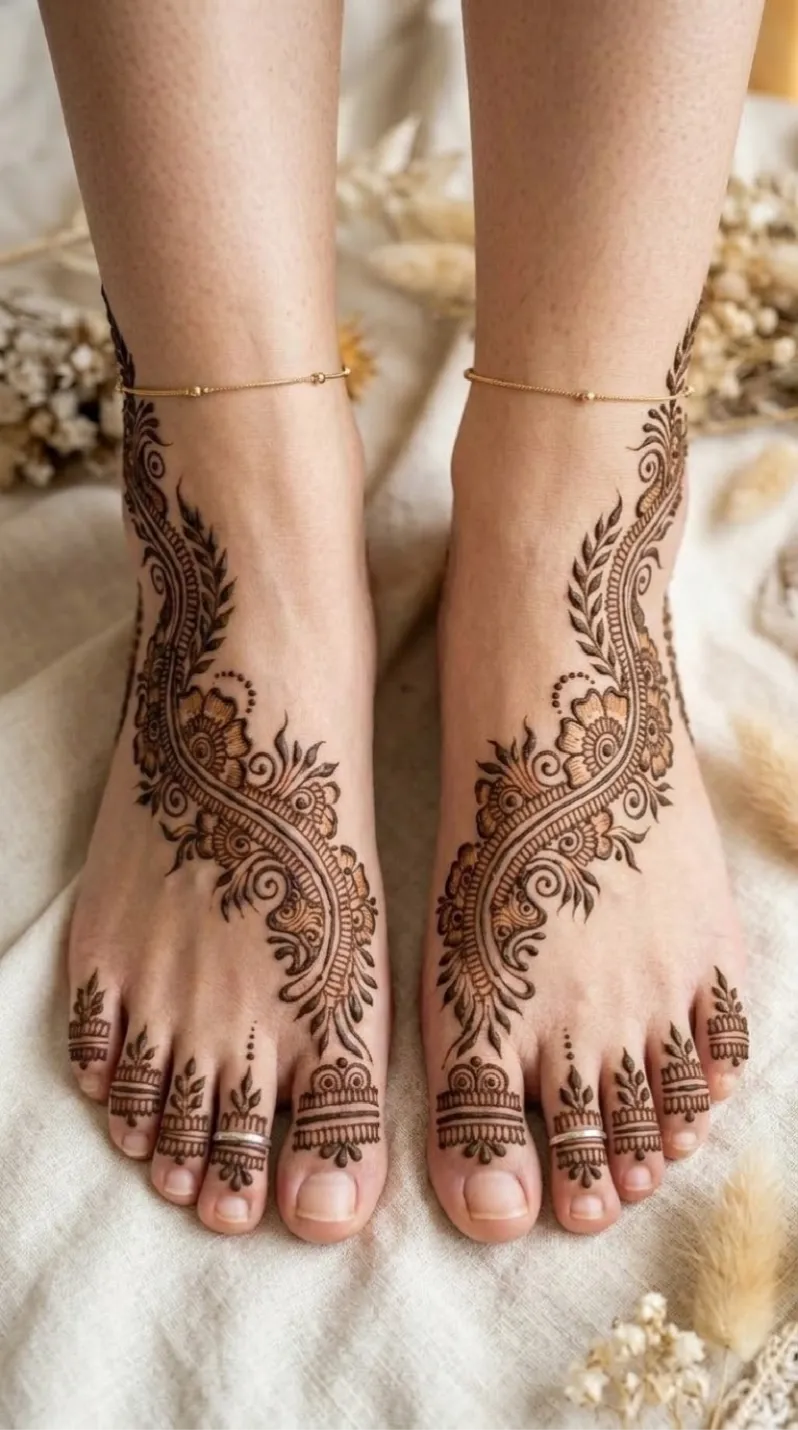
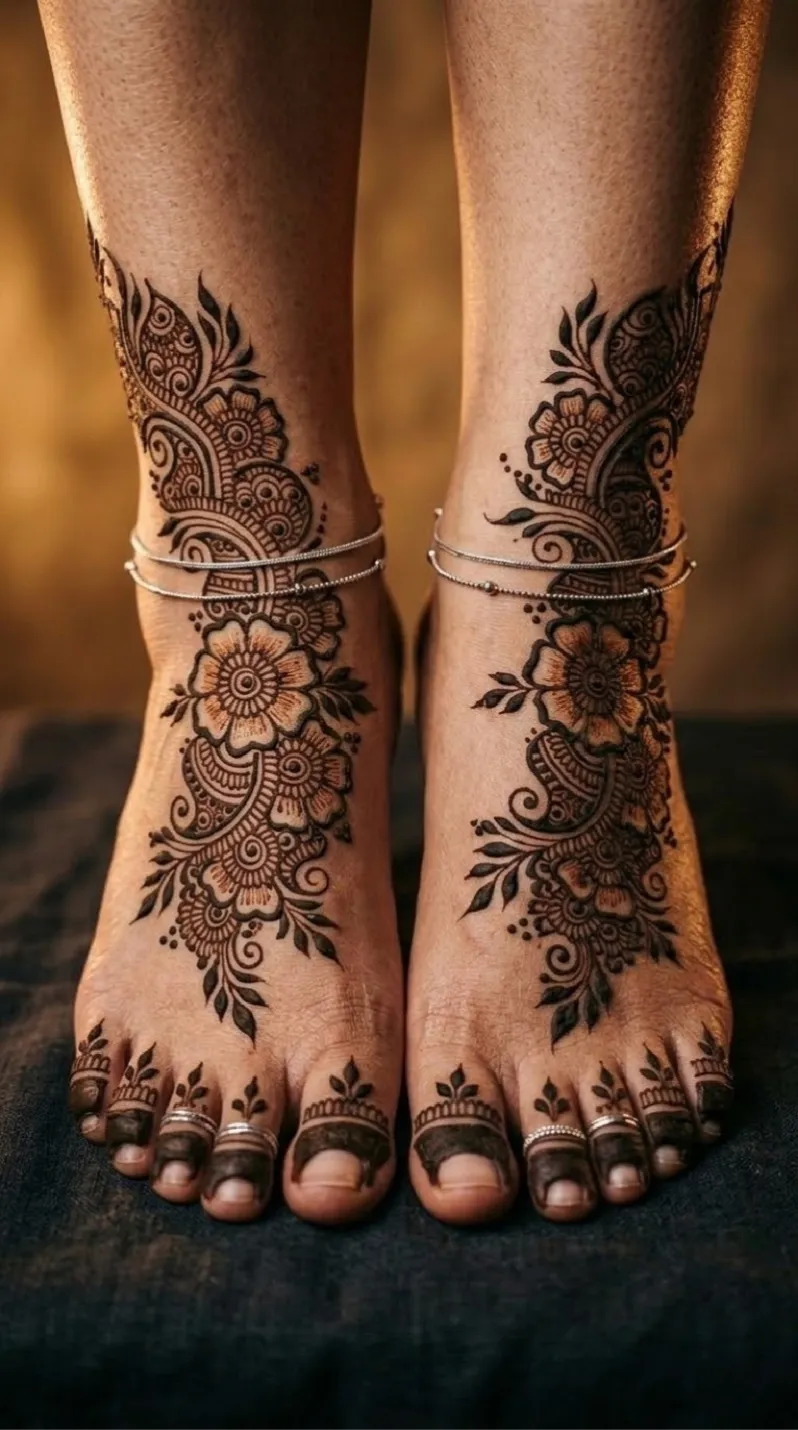
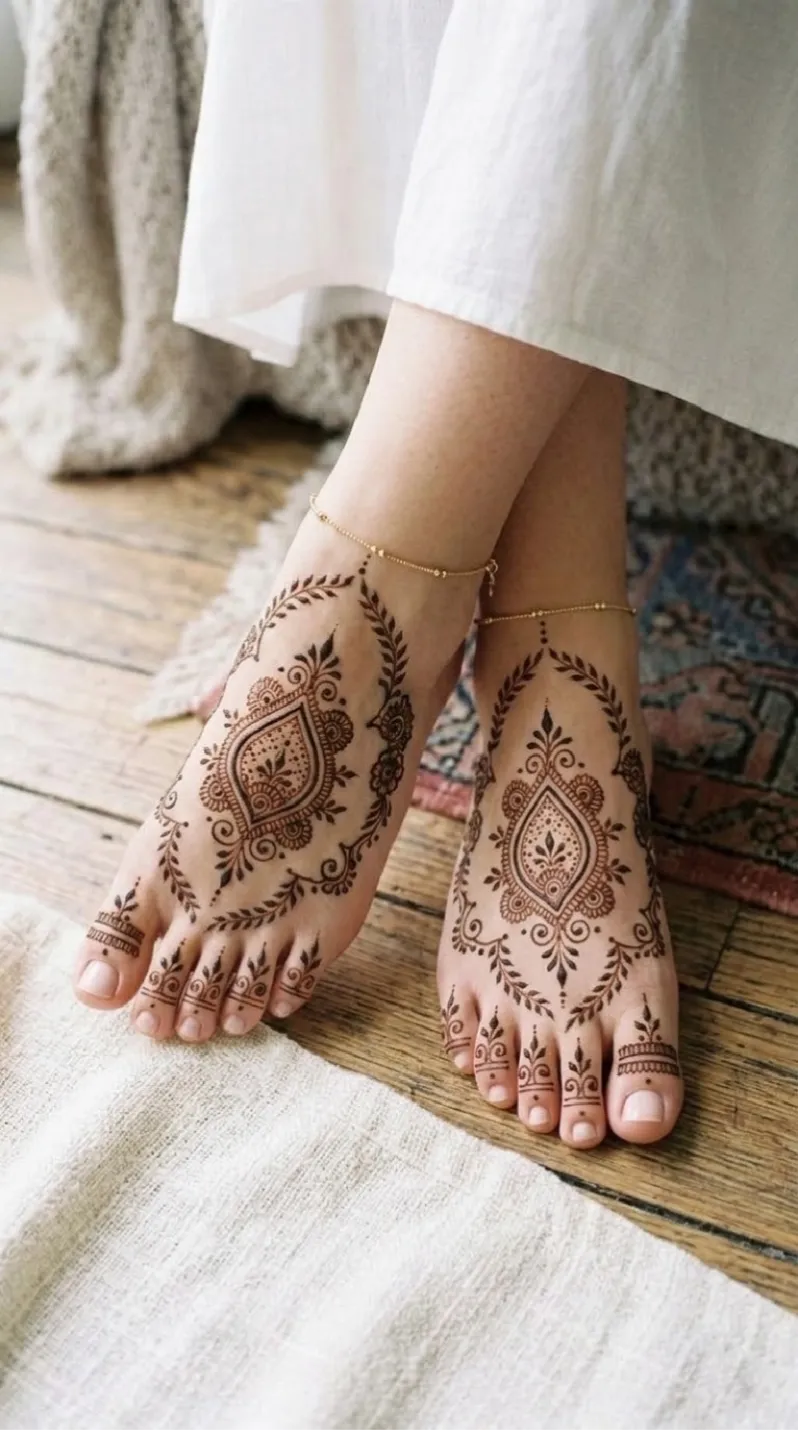
This foot mehndi design is symmetrical, elegant, and rich in detail. It features a beautiful arch or mehrab shape in the center of the foot, filled with delicate flowers and mandala patterns. The ankle area has a dome-like motif pointing upwards, and the toes are decorated with neat floral details. It is a beautiful choice for weddings and special festivals.


Style
FootHand Position
FootPattern Elements
arch motif, mehrab design, dome motif, floral fill, mandala patterns, scalloped borders, curved lines, symmetrical shapes, toe floral patterns, dots, intricate outlines, leafy vinesDifficulty Level
IntermediateSuitable Occasions
weddings, bridal mehndi, engagements, Eid, Diwali, Karwa Chauth, Teej, festive celebrations, traditional ceremoniesApplication Time
Under 50 minUnderstanding the Design Clearly
Step 1: Clean your feet
Wash your feet and dry them well. Do not apply lotion before starting. If your skin is oily, wipe it with a little eucalyptus oil so the henna sticks better.
Step 2: Draw the ankle and dome motif
Start at the top of your ankle. Draw a small arch or dome shape pointing upwards, with a floral design inside. Add a small dot or leaf above it. This frames the top of the design.
Step 3: Draw the central arch (mehrab)
Next, move to the top of your foot. Draw the large arch or shield shape in the center. Draw the outline first, then add the layered borders inside. Use a white pencil to lightly sketch this shape first. This will help you make both feet look exactly the same.
Step 4: Fill the arch with floral patterns
Fill the inside of the arch with small flowers, mandala circles, and leafy vines. Add a decorative line down the center. Keep your outlines thin and neat so the design doesn't look cluttered.
Step 5: Decorate the toes
Draw a small floral pattern or a half-moon shape at the tip of each toe. Add small dots and lines below it. Finish each toe with a tiny leaf motif.
Step 6: Let it dry and set
Leave the henna paste on for 4 to 6 hours, or overnight for a darker color. Then scrape it off gently. Do not wash with water right away. Apply coconut oil or a light balm. The color will become darker in 24 to 48 hours.
Tips for a Better Result
· Use a stencil for the arch: Drawing a perfect arch and the inner details freehand is very hard. Use a stencil or a white pencil outline to get it right on both feet.
· Use a fine-tipped cone: The floral fill and toe details need thin, clean lines. A fine tip will help you draw them neatly.
· Work from the center outward: Draw the central arch first, then add the ankle motif and the toe details.
· Keep it symmetrical: This design looks best when both feet match exactly. Lightly sketch the main arch shapes with a white pencil on both feet before applying the henna.
· Be patient: The color will not be dark right away. Let it sit on your skin and avoid water for the first few hours after removing the paste.
This symmetrical arch foot mehndi design looks beautiful and is great for weddings, festivals, or any special family event.