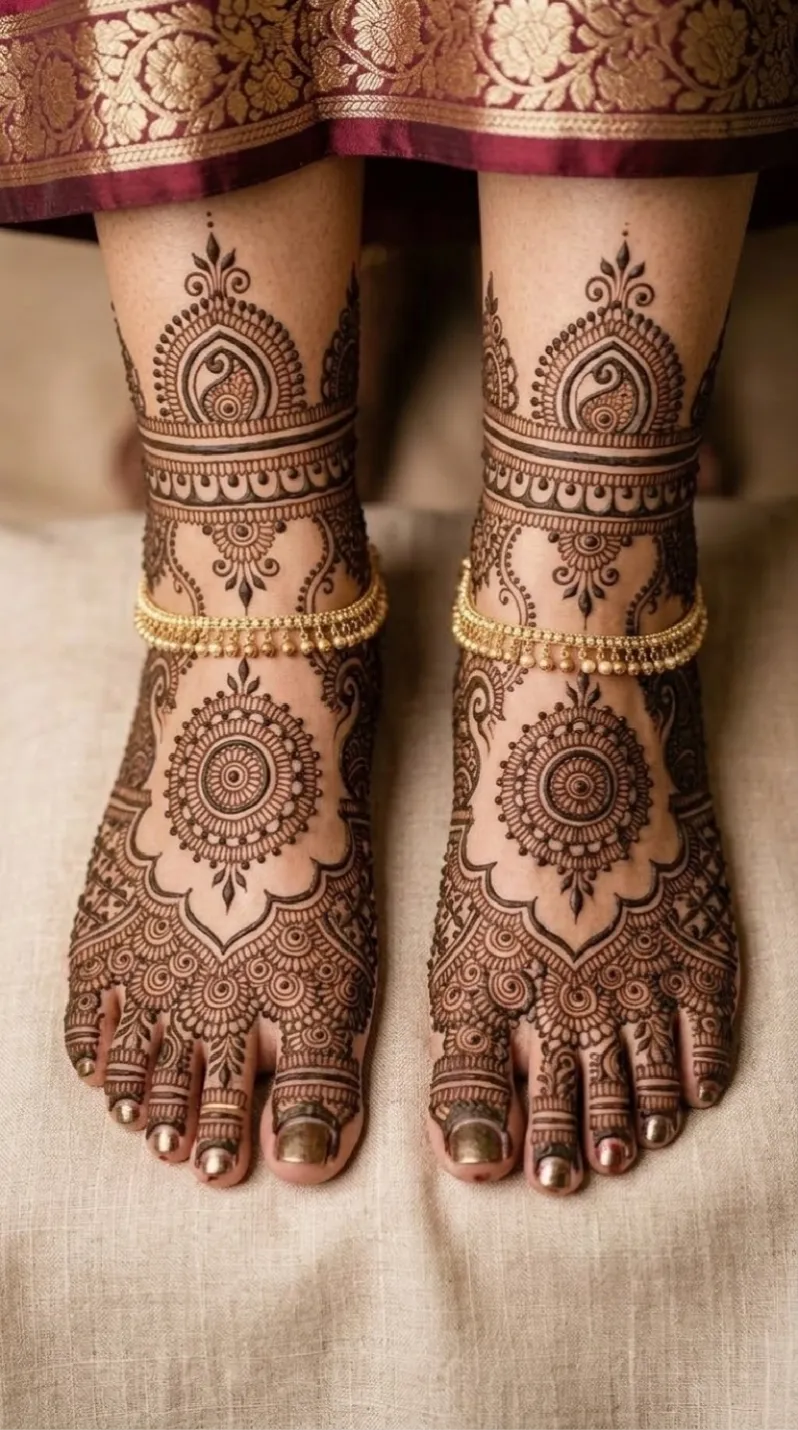
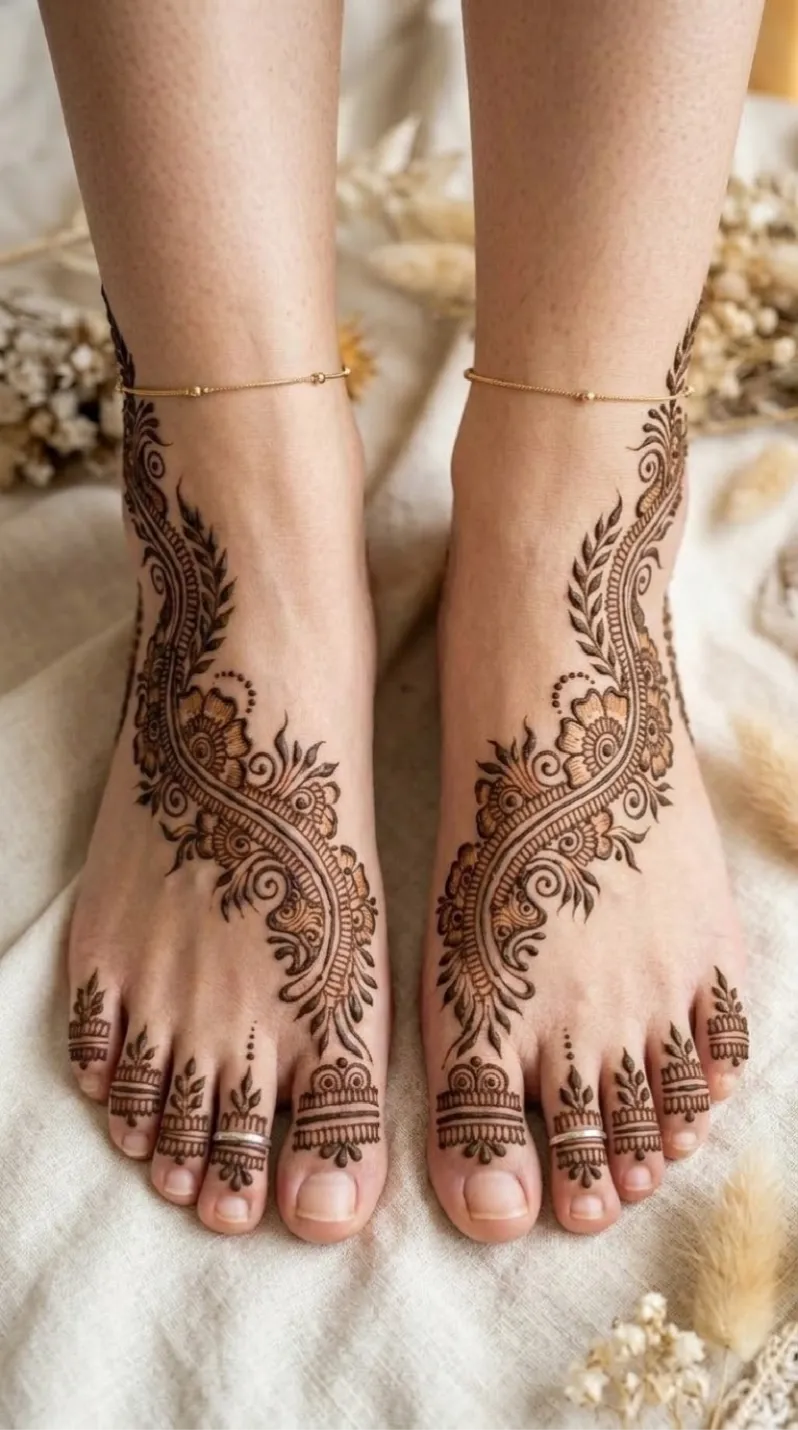
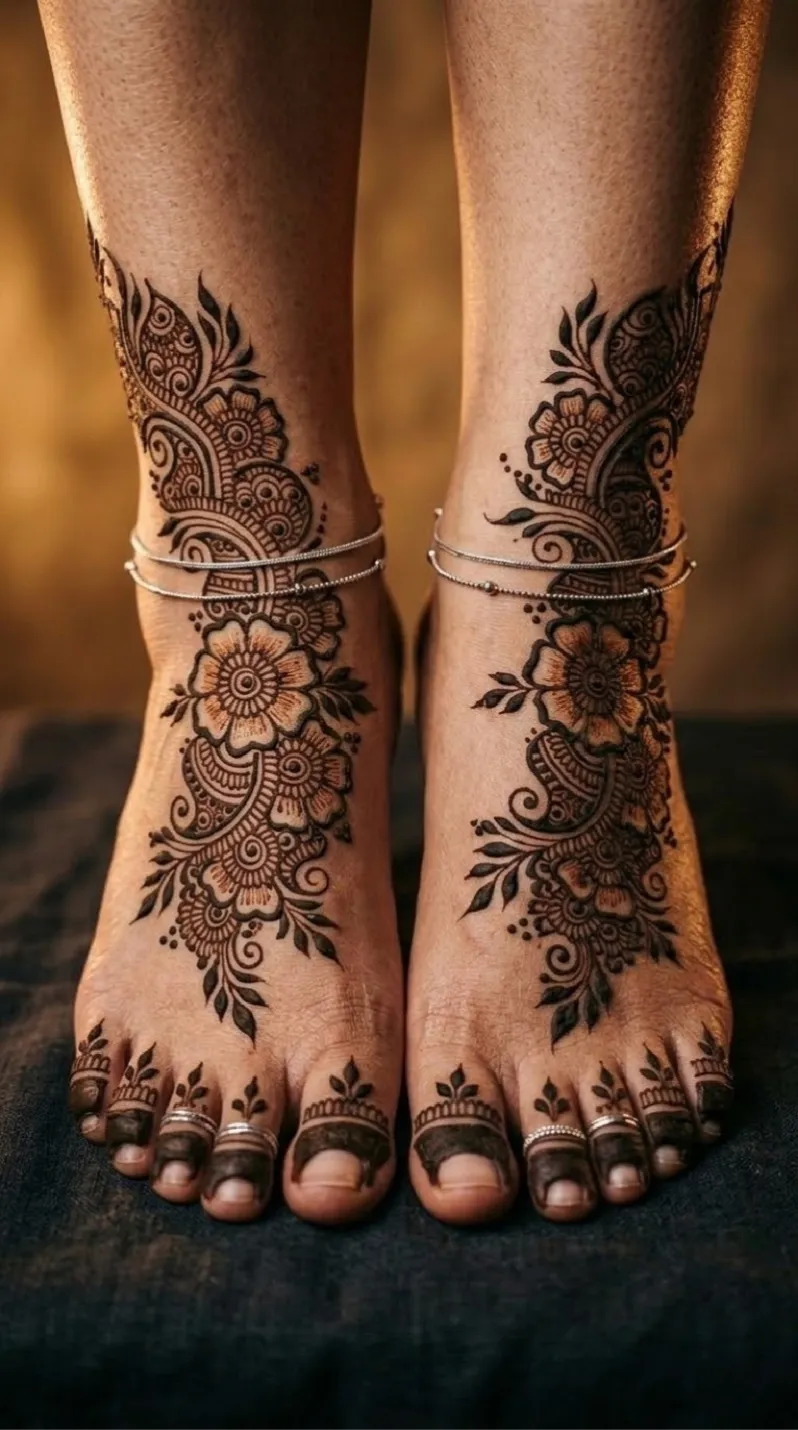
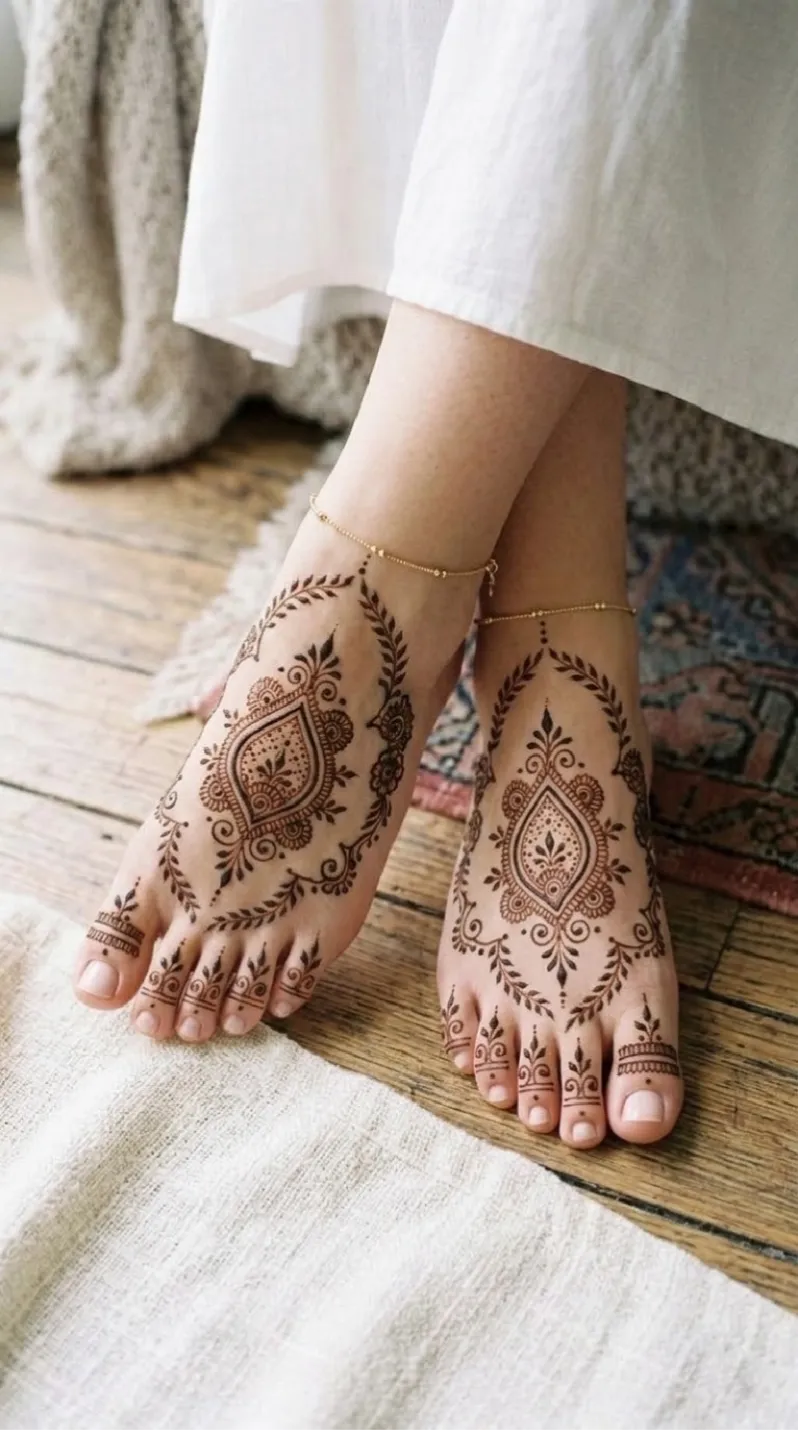
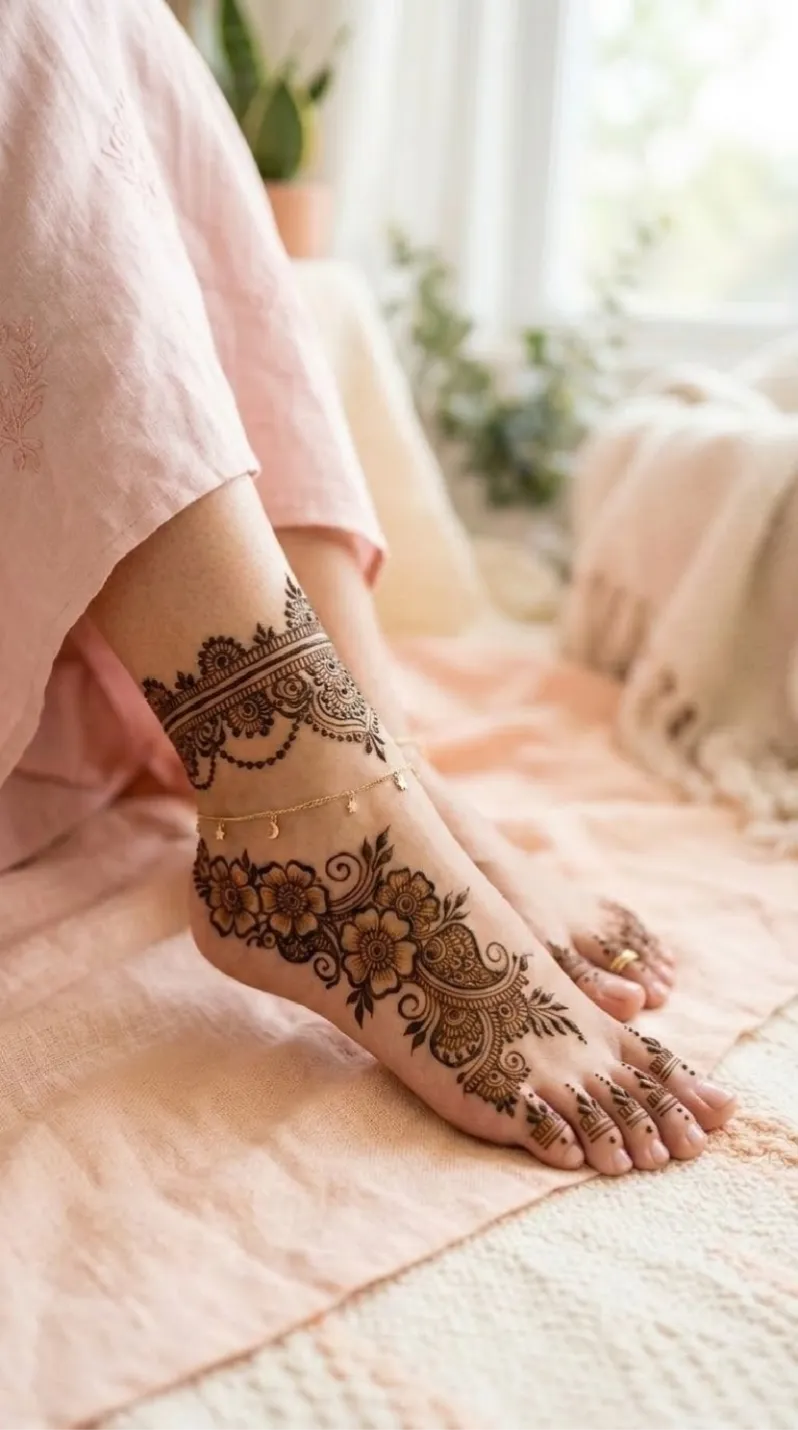
Dense Floral and Paisley Foot Mehndi Design with Full Ankle Coverage
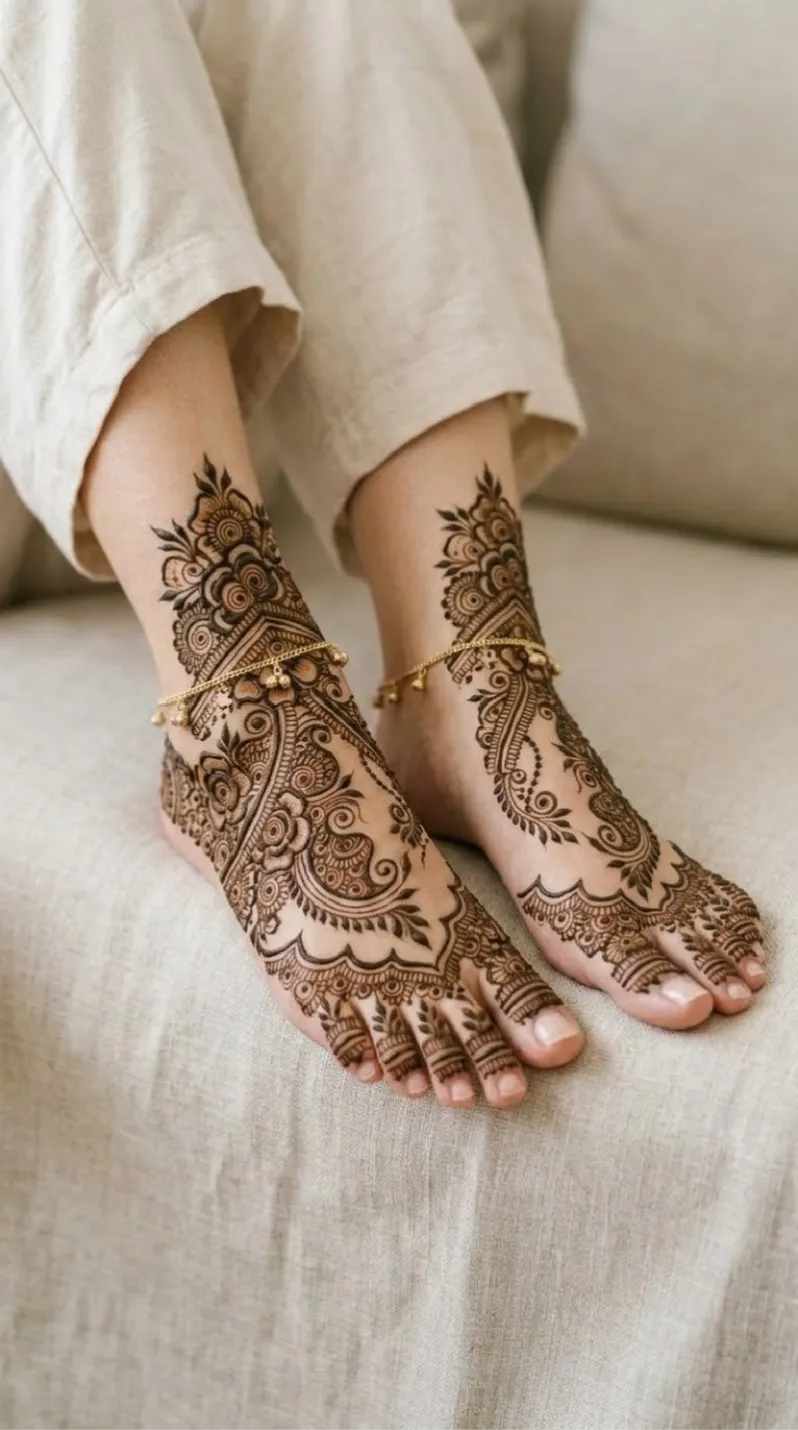
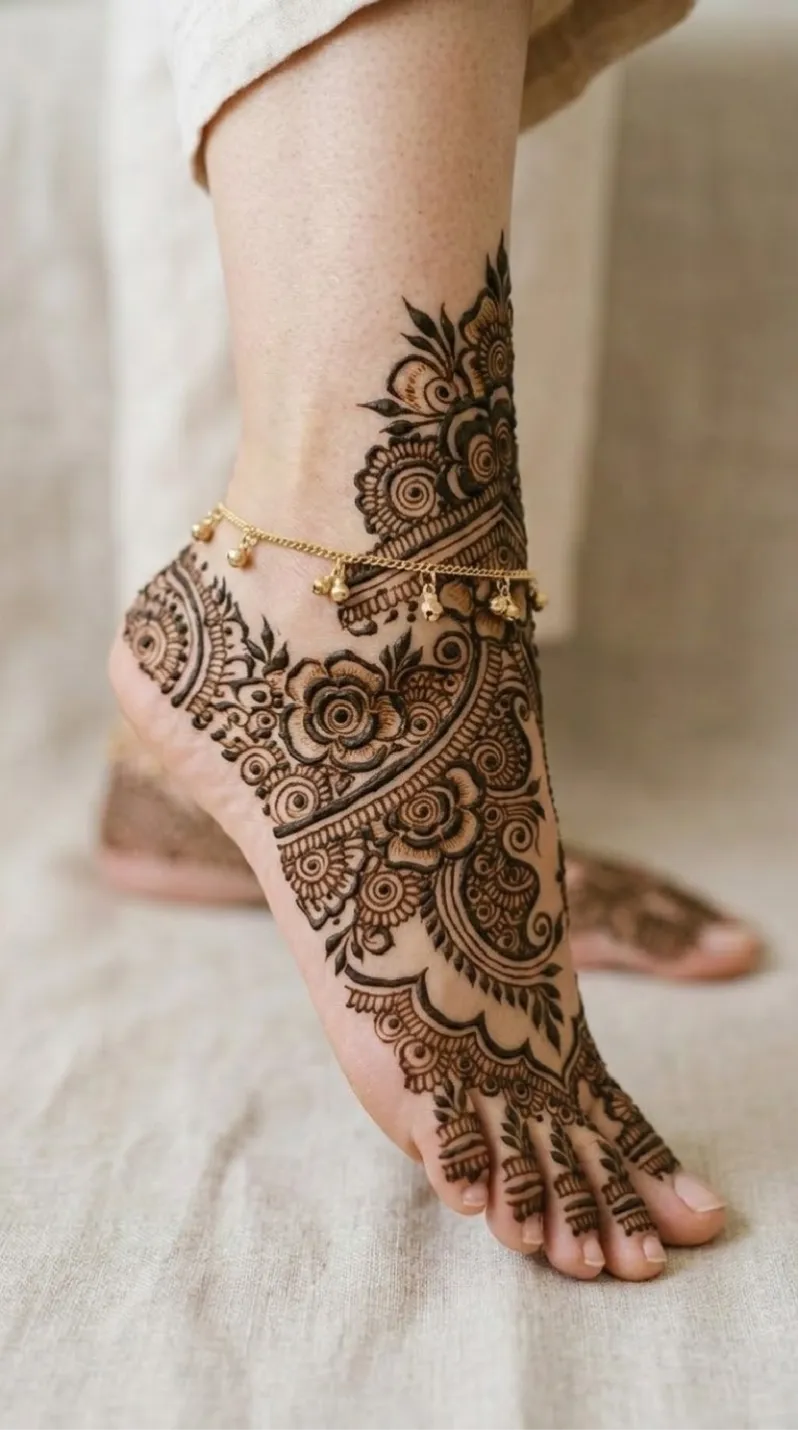
This foot mehndi design is rich, detailed, and traditional. It features a large floral motif on the top of the foot, surrounded by dense paisley patterns and swirling vines. The design covers the ankle completely and is framed by a beautiful diagonal border. The toes are finished with simple caps and lines. It is a perfect choice for a bride or anyone who loves heavy, intricate henna.
Style
FootHand Position
FootPattern Elements
large floral motif, dense paisley, swirling vines, diagonal border, scalloped edges, heavy filling, full ankle coverage, toe caps, dots, curved lines, leafy details, intricate outlinesDifficulty Level
IntermediateSuitable Occasions
weddings, bridal mehndi, engagement, sangeet, Karwa Chauth, Teej, Diwali, grand festive celebrations, traditional ceremoniesApplication Time
Under 50 minUnderstanding the Design Clearly
Step 1: Clean your foot
Wash your foot and dry it well. Do not apply lotion before starting. If your skin is oily, wipe it with a little eucalyptus oil so the henna sticks better.
Step 2: Draw the diagonal border
Start by drawing the straight diagonal line that separates the ankle from the top of the foot. Add small scalloped (curved) shapes and dots along this line to create a border. This is the backbone of the design.
Step 3: Draw the main flower and paisleys
Next, draw the large flower in the center of the foot. Around it, draw the large paisley shapes and swirling vines. Use a white pencil to lightly sketch these main shapes first. This will help you make them look balanced and neat.
Step 4: Fill the ankle area
Move up to the ankle. Draw dense flowers, leaves, and swirls to cover the entire area. This part is very heavy, so take your time to fill the space without leaving big gaps.
Step 5: Fill the rest of the foot and toes
Use a fine-tipped cone to fill the remaining space on the foot with small dots, circles, and curved lines. Draw a small cap and a horizontal line on each toe to finish the look.
Step 6: Let it dry and set
Leave the henna paste on for 4 to 6 hours, or overnight for a darker color. Then scrape it off gently. Do not wash with water right away. Apply coconut oil or a light balm. The color will become darker in 24 to 48 hours.
Tips for a Better Result
· Use a stencil for the main shapes: Drawing the large flower and the diagonal border freehand can be tricky. Use a stencil or a white pencil outline to get them right.
· Use a fine-tipped cone: The dense filling and the toe details need thin, clean lines. A fine tip will help you draw them neatly.
· Work from the big shapes to the small ones: Draw the diagonal border, the main flower, and the ankle shapes first. Then fill in the smaller dots and lines around them.
· Keep the diagonal line straight: This line is very visible. Make sure it is straight and clean on both feet.
· Be patient: The color will not be dark right away. Let it sit on your skin and avoid water for the first few hours after removing the paste.
This dense floral and paisley foot mehndi design looks stunning and is perfect for weddings, festivals, or any grand family celebration.