Bridal Mehndi Design – Floral Bird for Hands
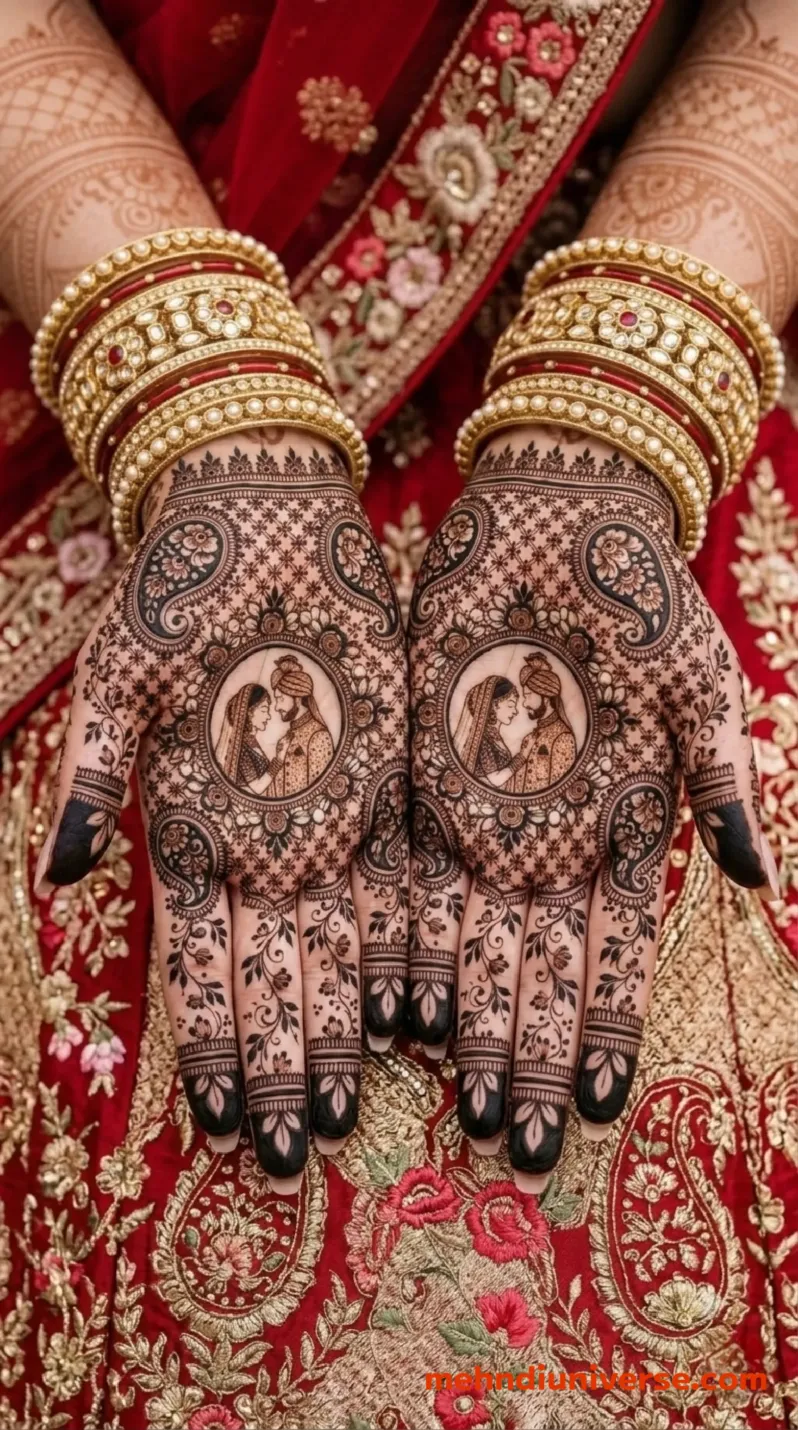
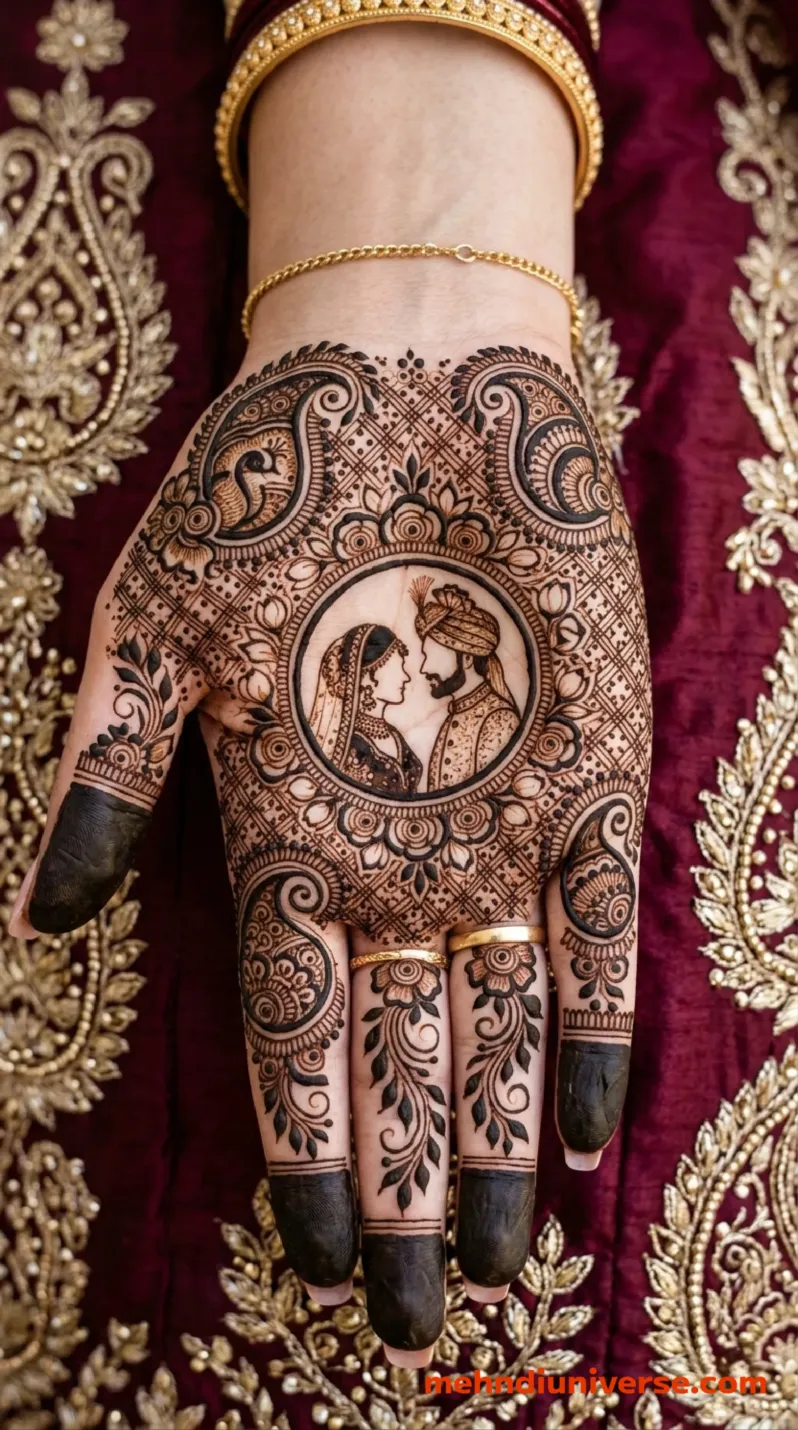
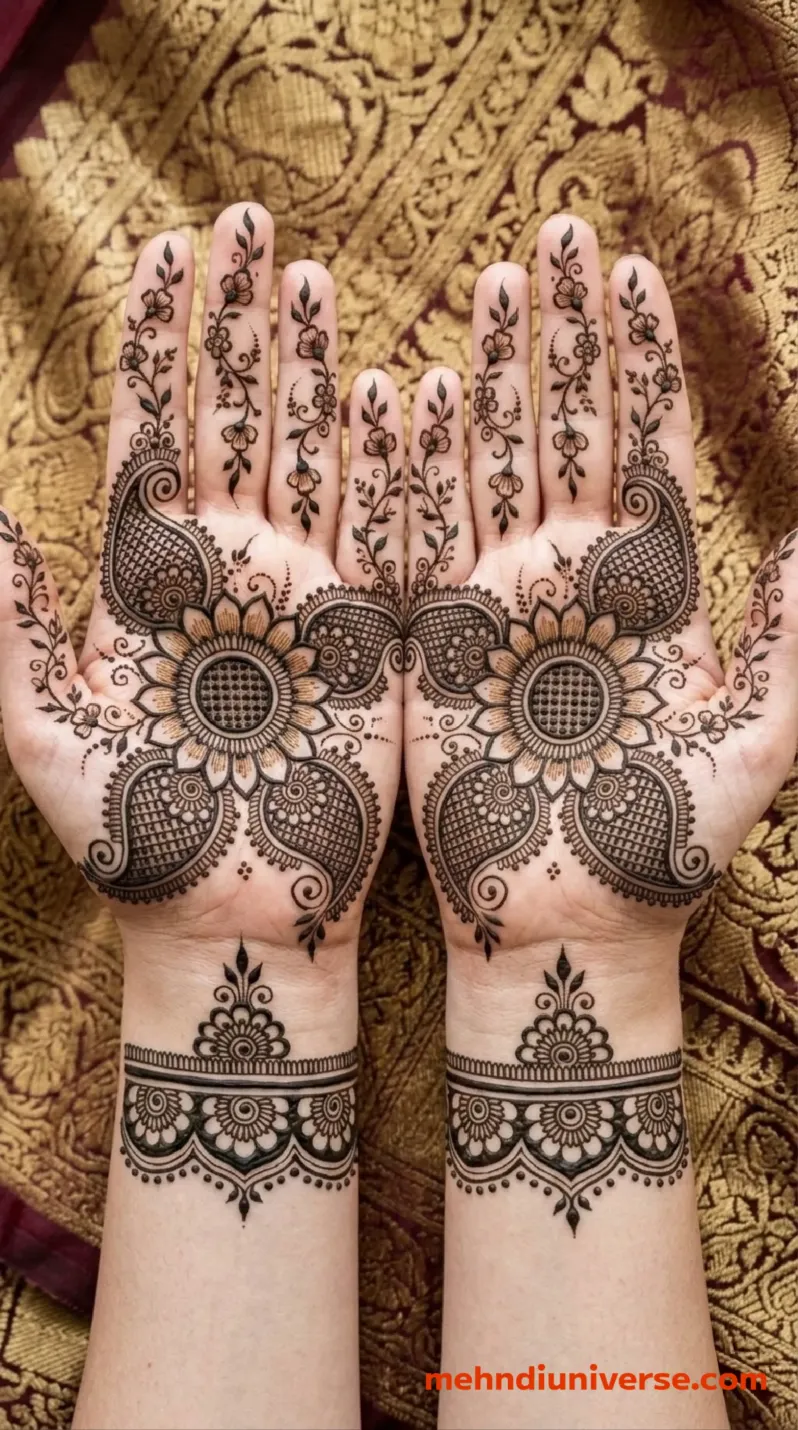
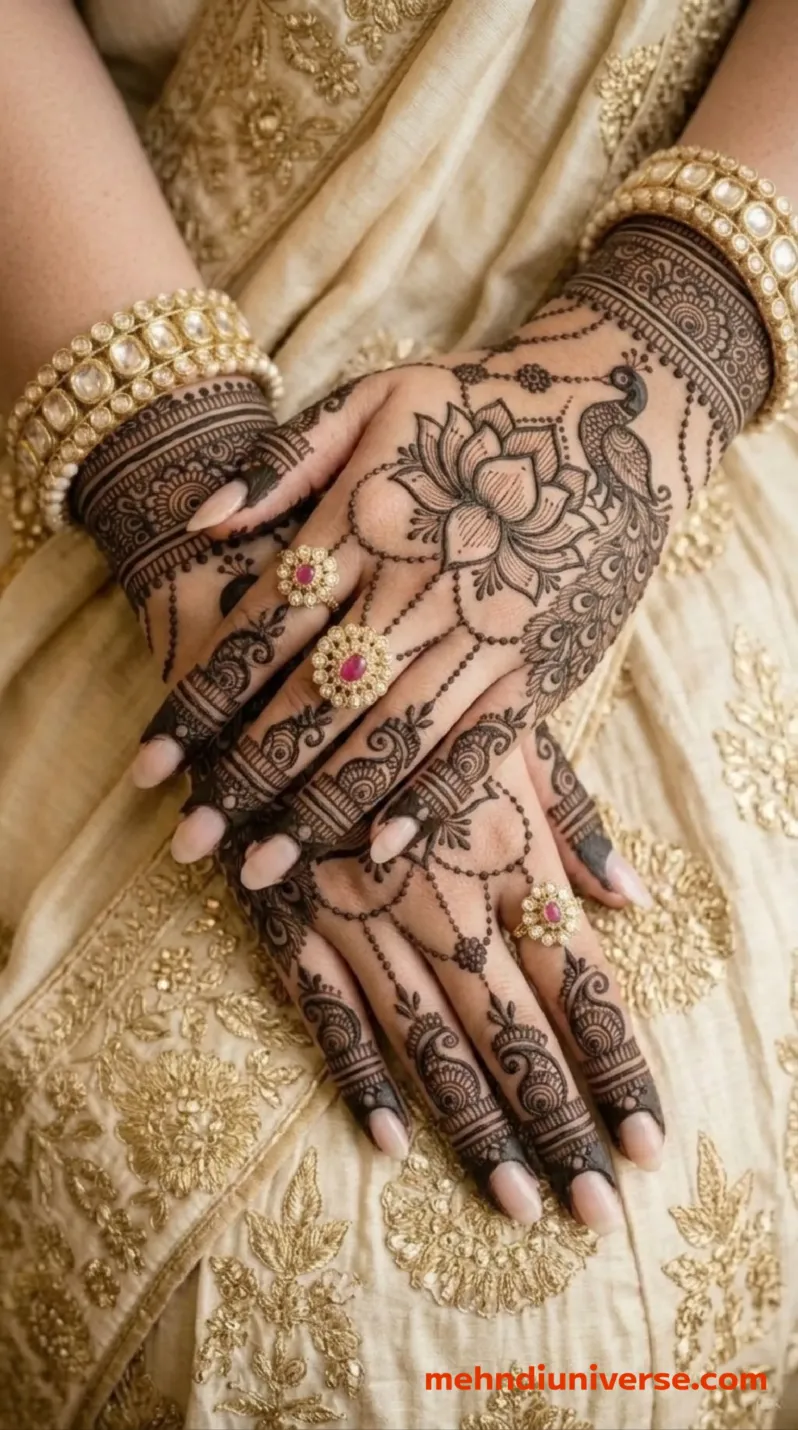
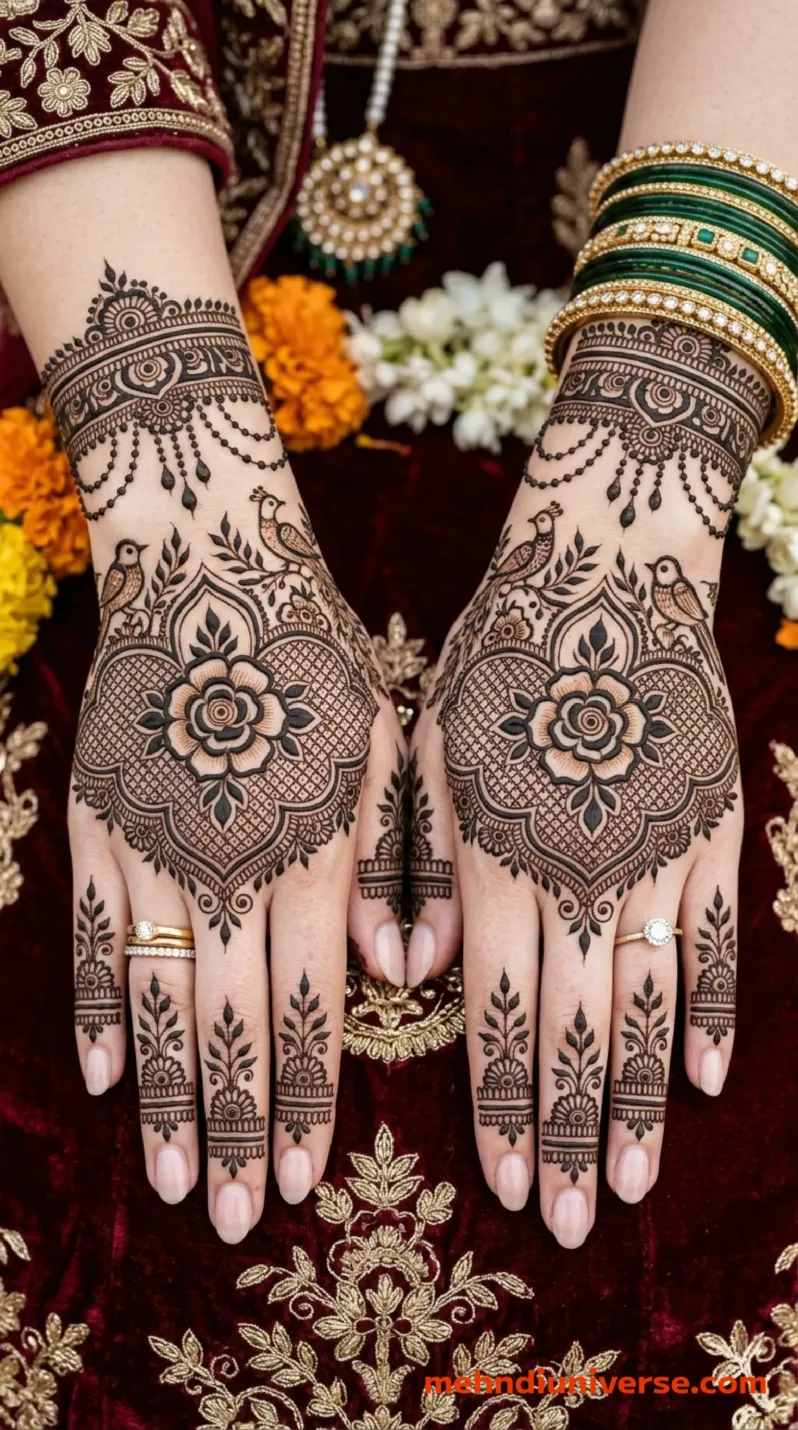
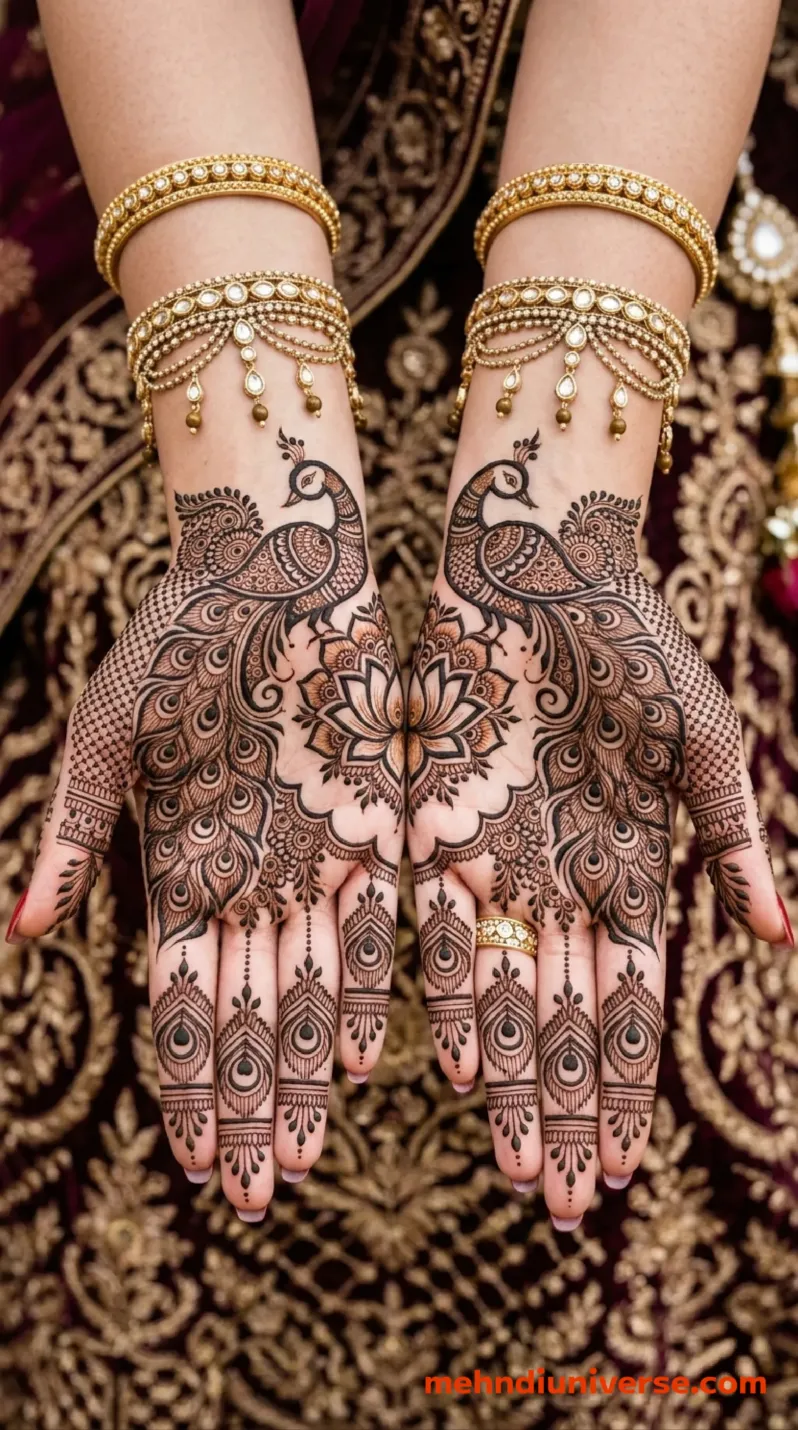
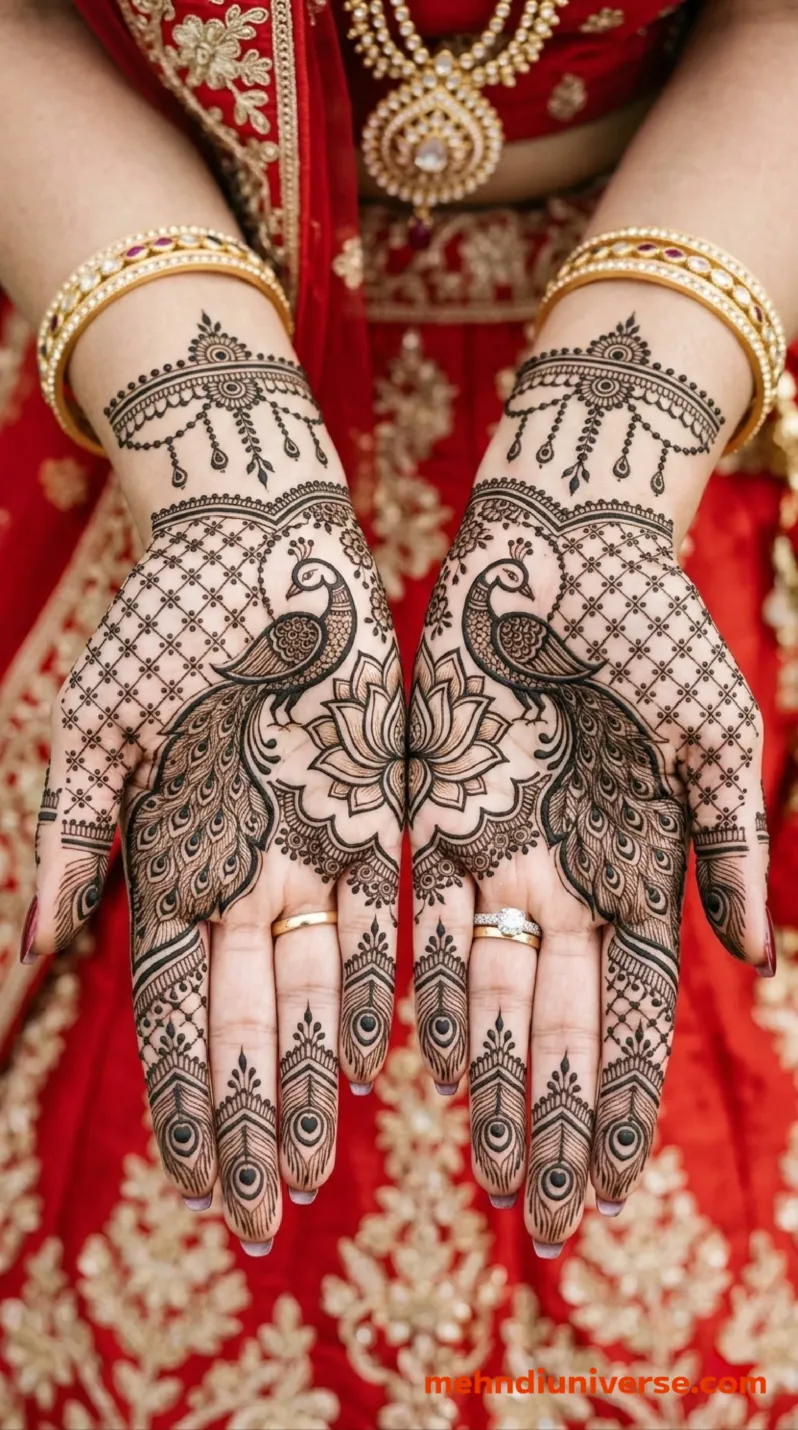
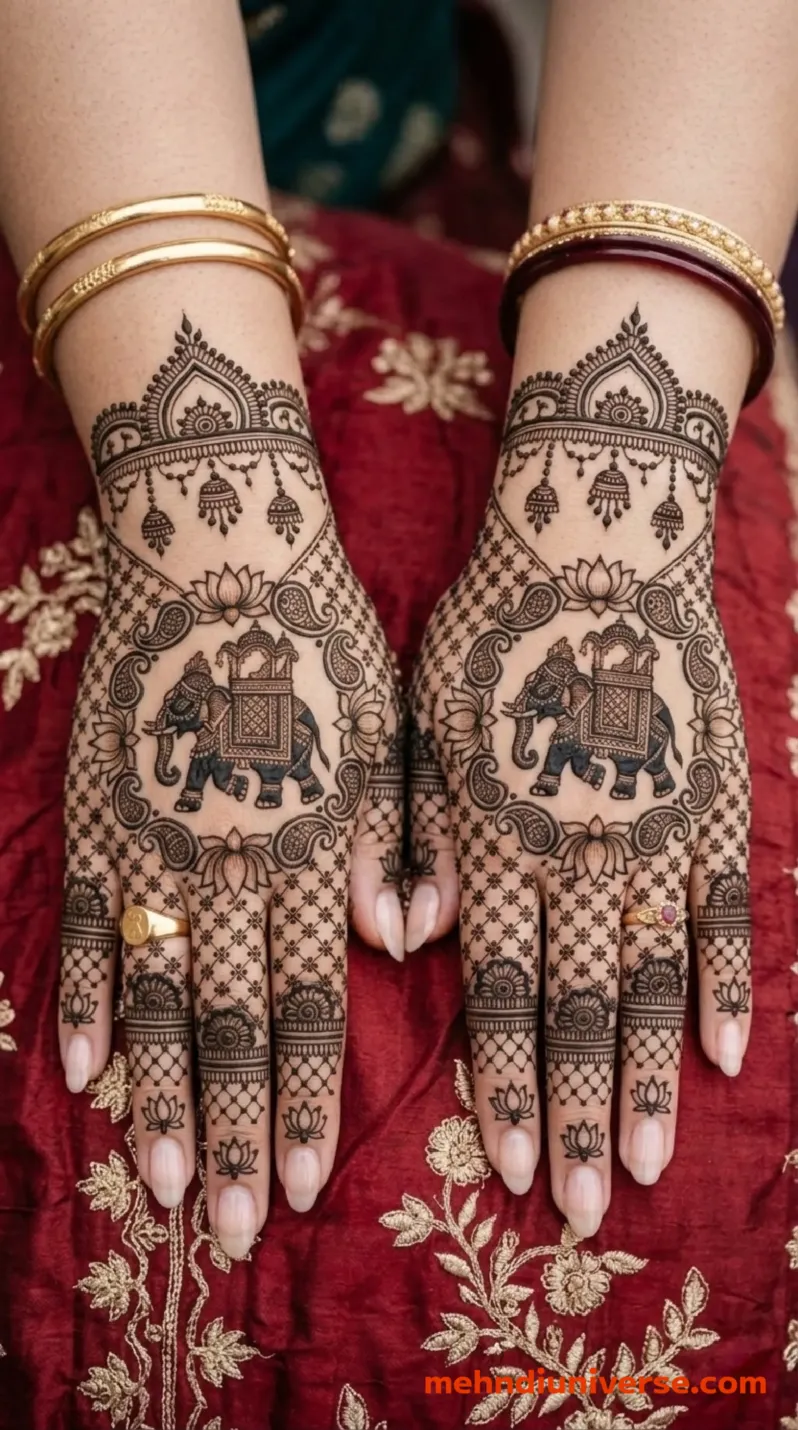
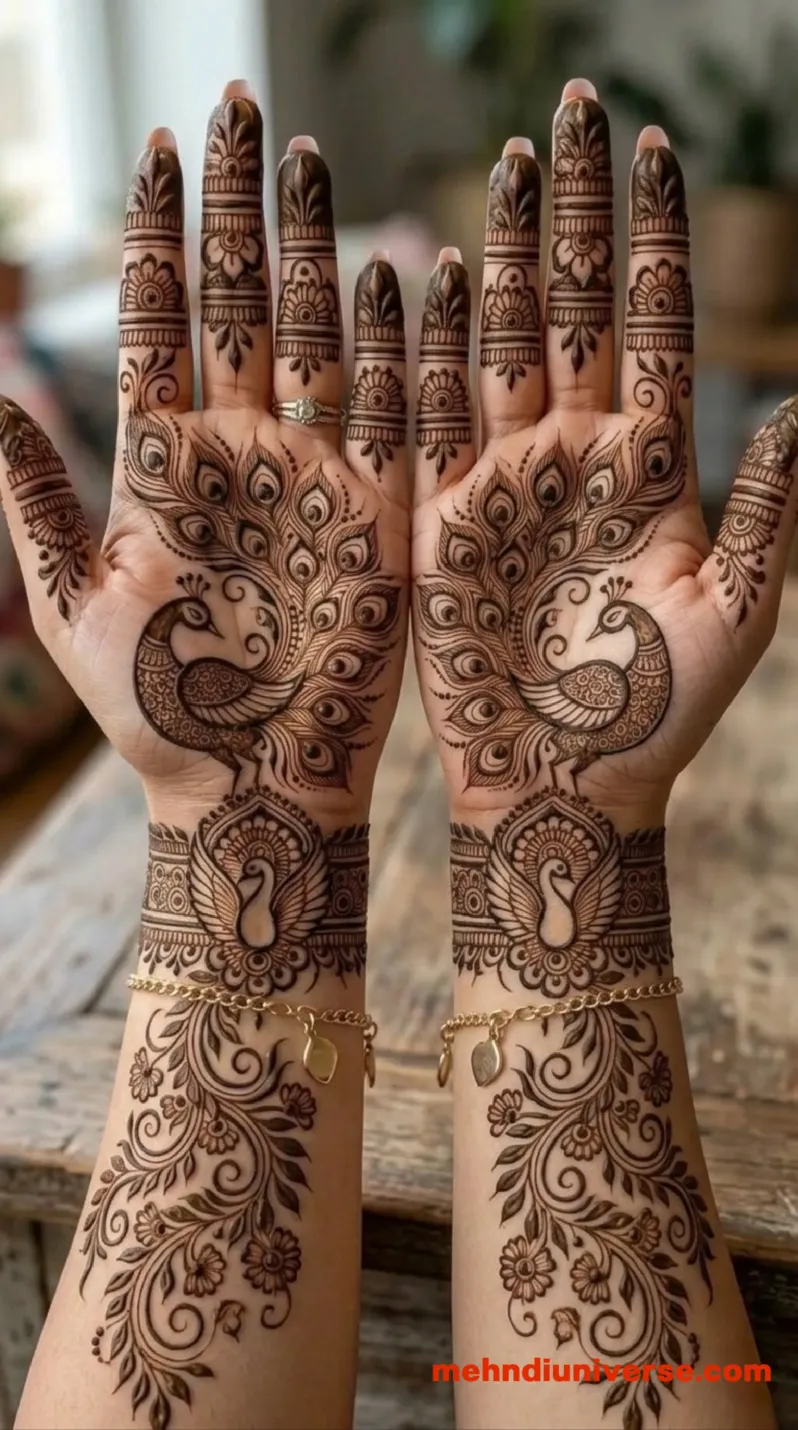
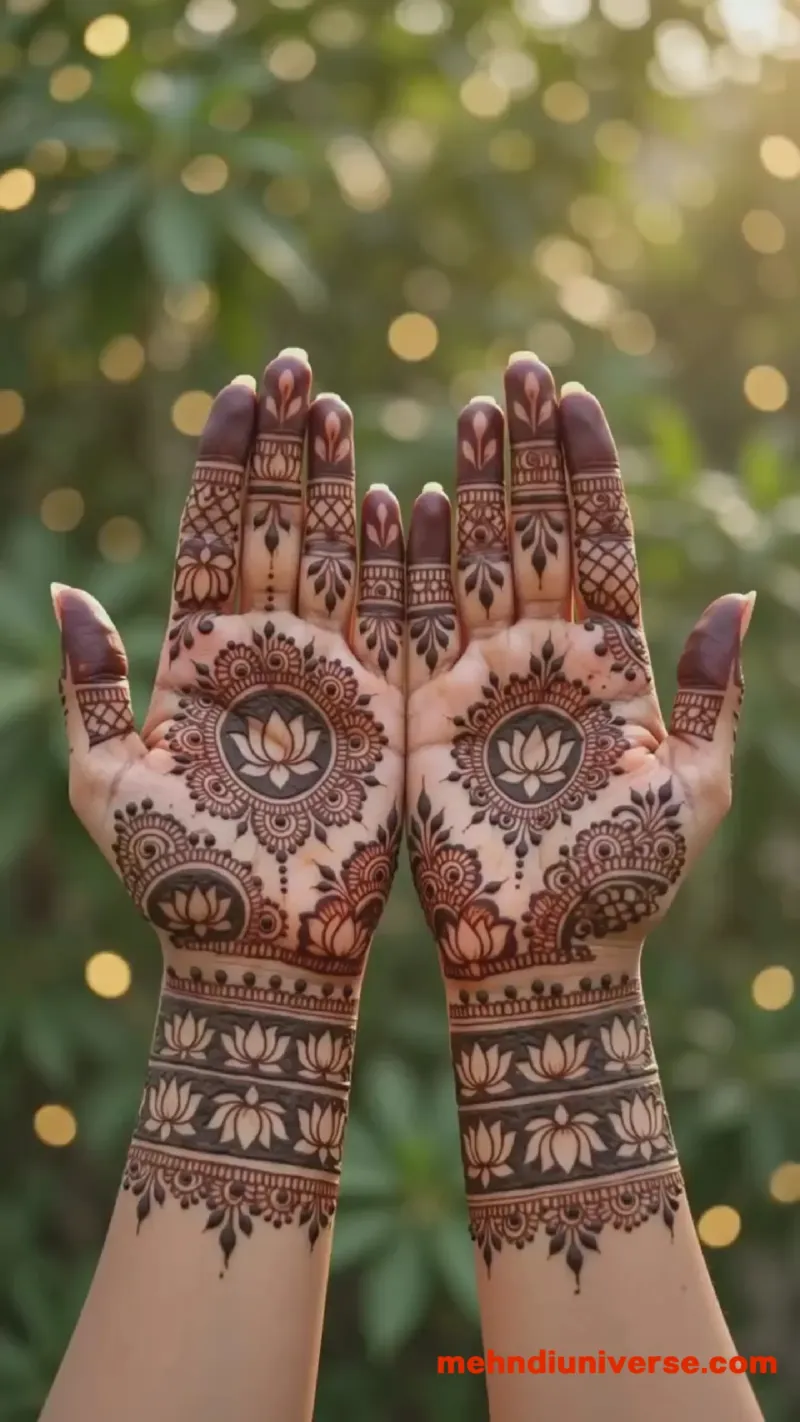
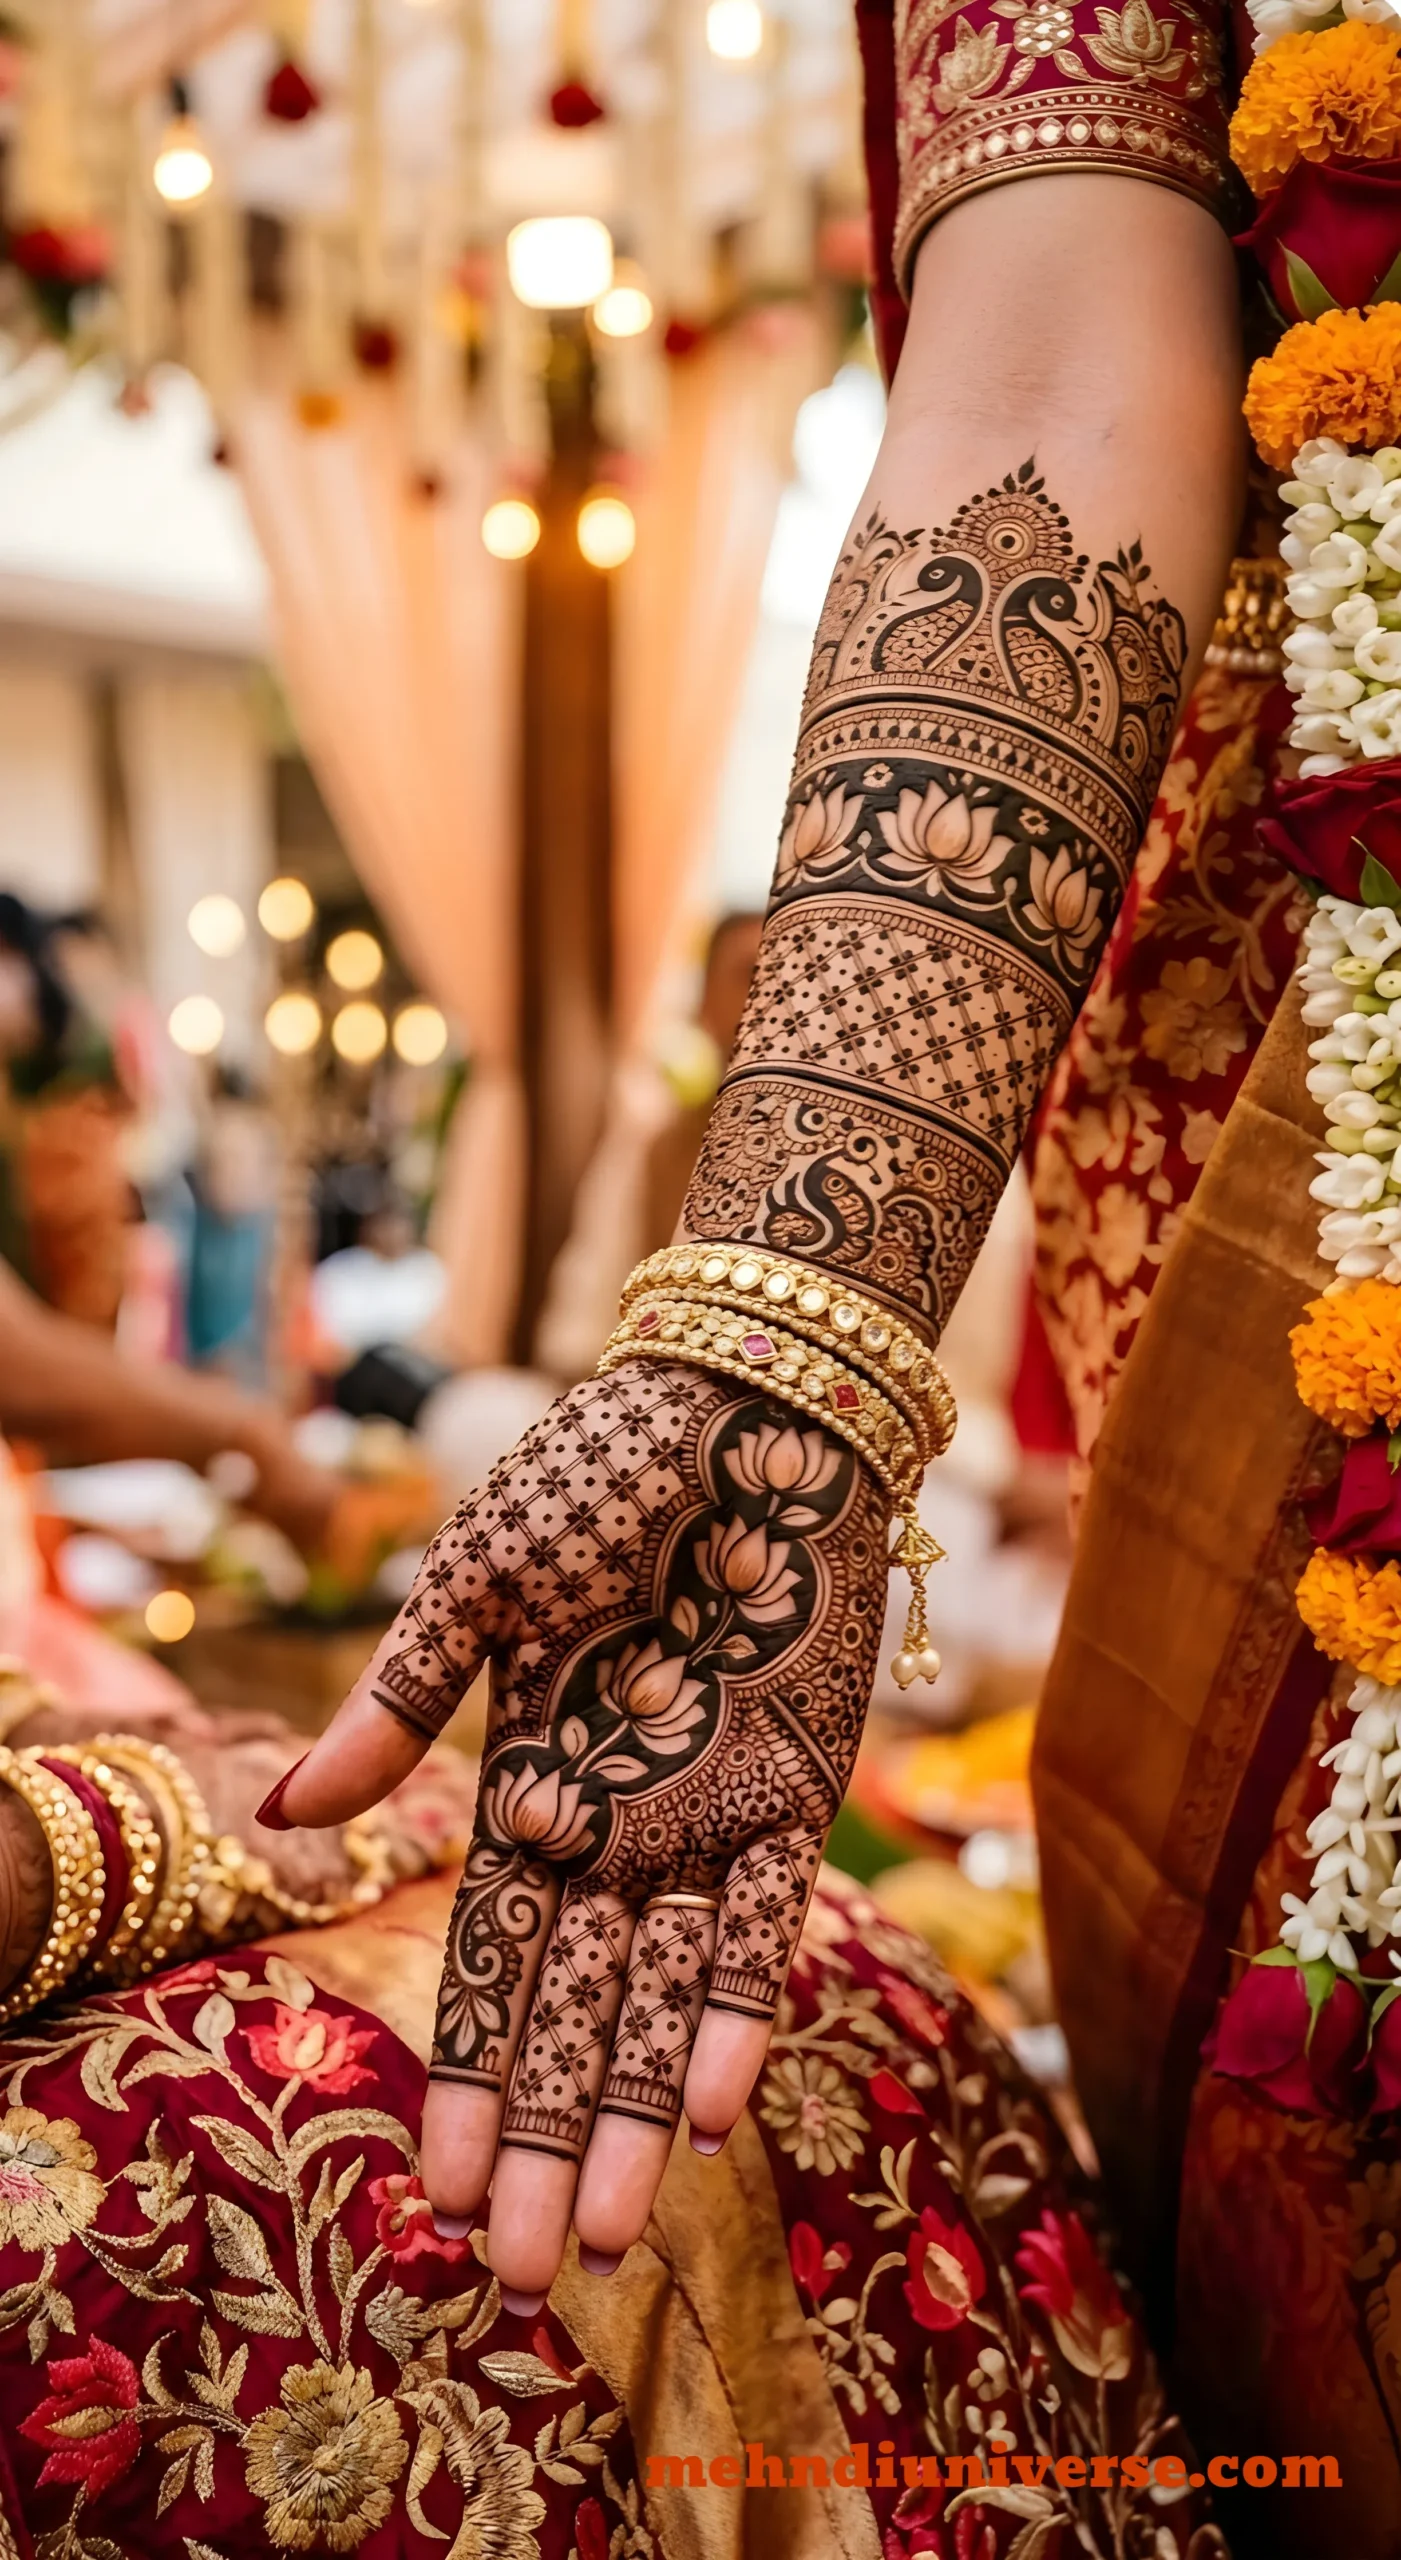
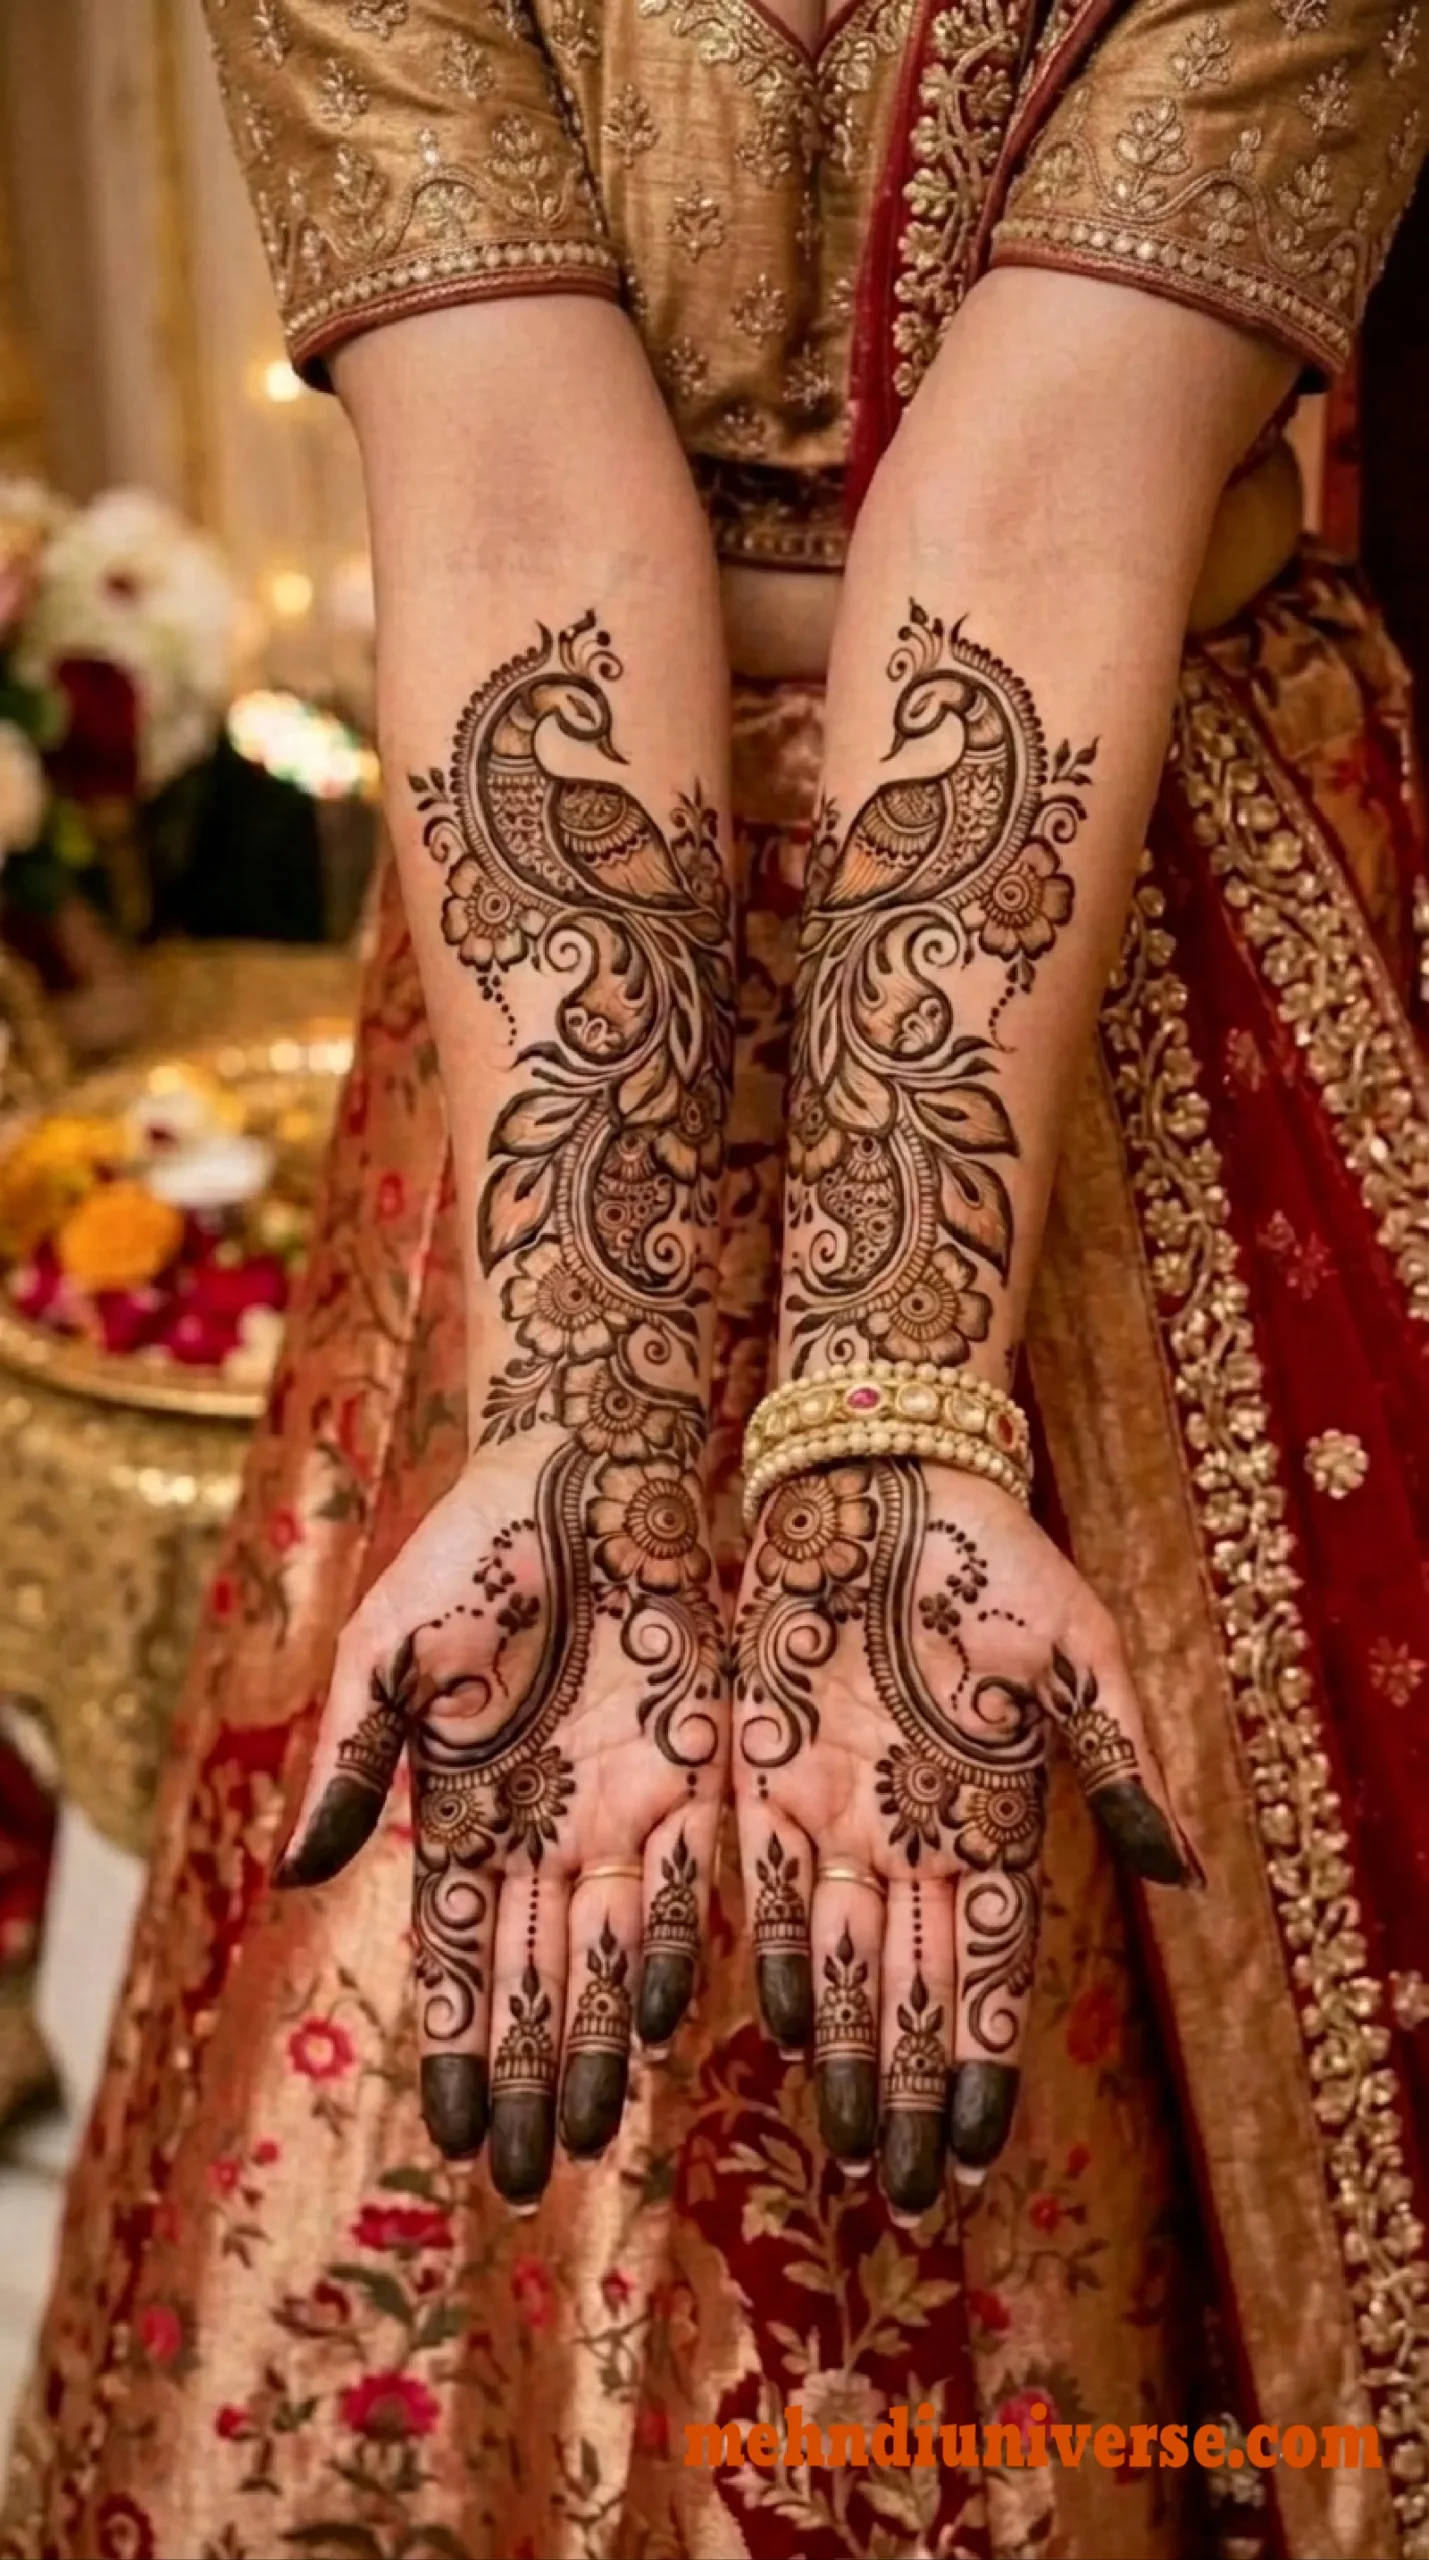
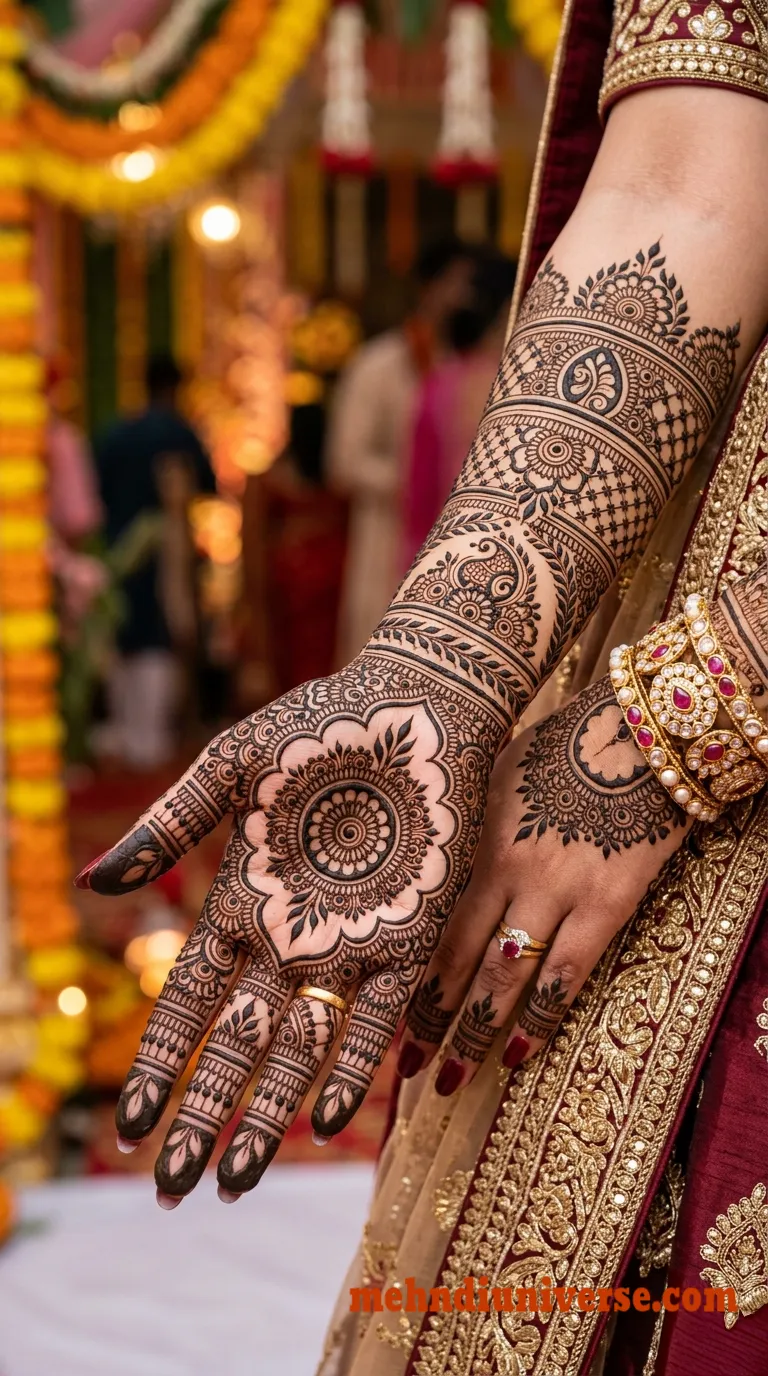
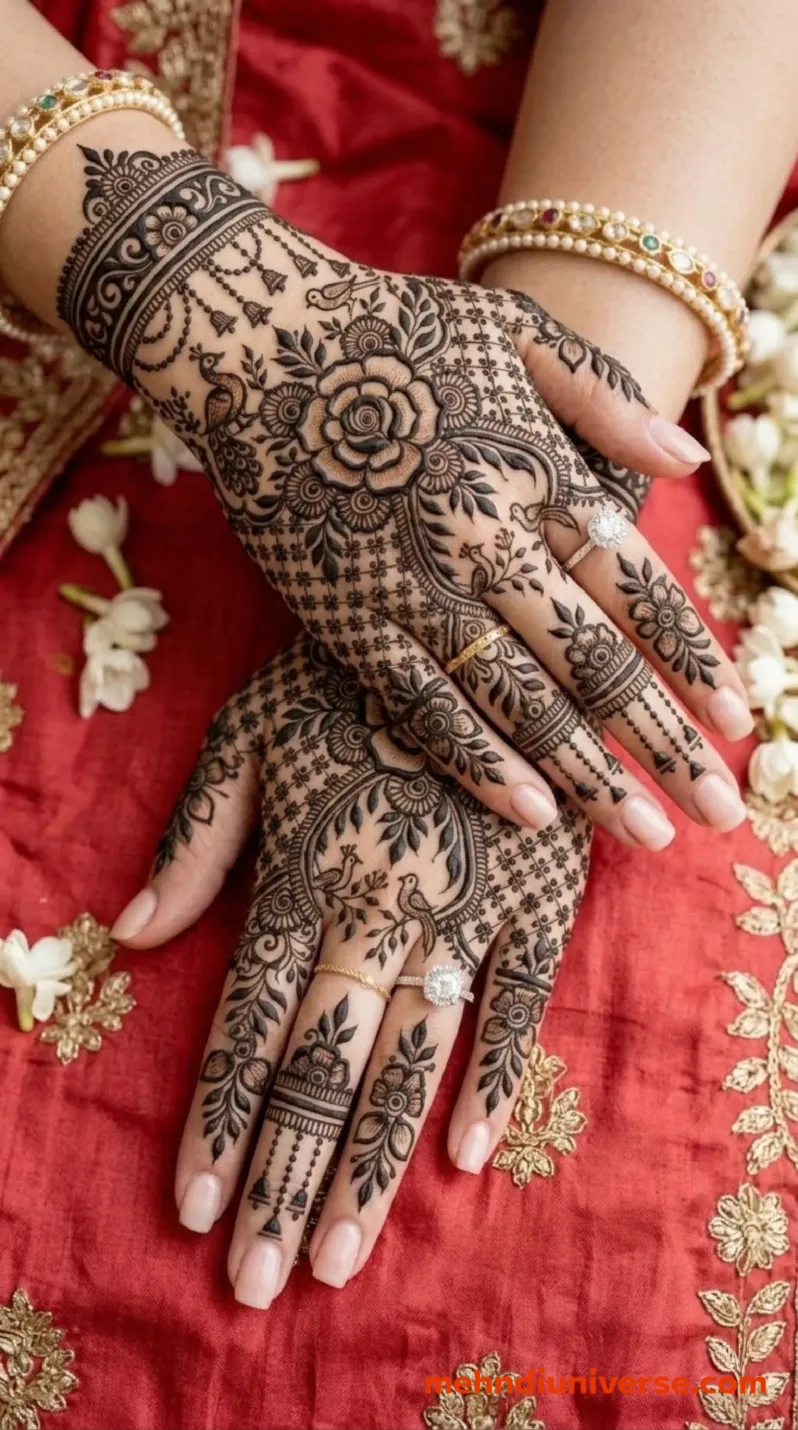
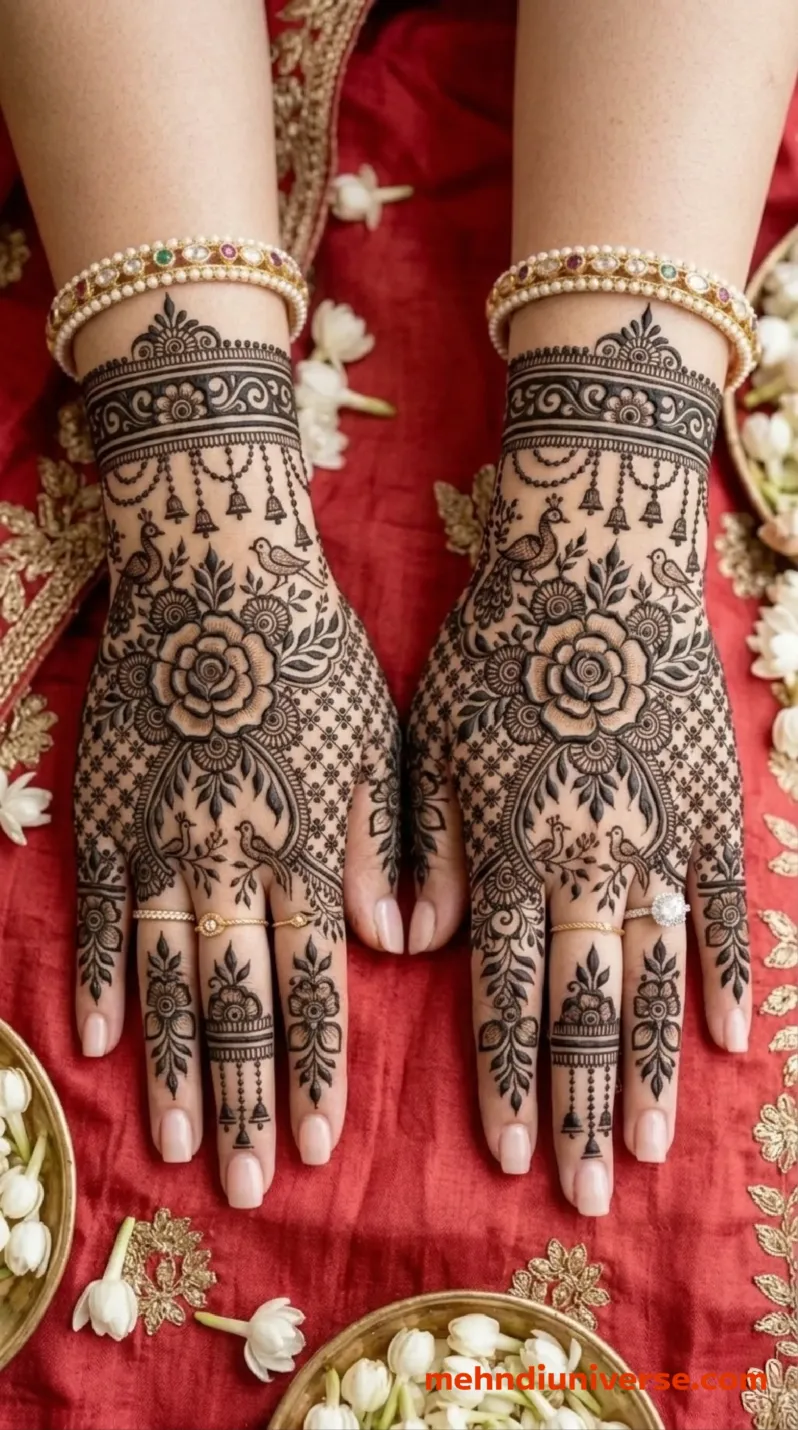
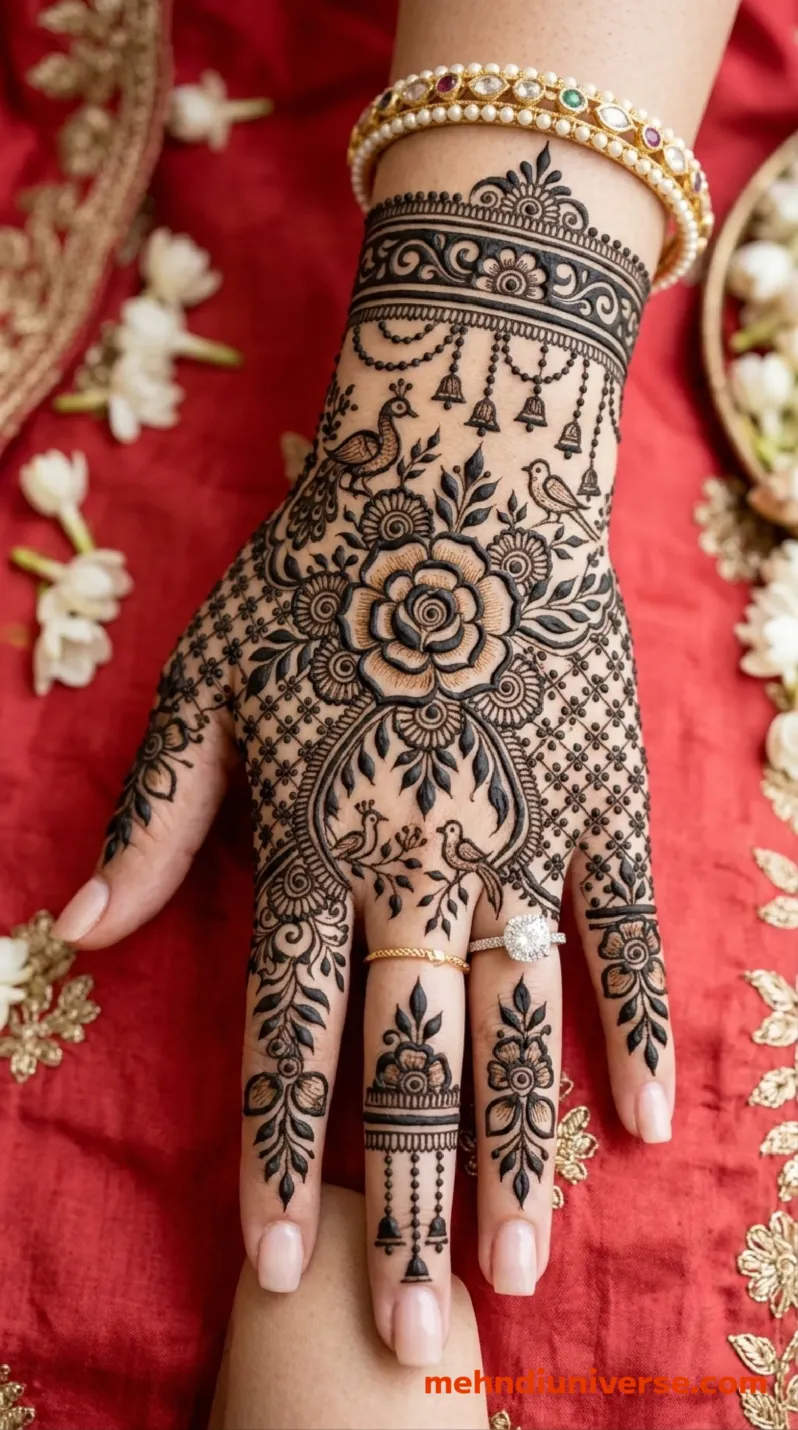
This traditional mehndi design includes a large central rose with intricate floral patterns and delicate birds, complemented by a beautiful lattice/net background that adds texture and depth. The wrist with an ornate band and dangling motifs, and the fingers with leafy and floral details, are in perfect harmony. The rich dark henna is applied to every petal, bird and lattice line, giving a luxurious and artistic look. This style is ornate and exudes bridal elegance and cultural richness. It’s ideal for weddings and grand celebrations.
Style
BridalHand Position
Back HandPattern Elements
central rose, floral patterns, delicate birds, lattice net background, ornate wrist band, dangling motifs, leafy finger details, intricate acceptsDifficulty Level
IntermediateSuitable Occasions
Wedding, Bridal Ceremony, Engagement, Sangeet, Festival, Eid, Reception, Grand CelebrationsApplication Time
Under 50 minUnderstanding the Design Clearly
Step 1: Get your hands ready
Wash your hands well and dry them. If you have oily skin, you can wipe it down with a bit of eucalyptus oil to help the henna adhere better, but don't put on lotion right before.
Step 2: Draw the wrist cuff
Start with the wide band at the wrist. Draw the horizontal borders and the floral scrolls inside. Then add the scalloped edge and the little hanging bells (jhumkas) dropping from the bottom.
Step 3: Create the central motifs
Draw the large rose in the center of the back of your hand. Next, draw the peacocks on both sides of the rose. Add the small birds near the top edges. Try to keep these main shapes as symmetrical as possible.
Step 4: Fill the gaps with dots
The defining feature of this design is the heavy dot work (stippling). Use a fine-tipped cone to fill the empty spaces between the rose, birds, and wristband with tiny, uniform dots. This creates a rich, dark contrast.
Step 5: Detail the fingers
Draw vines and leaves on each finger. Add the small ring bands at the base. For the middle fingers, draw the intricate jhumka (bell) design with hanging tassels, and fill the very tips heavily with henna.
Tips for a Better Result
· For perfect symmetry: This design relies heavily on balance. Before you put on the henna, use a white eyeliner pencil to lightly outline the rose and peacocks on both hands. Then trace over that with your henna.
· Master the dot work: The tiny grids and dots around the main shapes are what give this look its rich, heavy feel. Take your time with a fine tip. It's better to go slow than to rush and smudge.
· Use the right cone: Use a medium tip for the thick outlines of the rose and wristband. You will need a very fine tip for the detailed dots and the jhumka tassels on the fingers.
· Patience is key: Don't wash it off with water right after you scrape it off. The color will keep darkening for the next 24 to 48 hours. Adding a light balm (like coconut oil) after you scrape the paste off helps protect the skin as the stain settles.
· Keep fingertip edges neat: The heavy fill at the tips of the fingers is a beautiful detail. Keep the edges clean, as they are right at the front of your hands and highly visible.