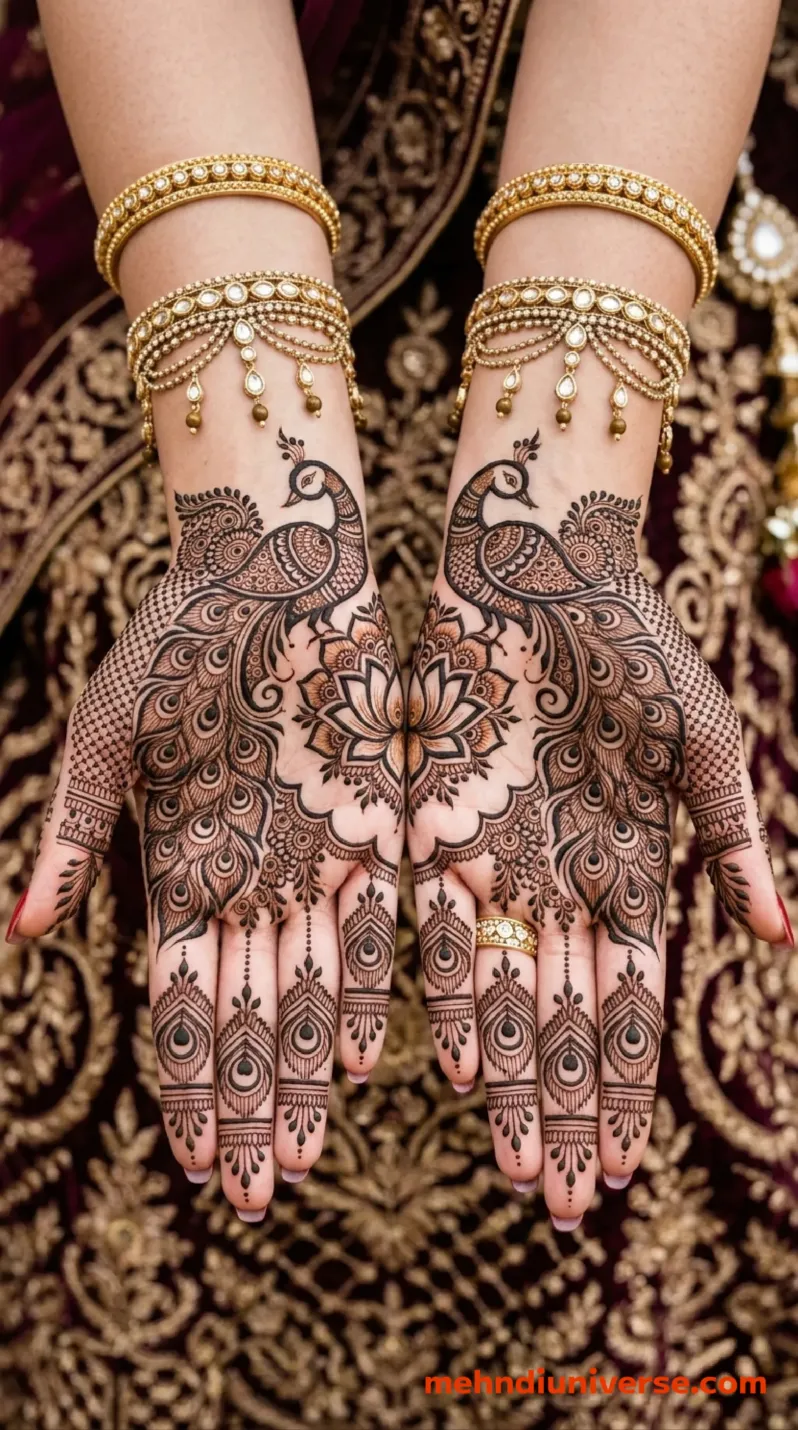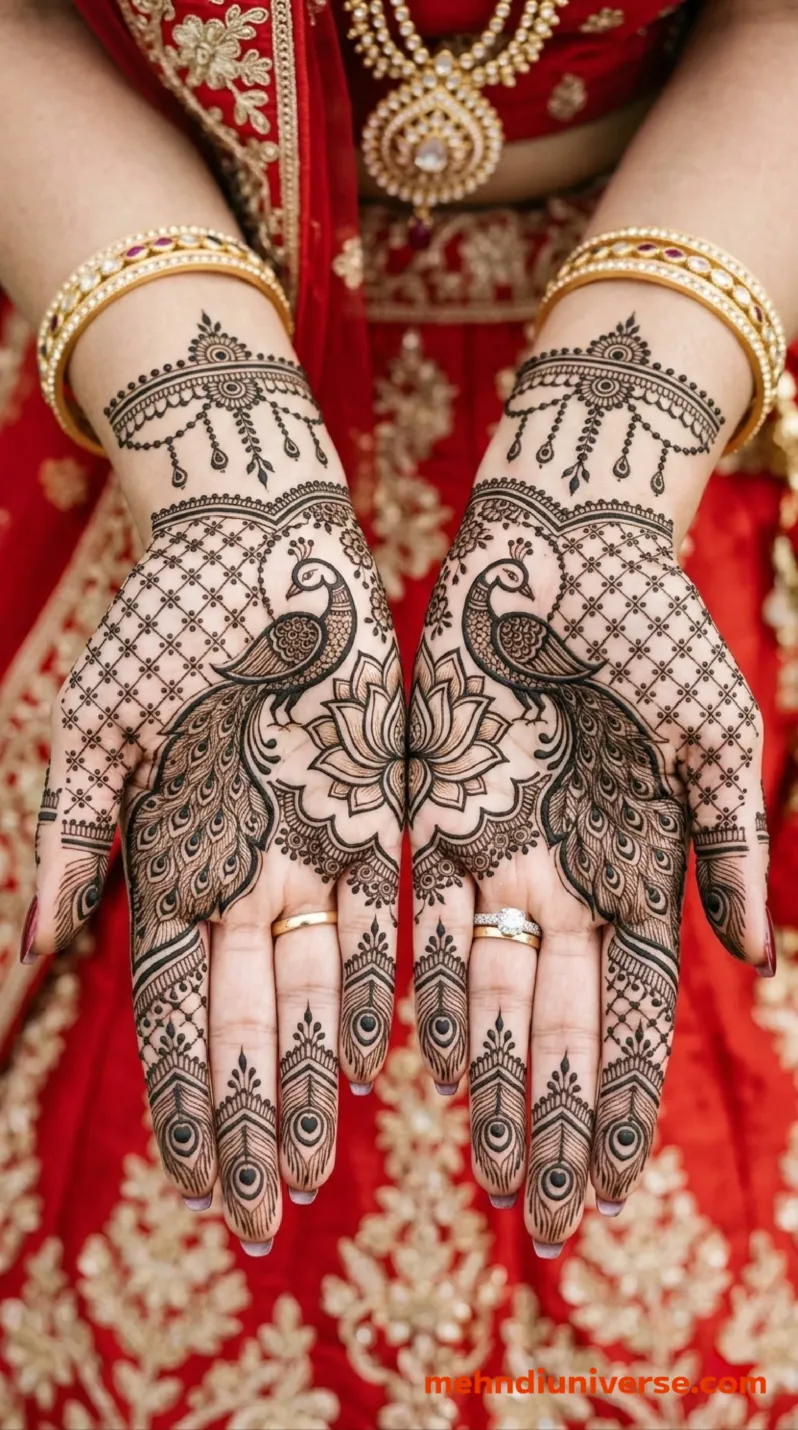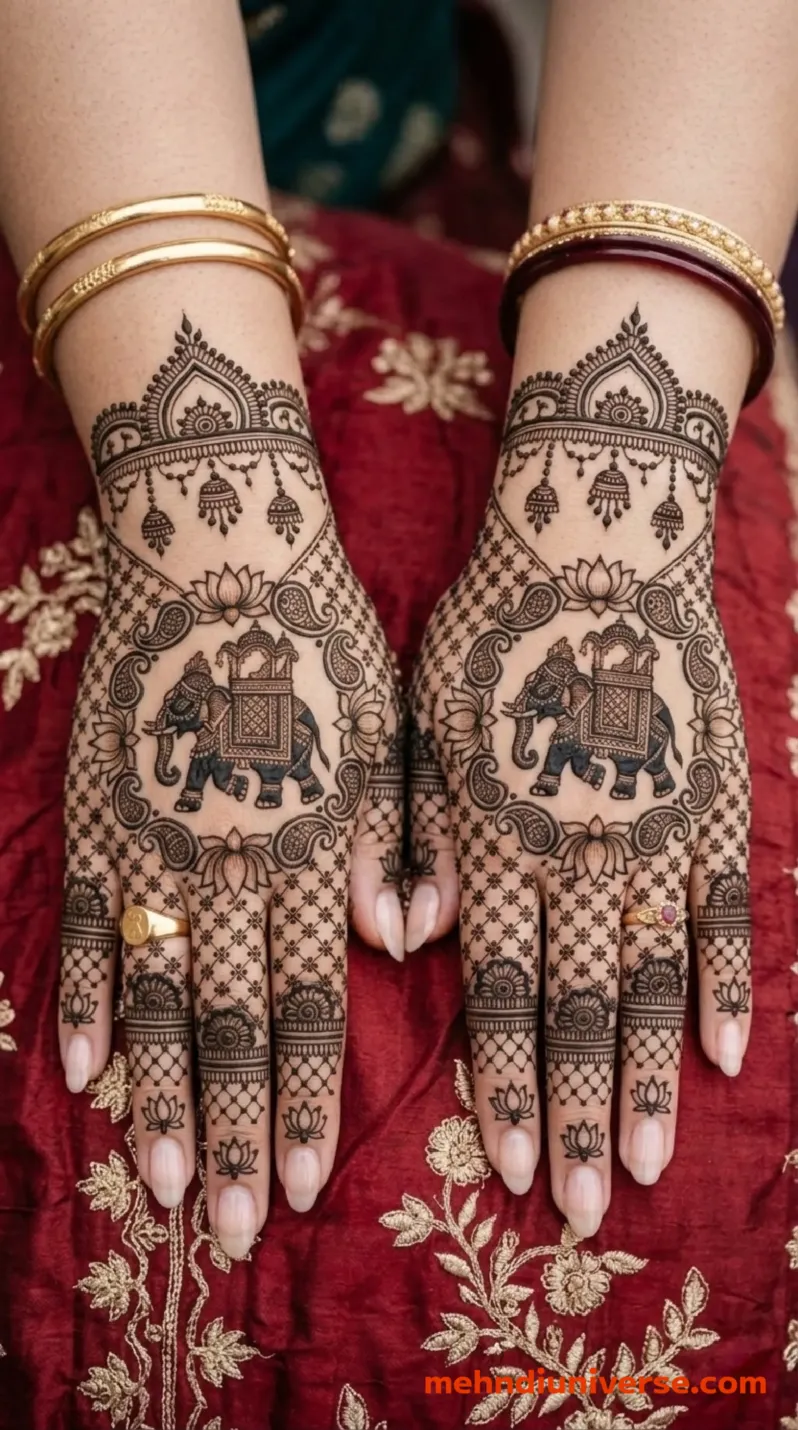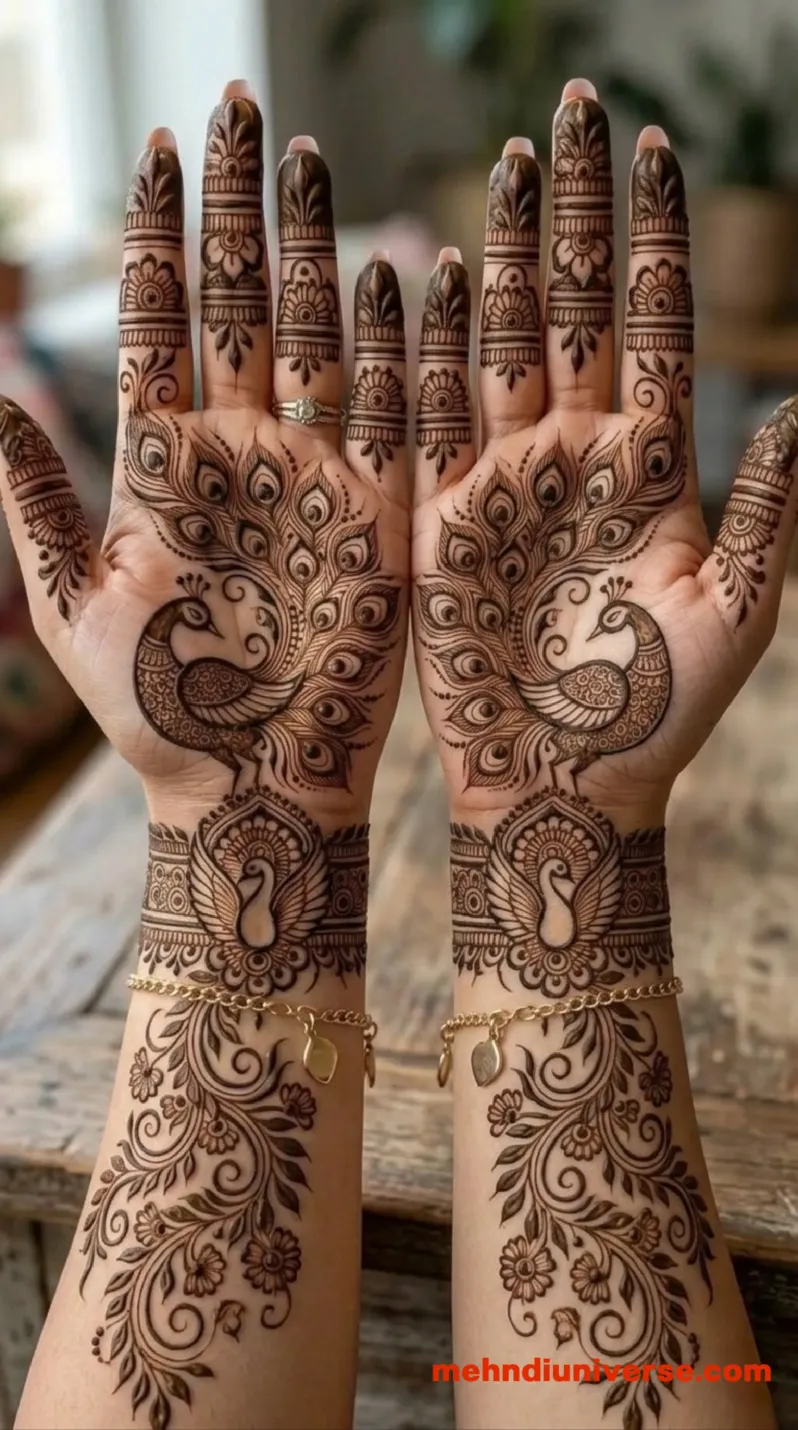
Bridal Mehndi Design – Bride Groom Silhouette for Hands
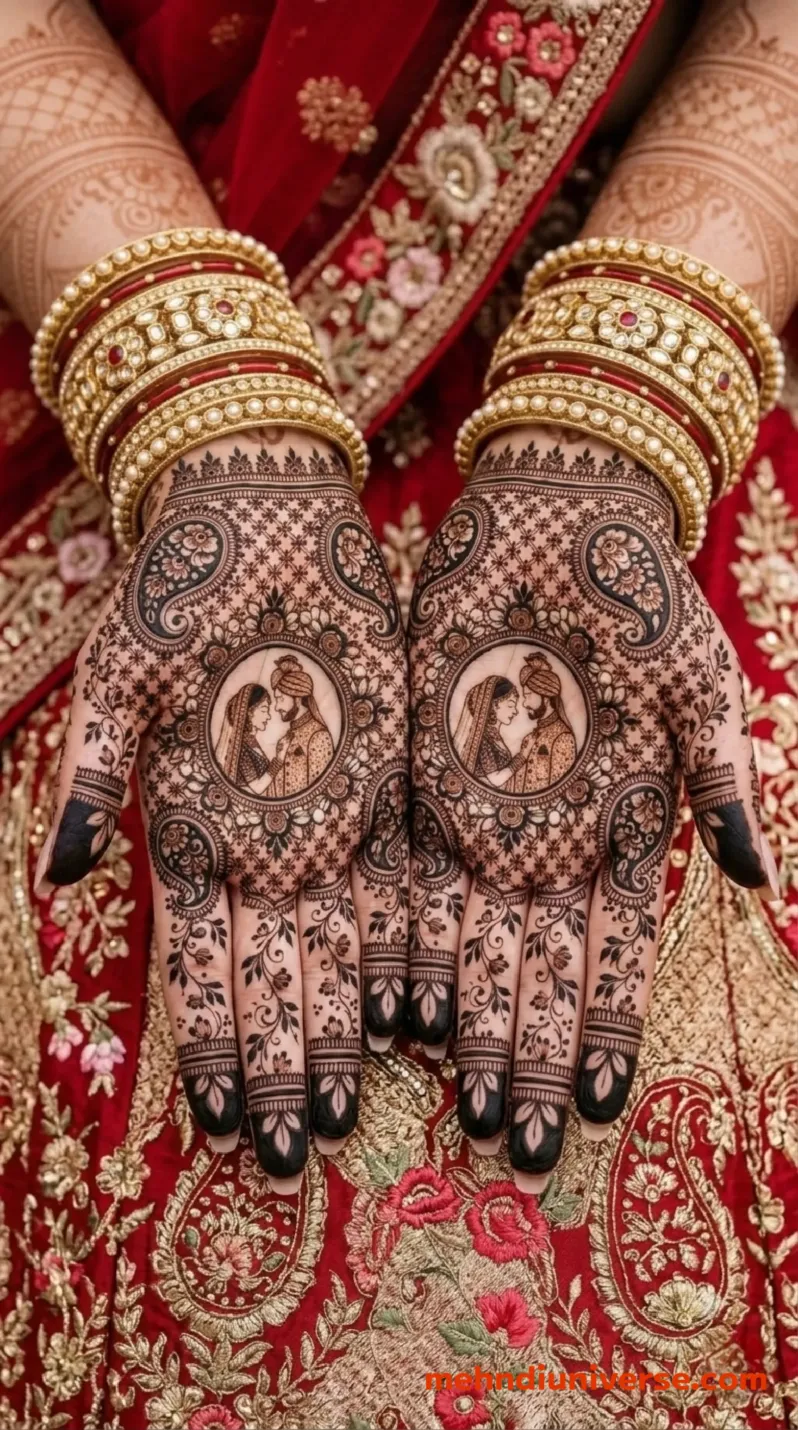
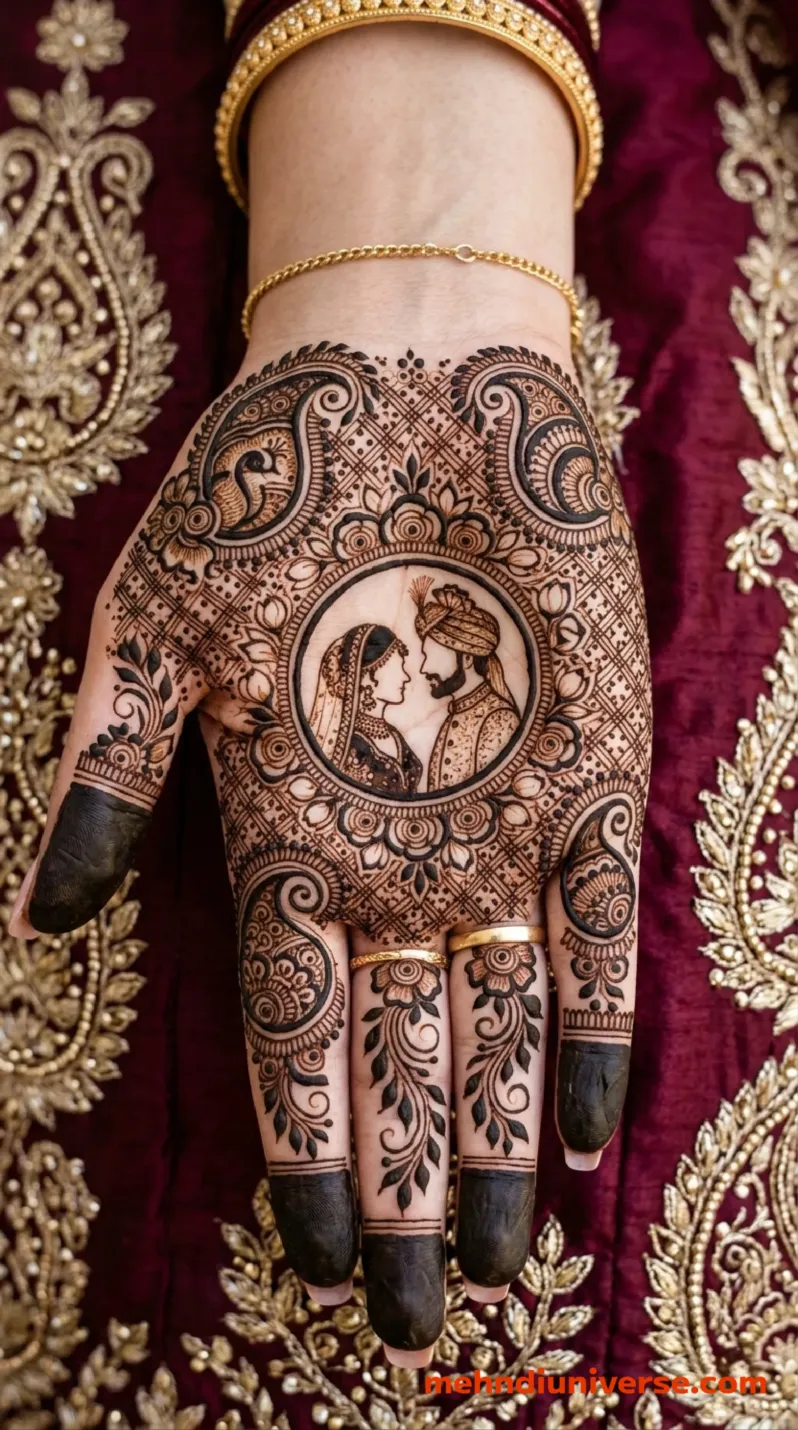
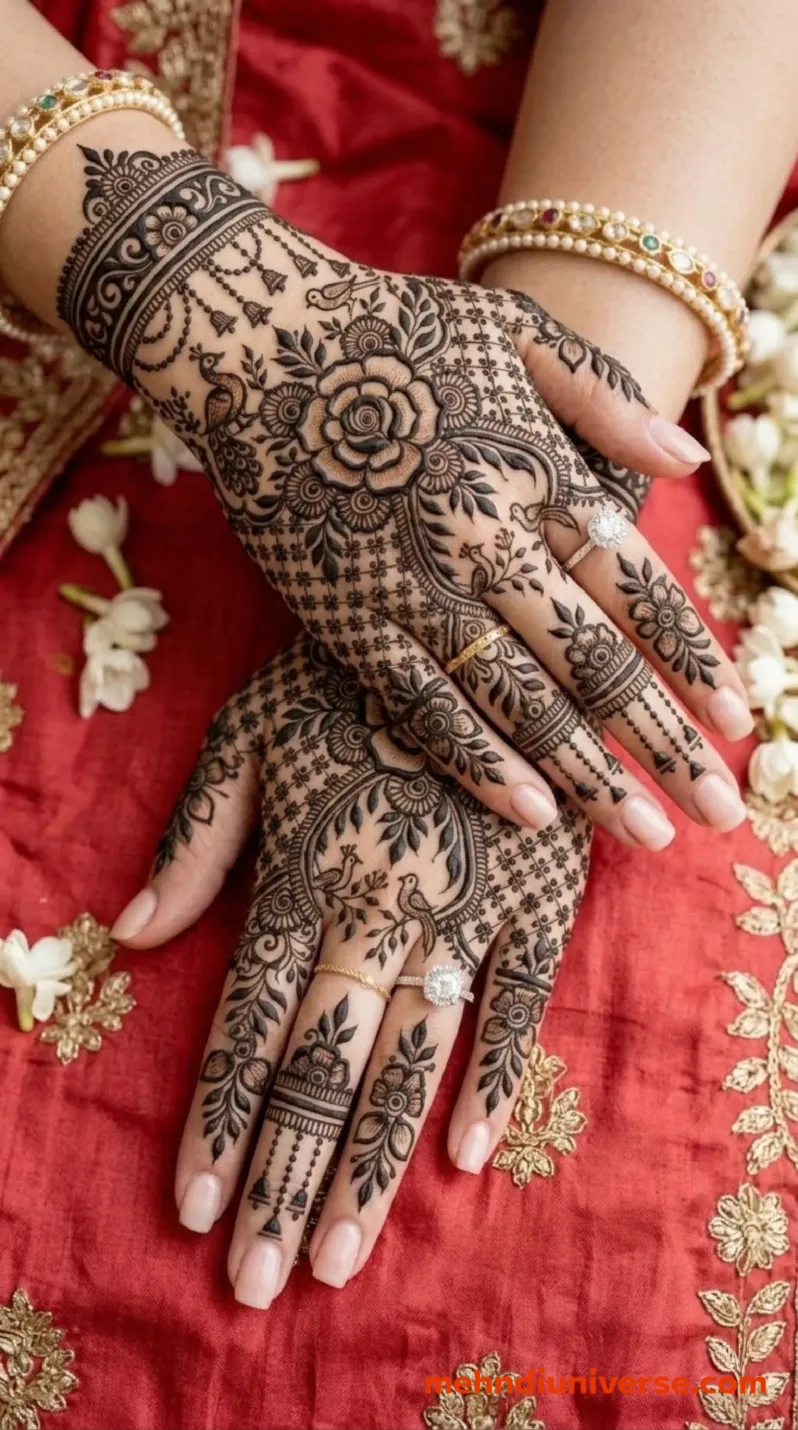
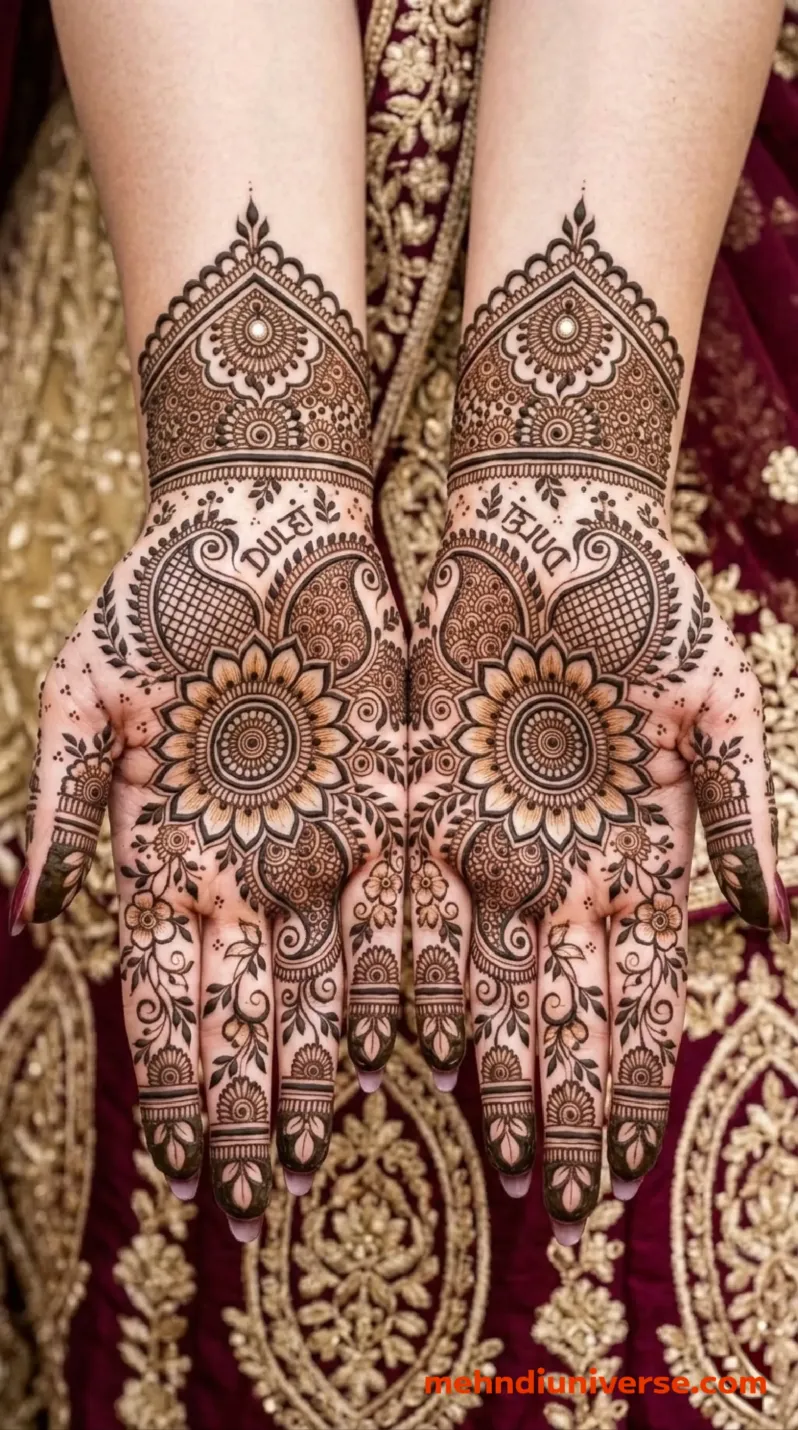
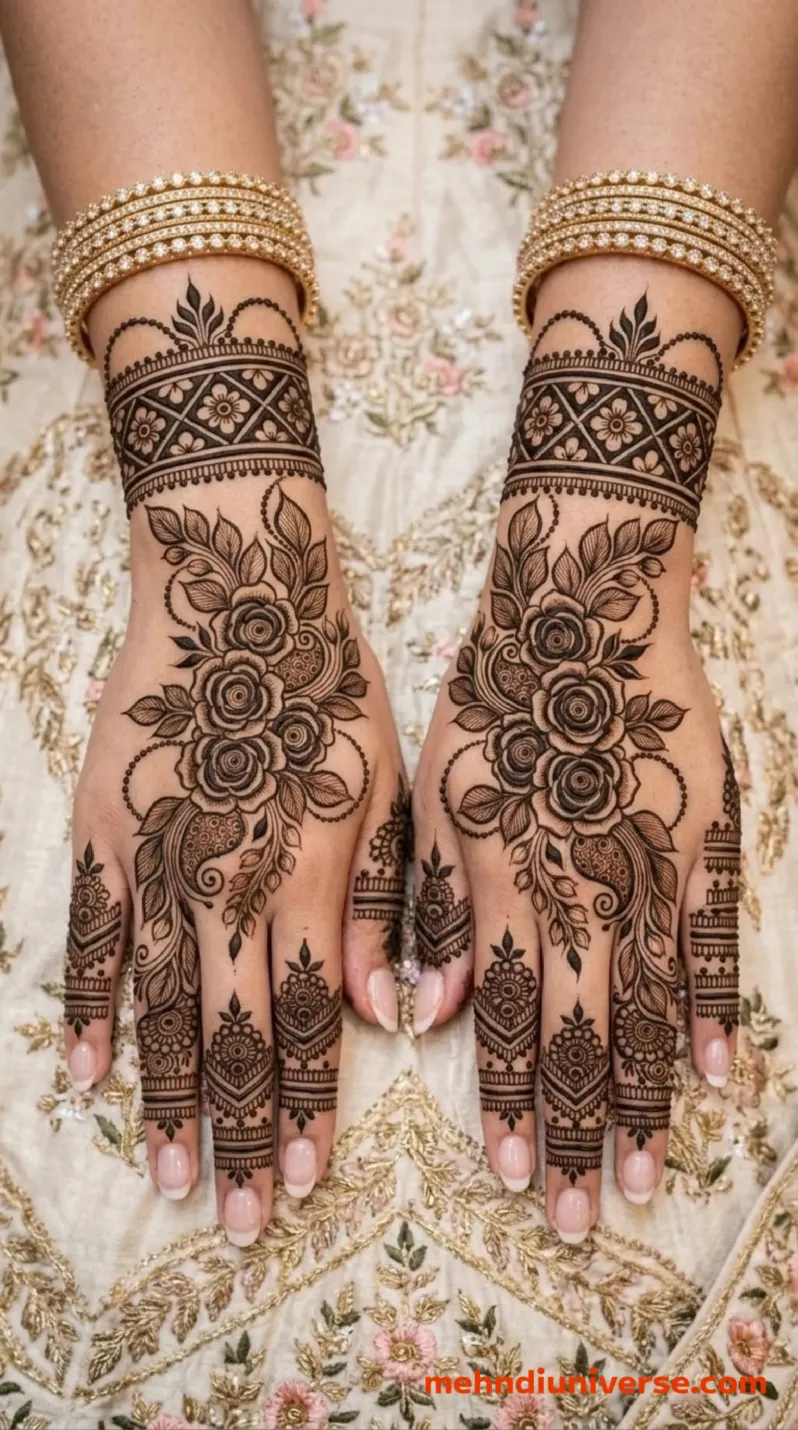
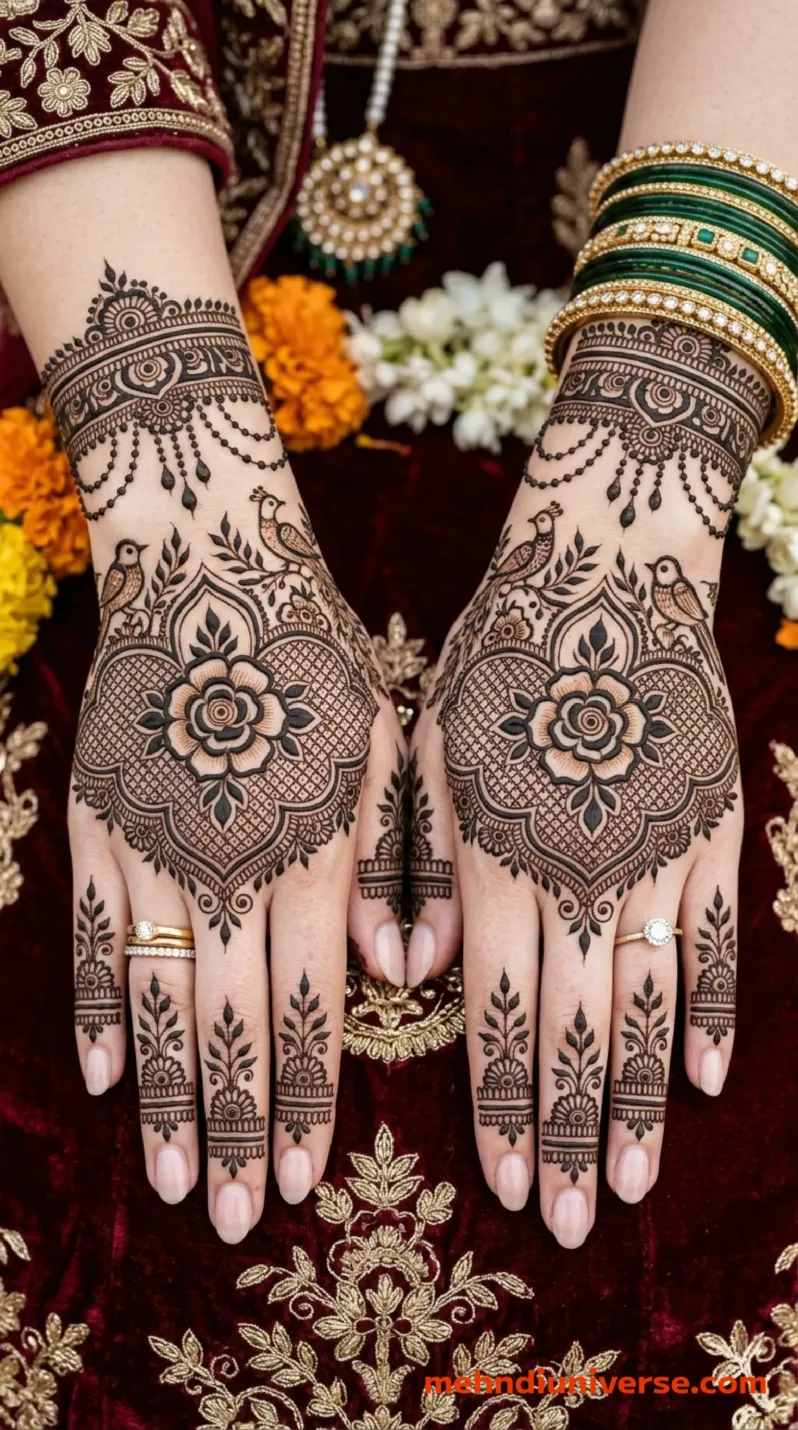
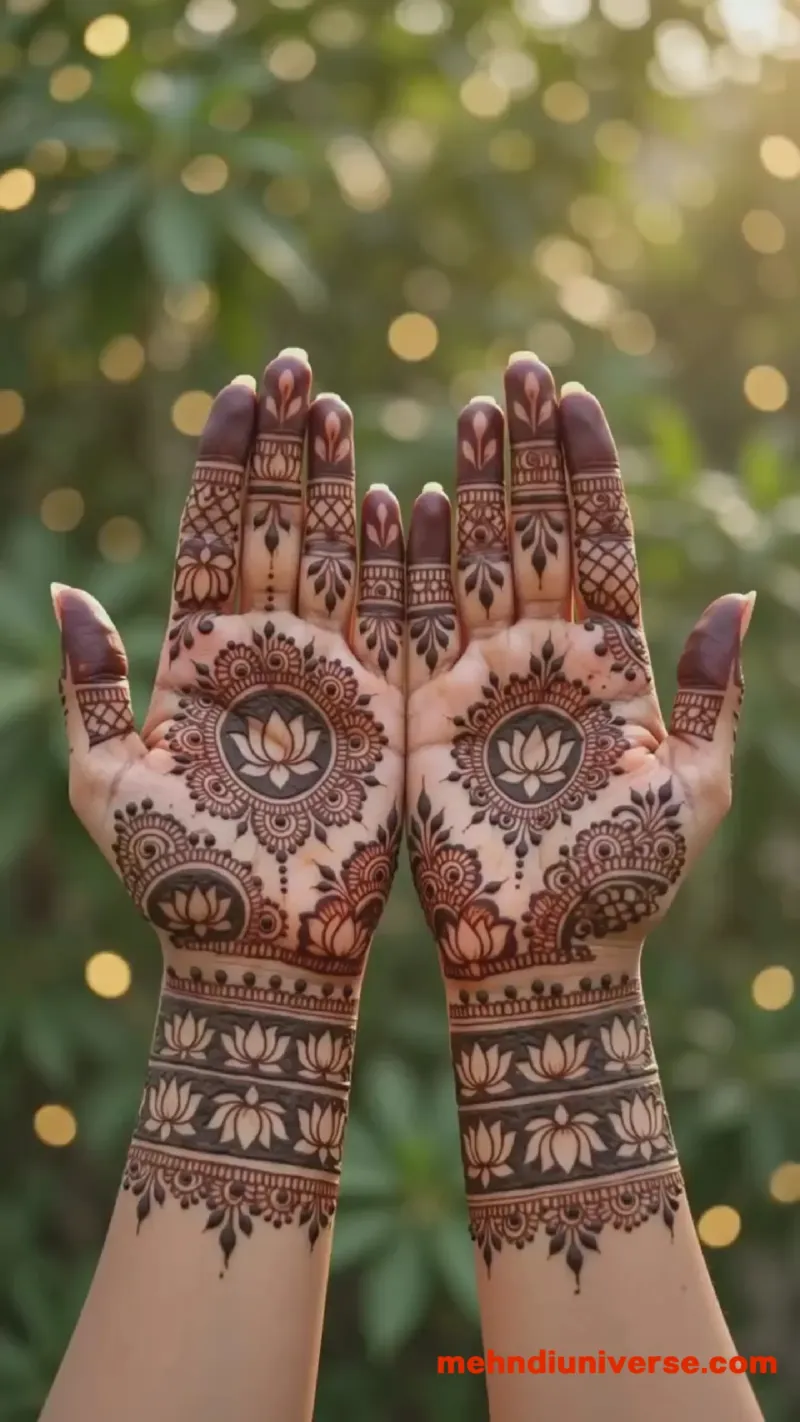
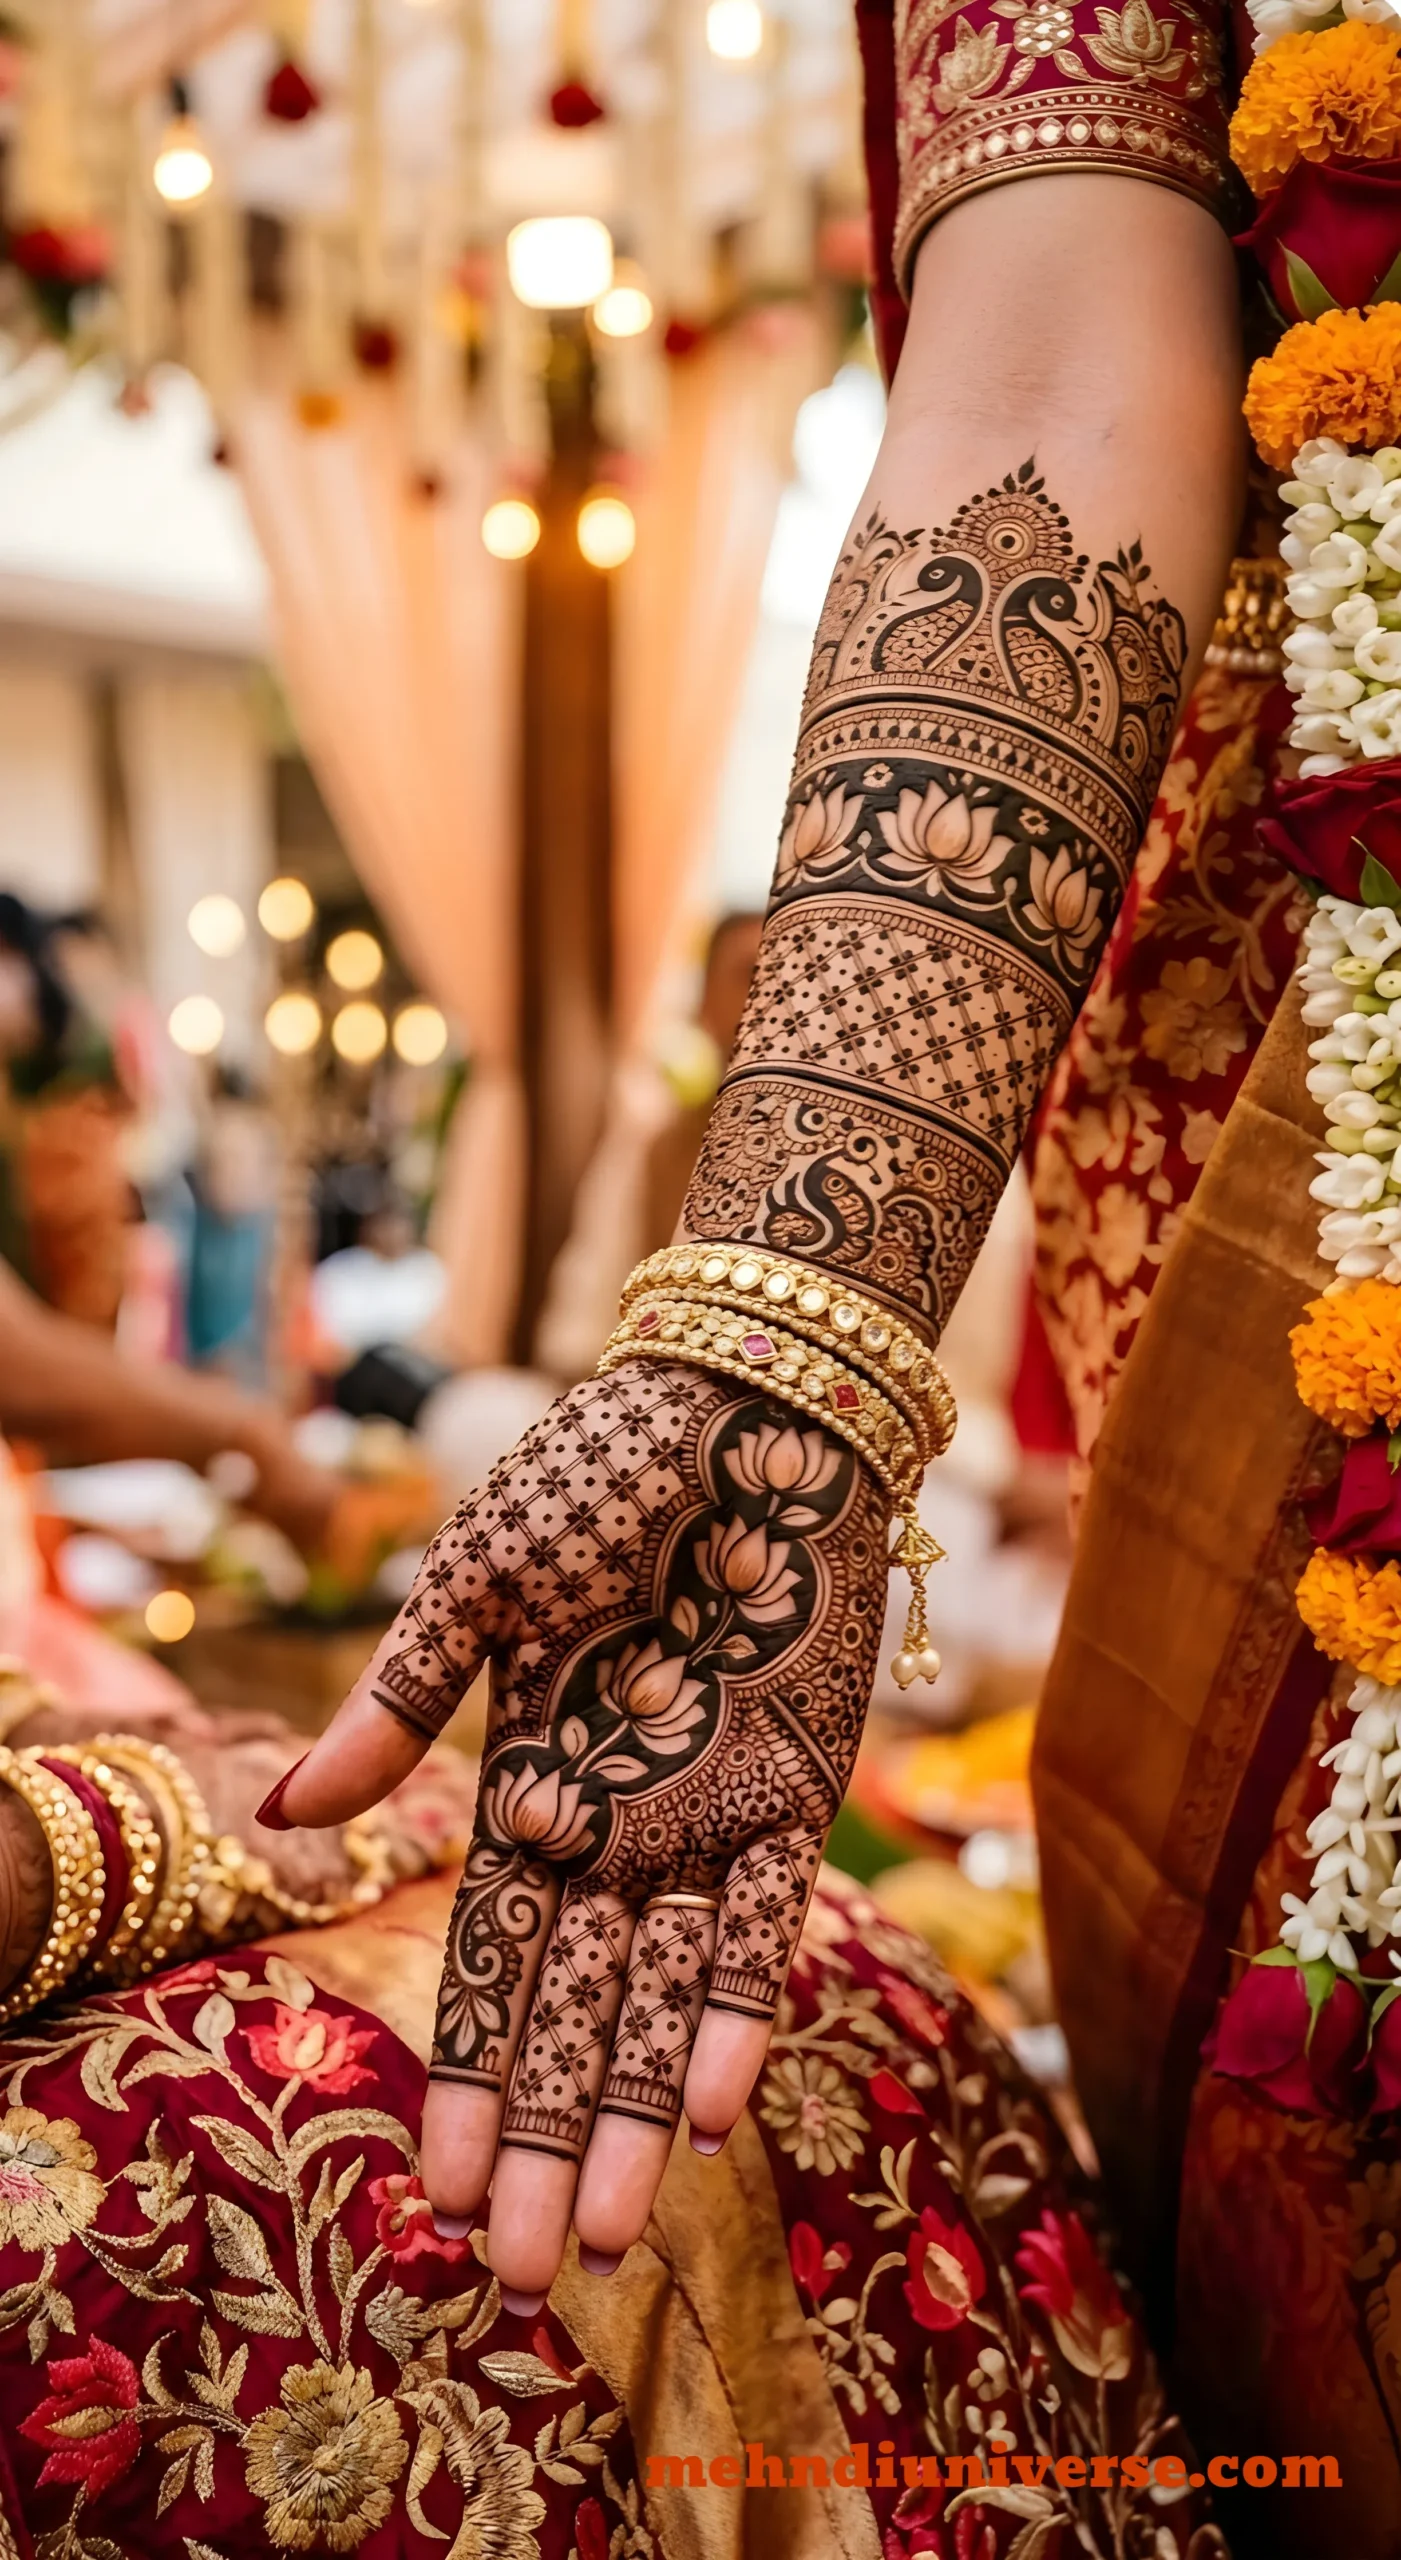
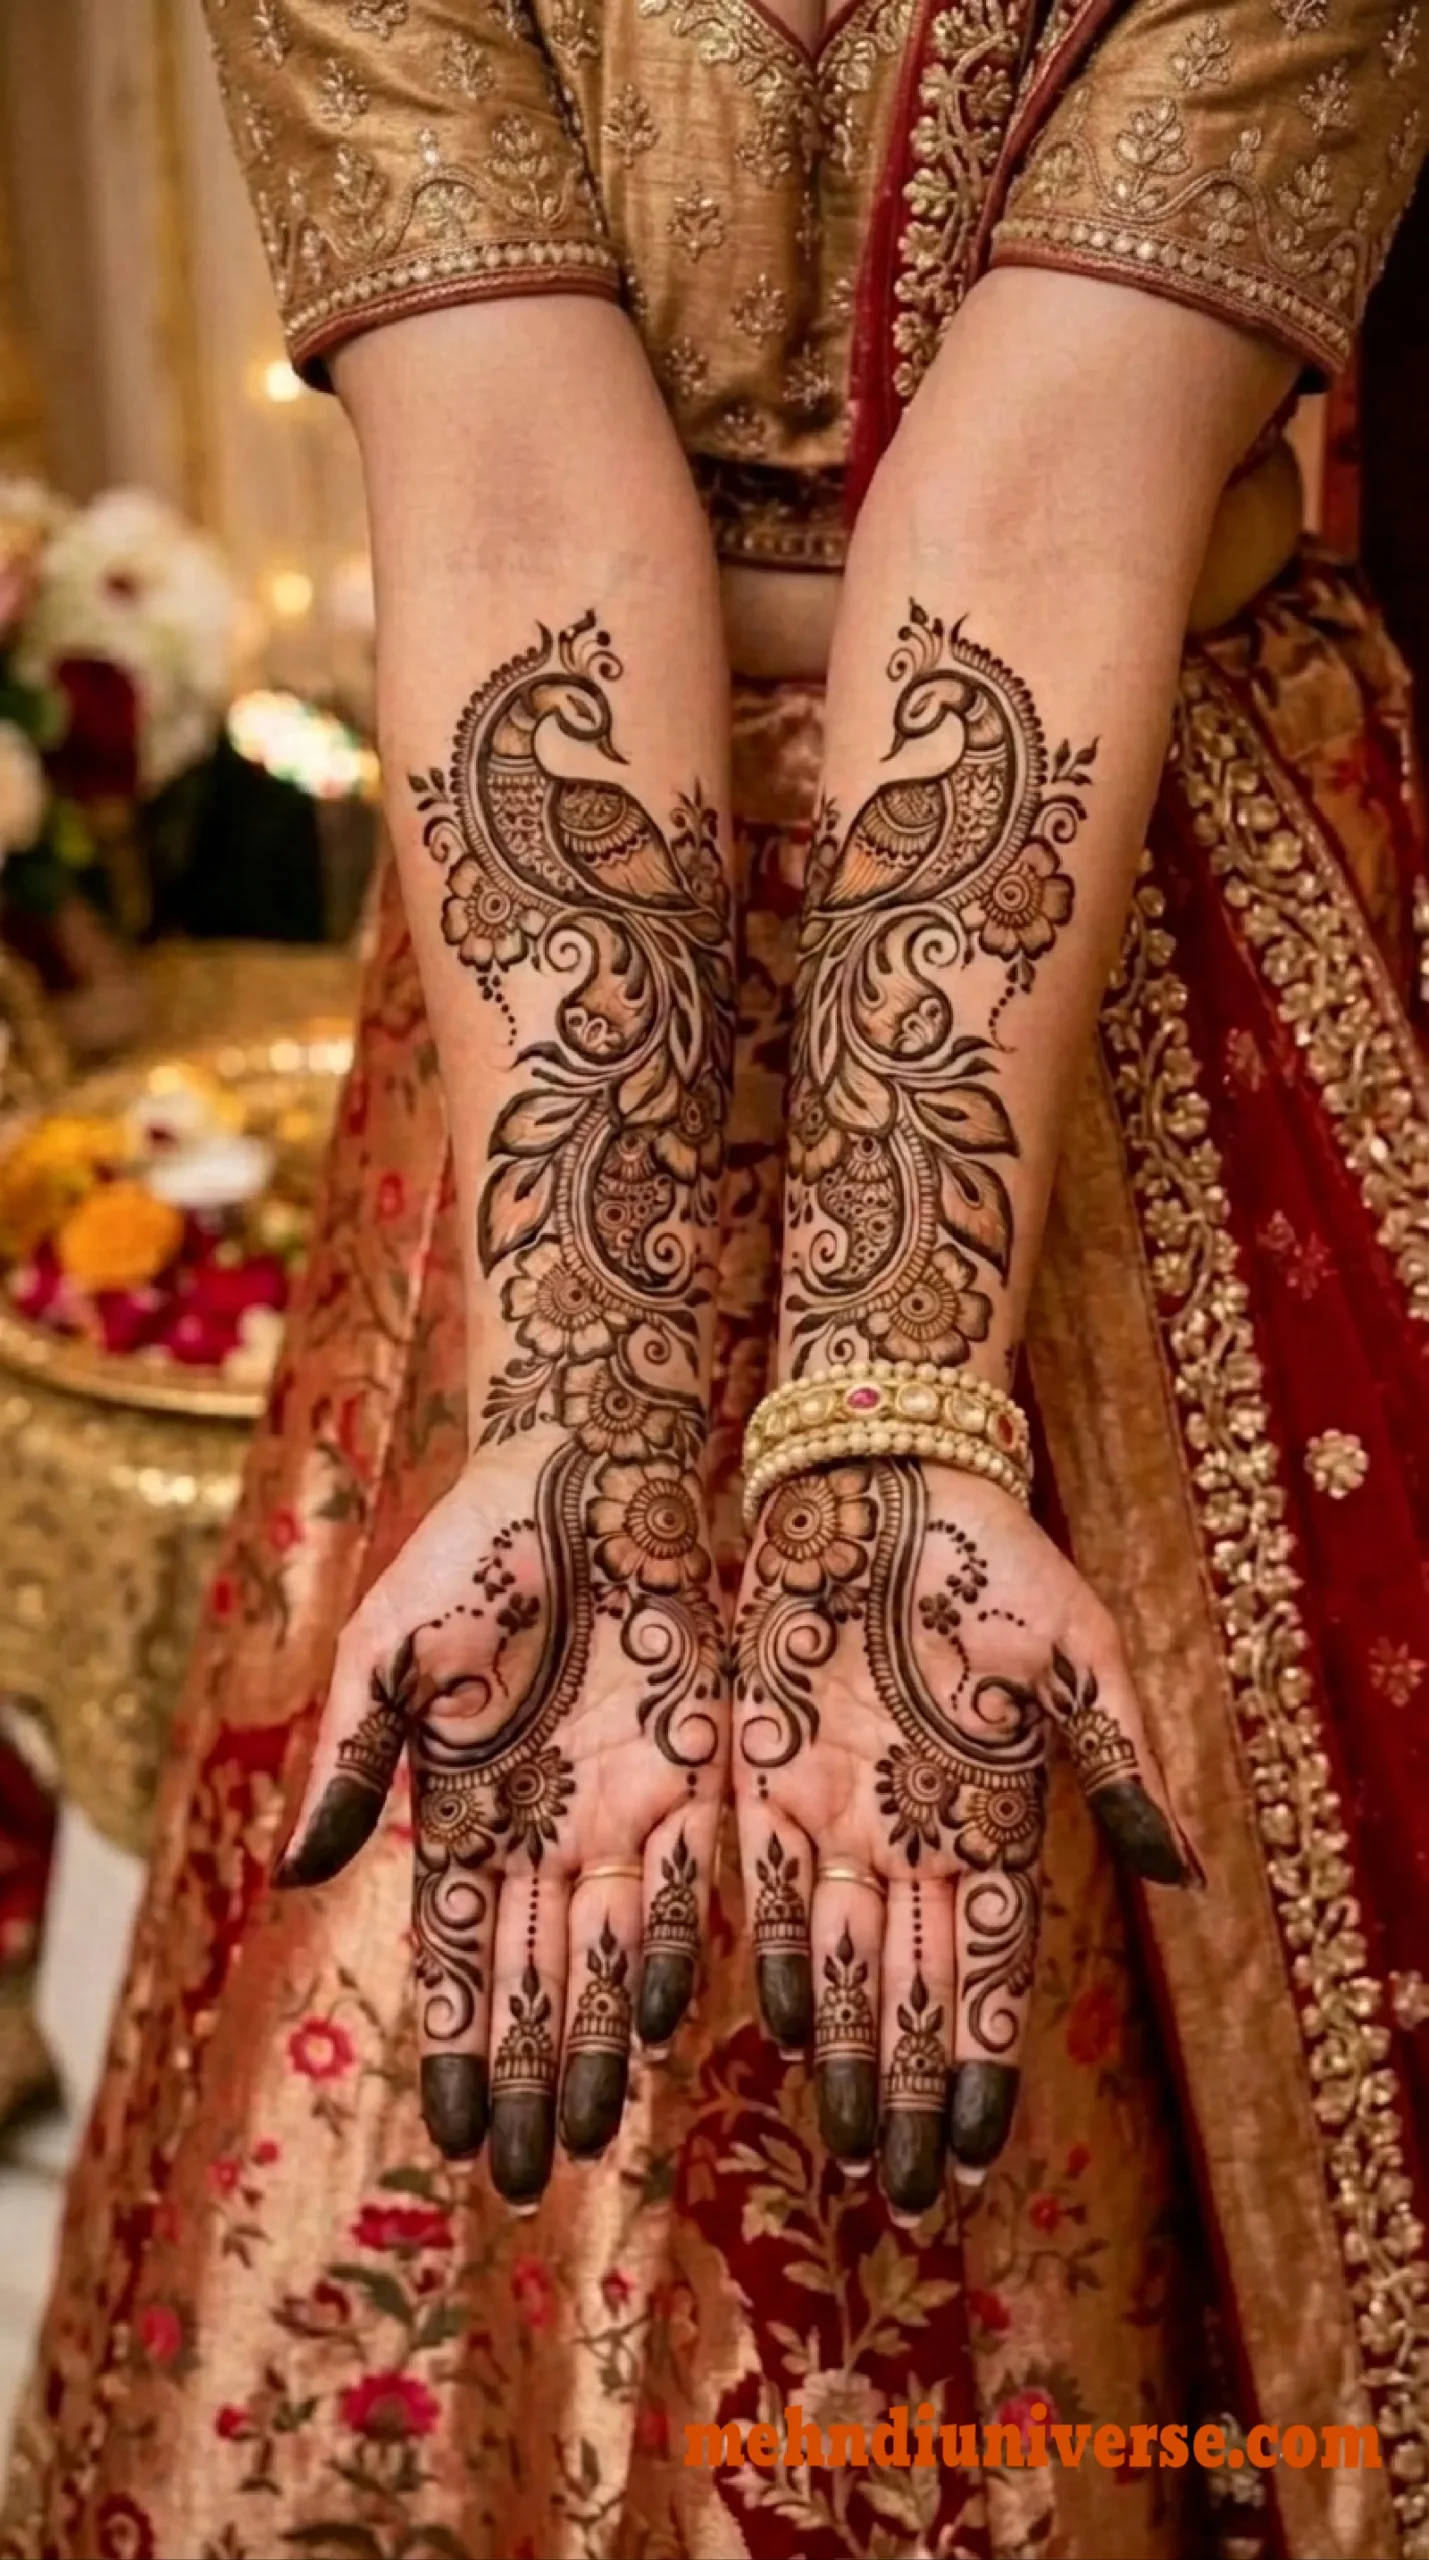
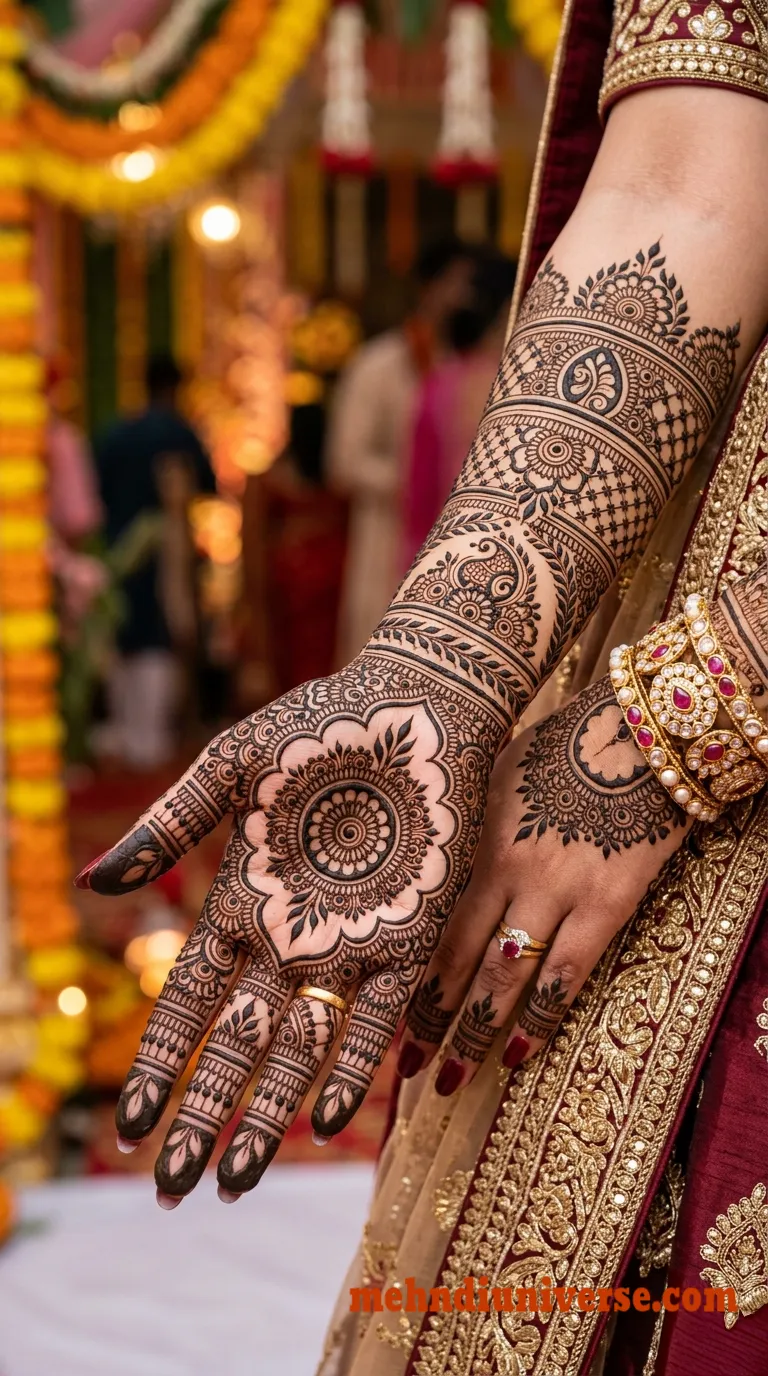
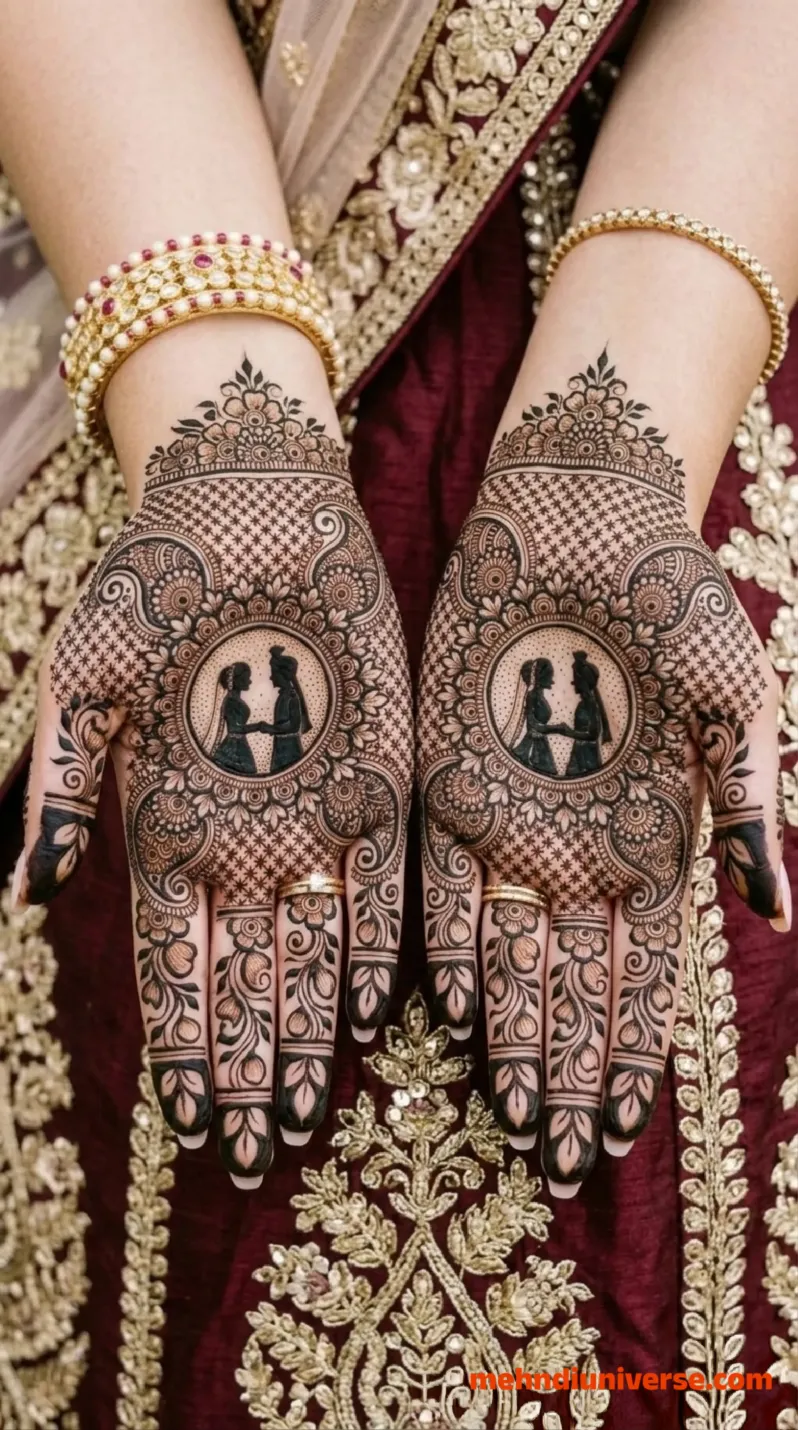
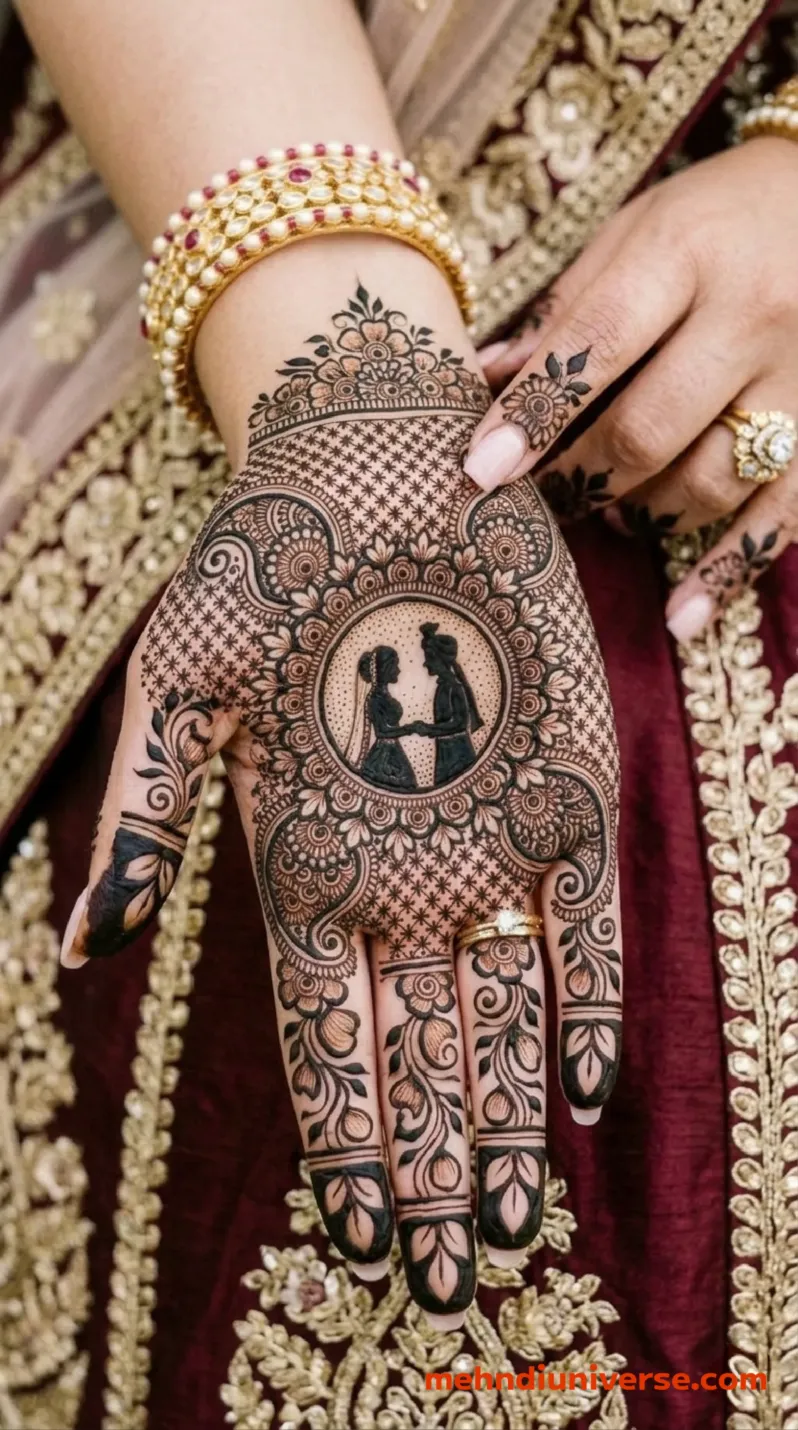
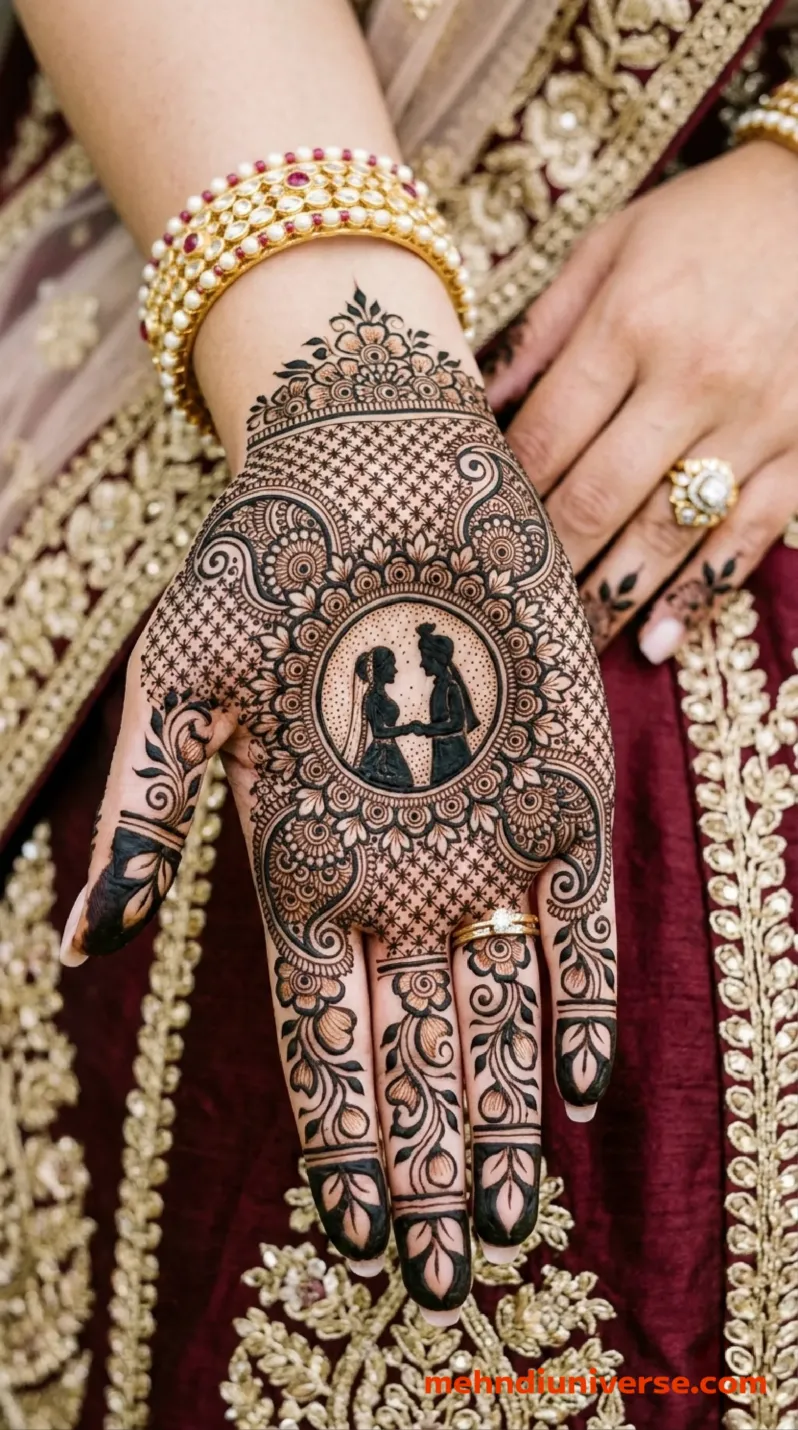
This bridal mehndi design is a romantic and symbolic. The central circular motif has a silhouettes of a couple holding hands for love and union. The palm is richly filled with intricate floral, paisley and geometric patterns for depth and elegance. The detailed bands and leafy accents on the wrist and fingers make for a cohesive, full-handed look. The rich dark henna enhances every silhouette and motif, giving this design a deep meaning. It has bridal romance and cultural meaning, perfect for weddings and special celebrations
Style
BridalHand Position
Front HandPattern Elements
bride groom silhouette, circular motif, floral patterns, paisley motifs, geometric details, detailed bands, leafy accents, intricate fillingDifficulty Level
IntermediateSuitable Occasions
Wedding, Bridal Ceremony, Engagement, Sangeet, Reception, Romantic CelebrationsApplication Time
1- 2 hoursUnderstanding the Design Clearly
Step 1: Get your hands ready
Wash your hands well and dry them. If you have oily skin, you can wipe it down with a bit of eucalyptus oil to help the henna adhere better, but don't put on lotion right before.
Step 2: Draw the wrist cuff
Start with the wide band at the wrist. Draw the top border with the floral domes (arches), then fill the inside with the star and diamond grid pattern.
Step 3: Create the central motif
Draw the large outer circle in the center of your hand. Inside that circle, carefully draw the bride and groom silhouette. Because this is so detailed, using a stencil or a white pencil to lightly sketch the couple first will save you a lot of trouble.
Step 4: Fill the background
This design is very heavy. Use a fine-tipped cone to fill the areas around the central circle with the star/diamond grid and small dots. The dense filling is what makes the main design stand out.
Step 5: Detail the fingers
Cover the fingers fully. Draw vines and leaves down each finger, and add small ring bands at the base. For the fingertips, fill them heavily with a solid, dark pattern or "cap" to finish the look.
Tips for a Better Result
· Use a stencil for the silhouette: Drawing a perfect bride and groom silhouette freehand is very difficult. Use a stencil or trace a printout with a white pencil first to get the proportions right.
· Focus on the grid pattern: The tiny star and diamond grids are a signature part of this design. Use a very fine-tipped cone for this. It takes time, but it creates the beautiful texture that surrounds the main circle.
· For perfect symmetry: It is really hard to draw the exact same design on both hands freehand. Before you put on the henna, use a white eyeliner pencil to lightly outline the main circle and wristband on both hands. Then trace over that with your henna.
· Keep the edges neat: The solid black tips at the ends of your fingers are a bold detail. Keep those edges clean and sharp, as they are highly visible.
· Patience is key: Don't wash it off with water right after you scrape it off. The color will keep darkening for the next 24 to 48 hours. Adding a light balm (like coconut oil) after you scrape the paste off helps protect the skin as the stain settles.