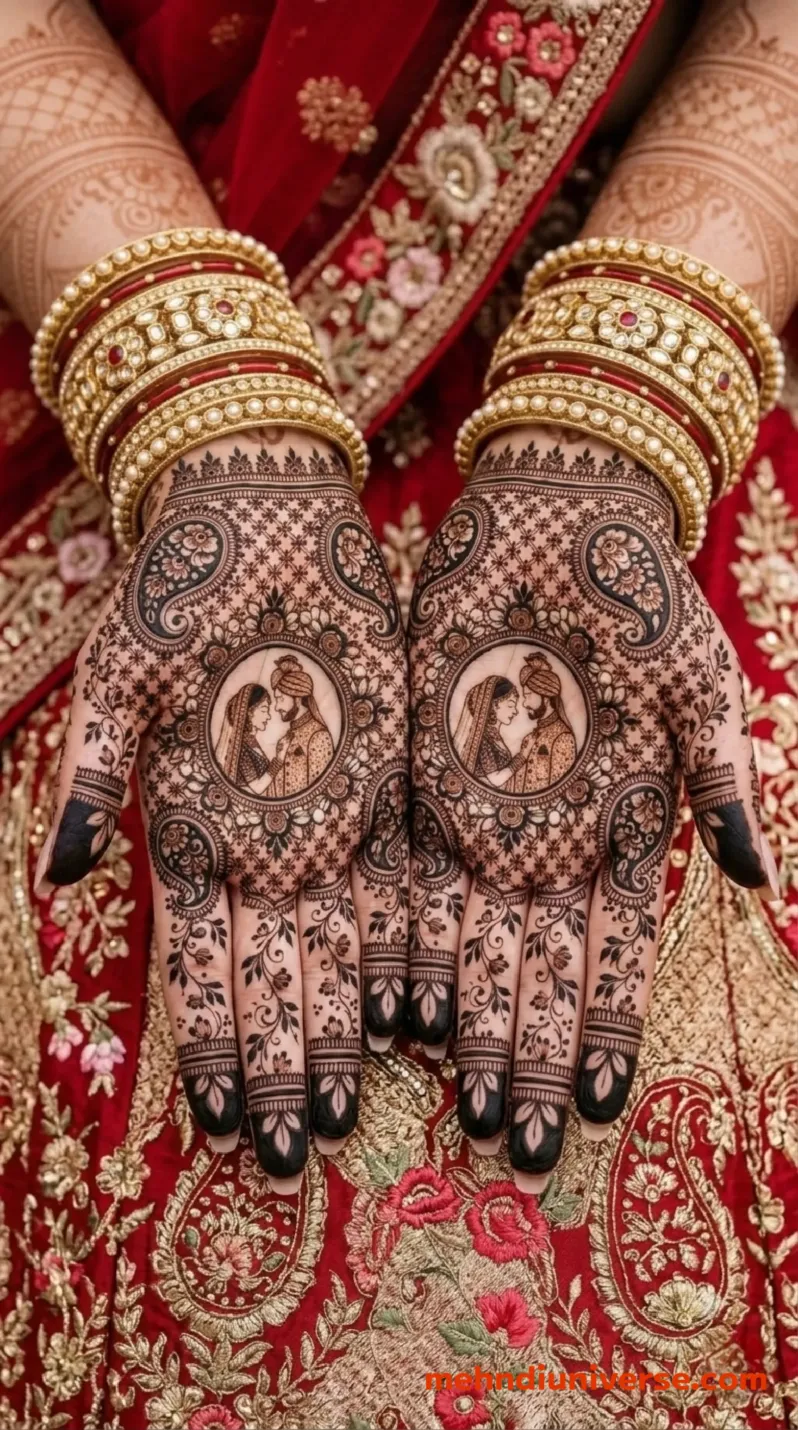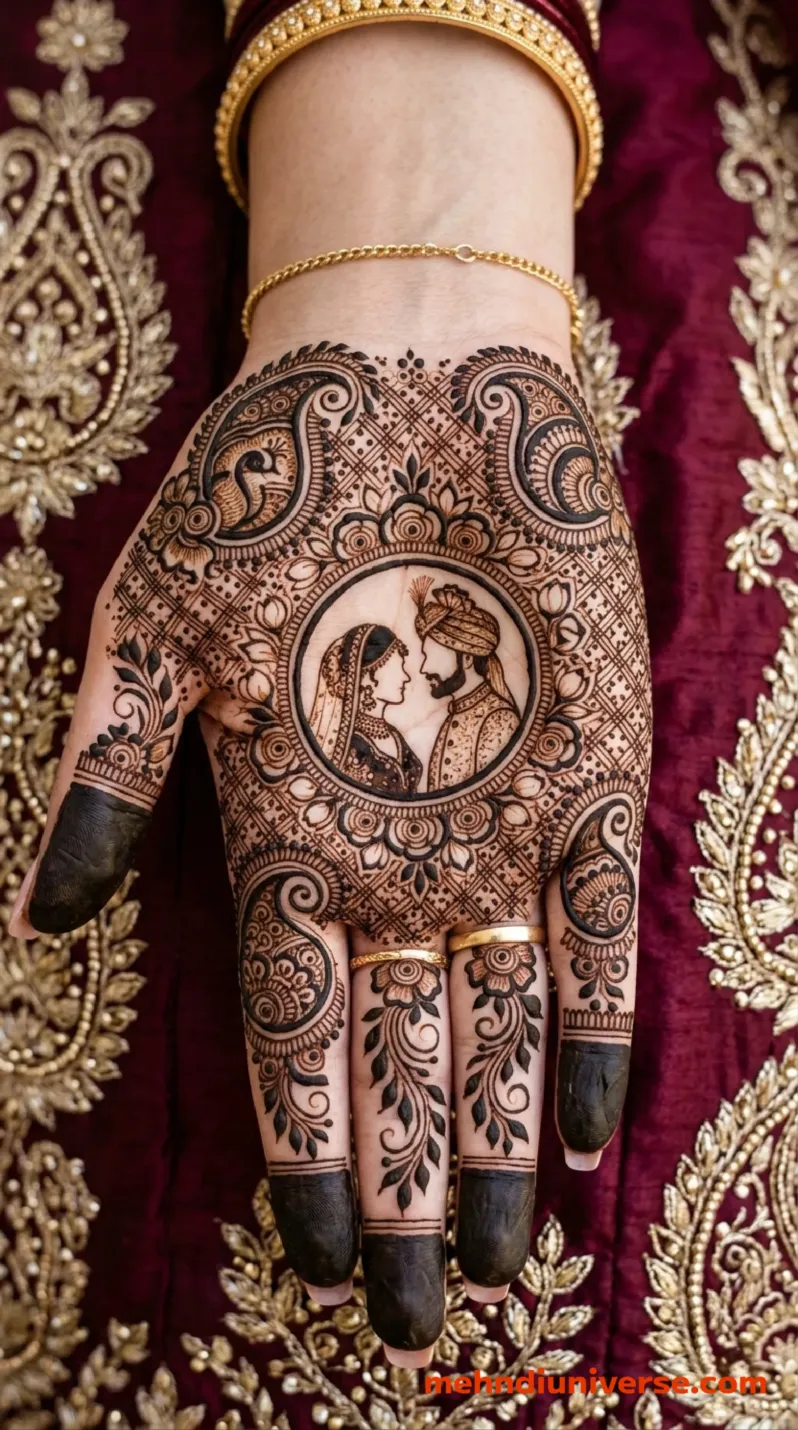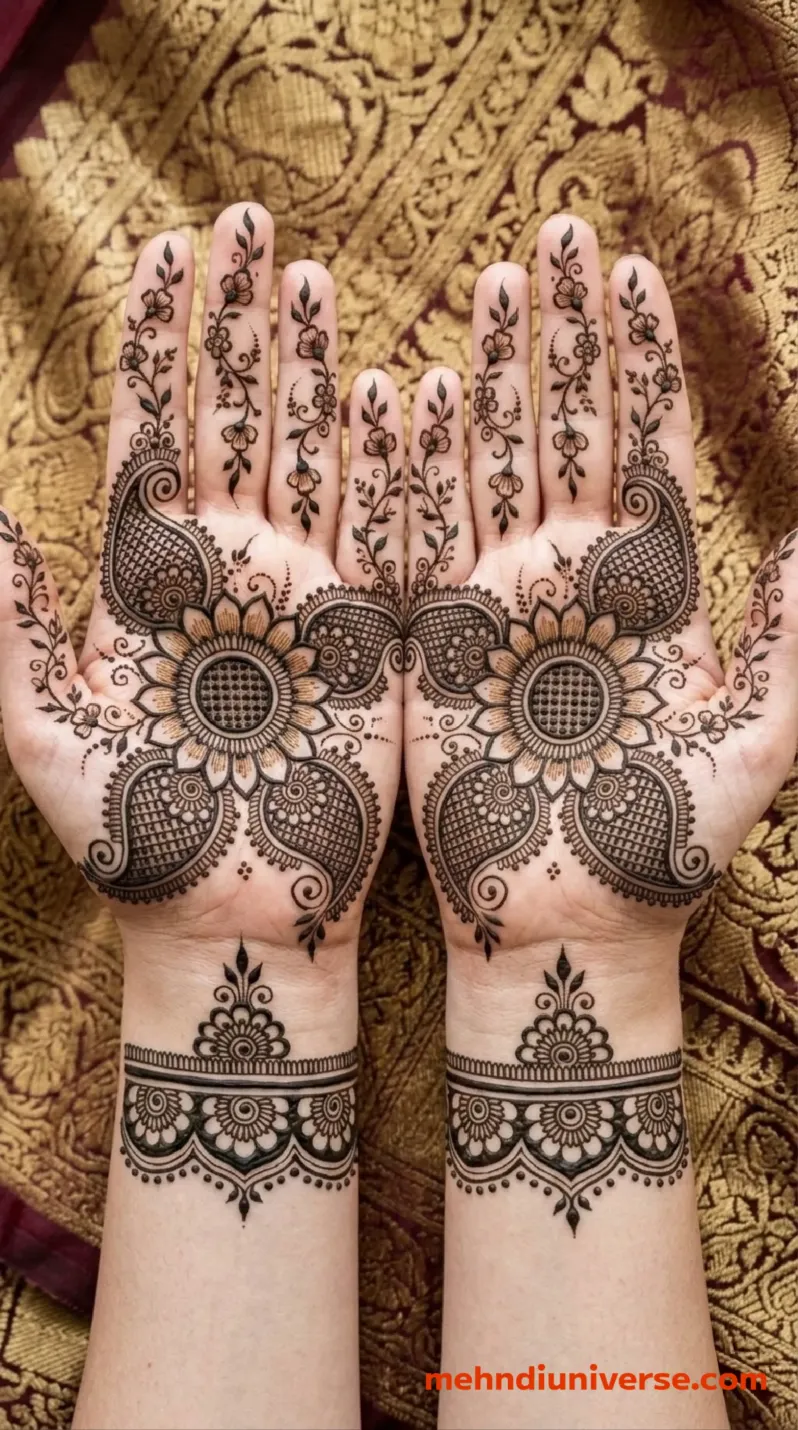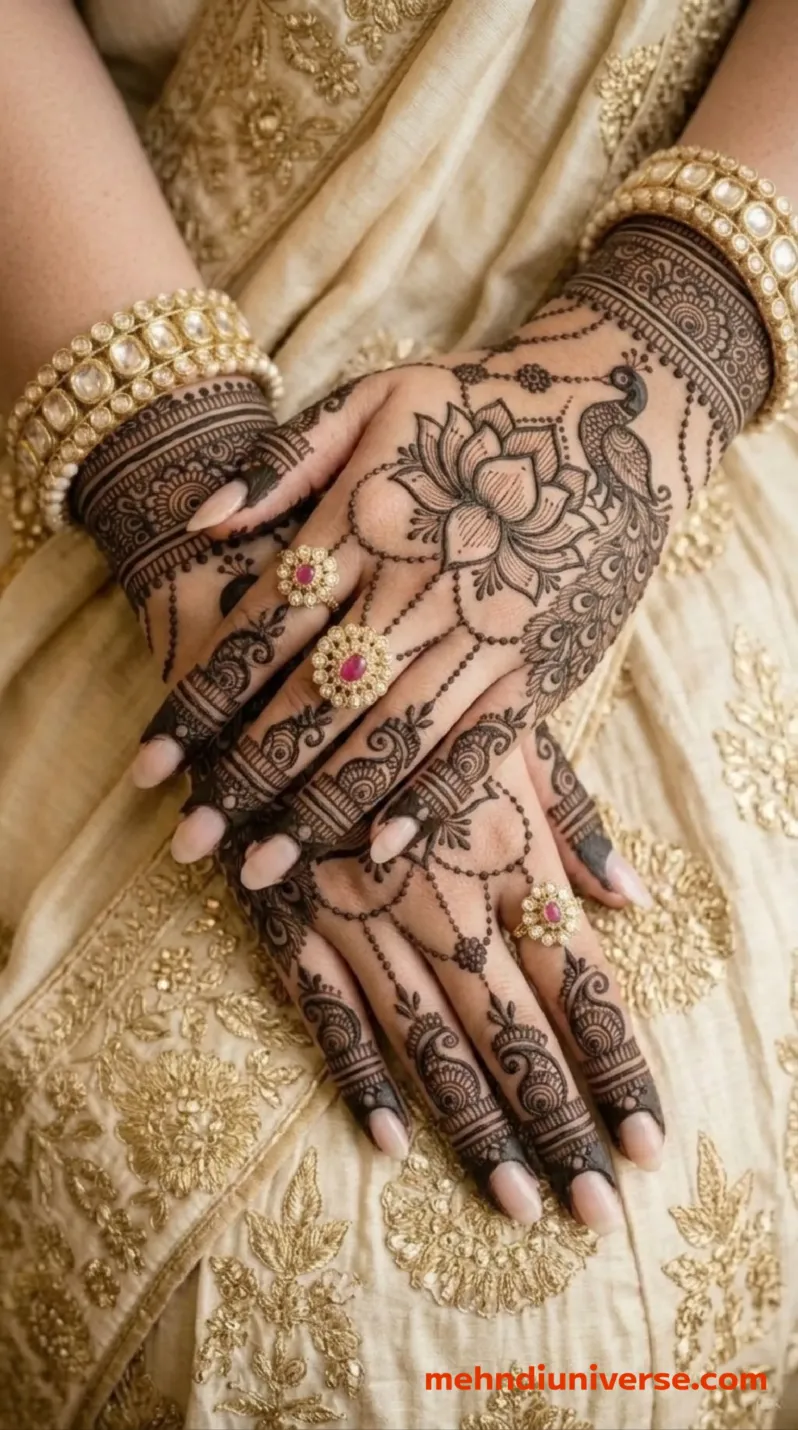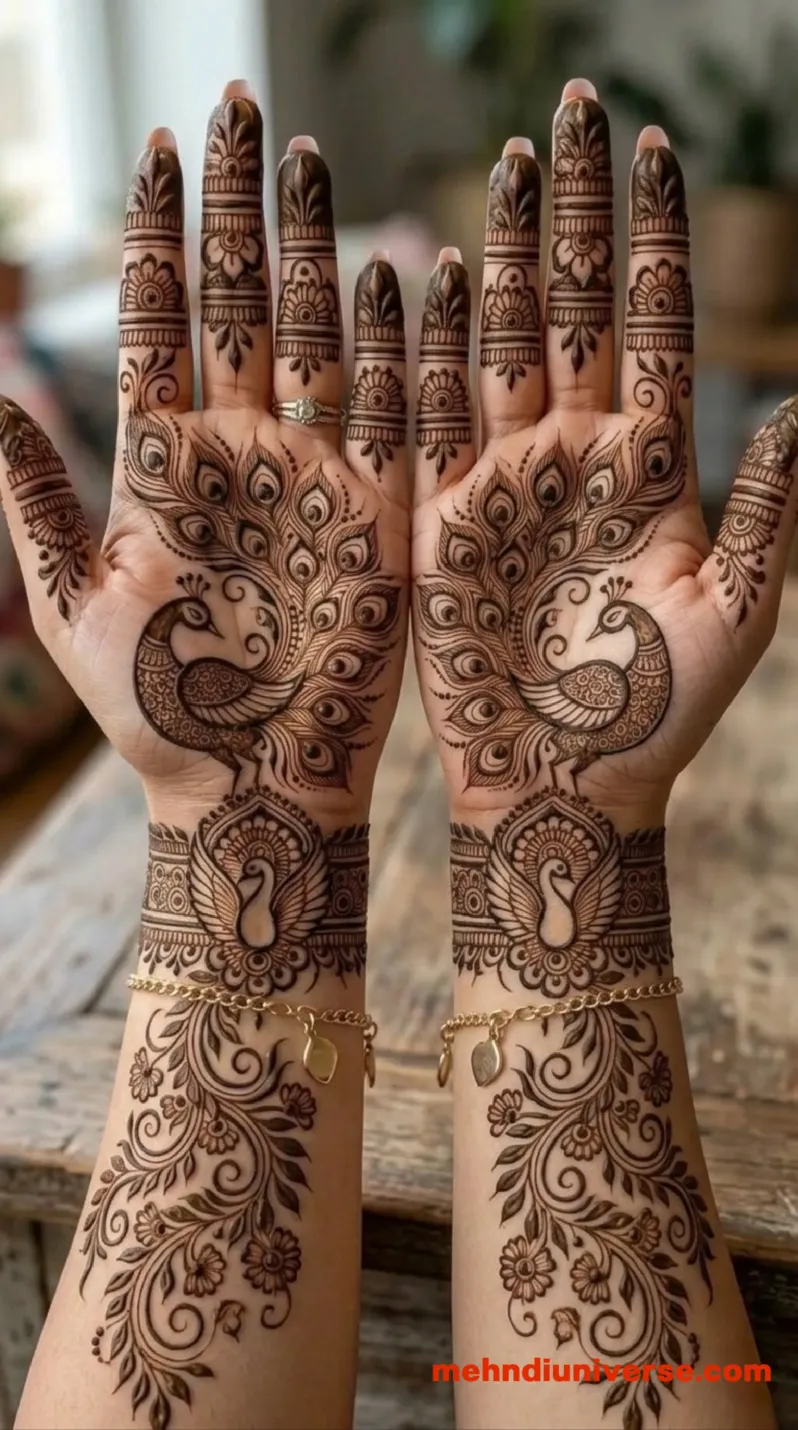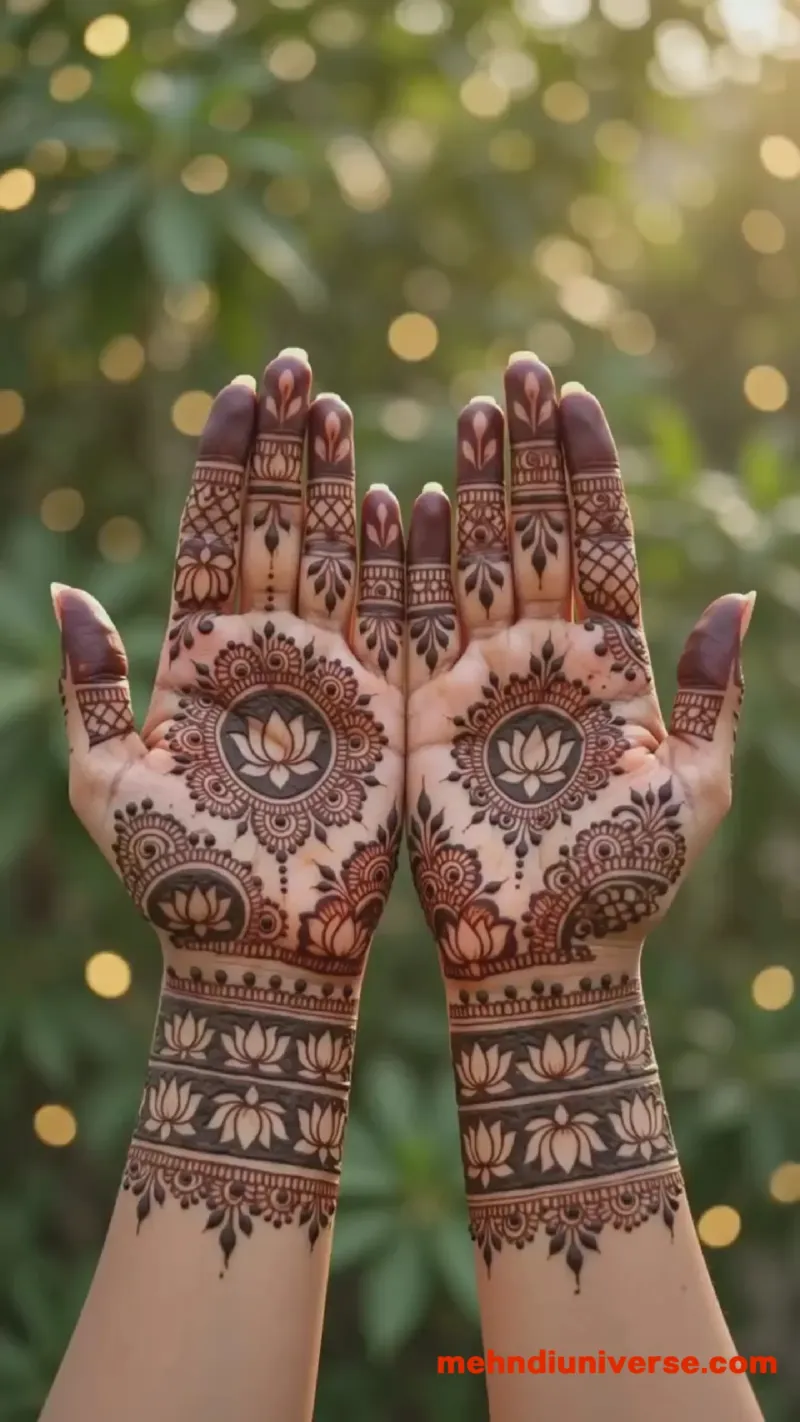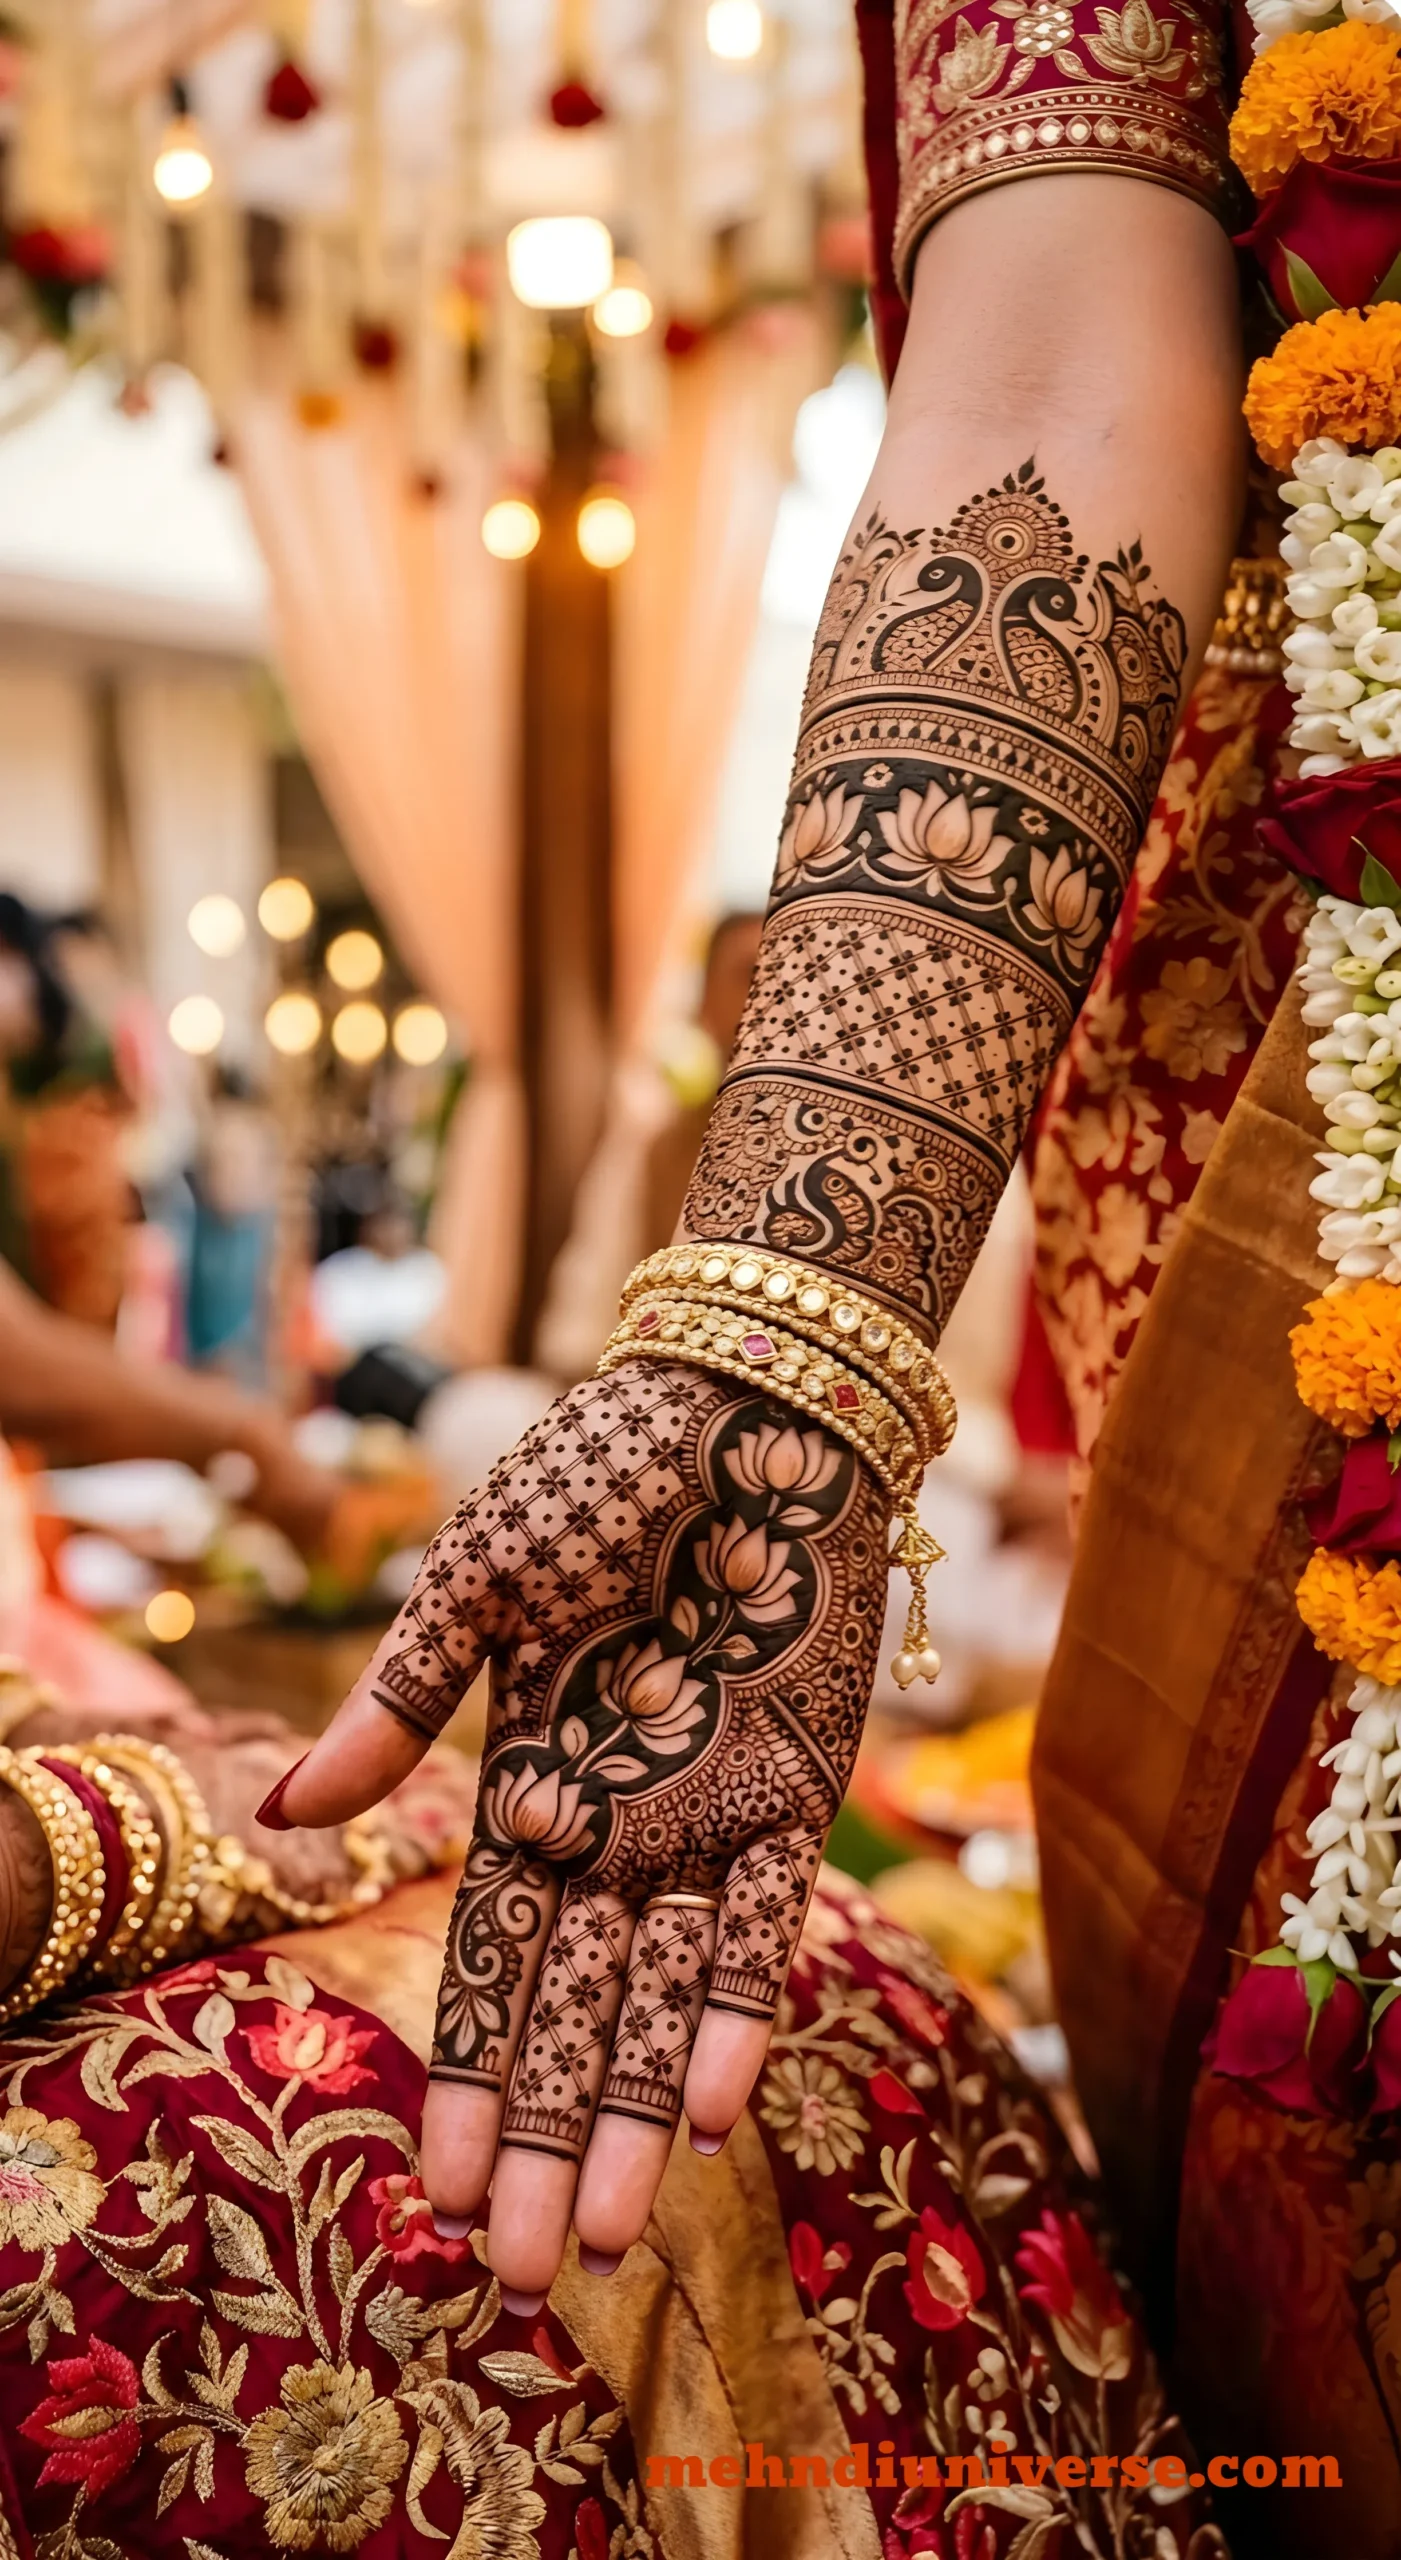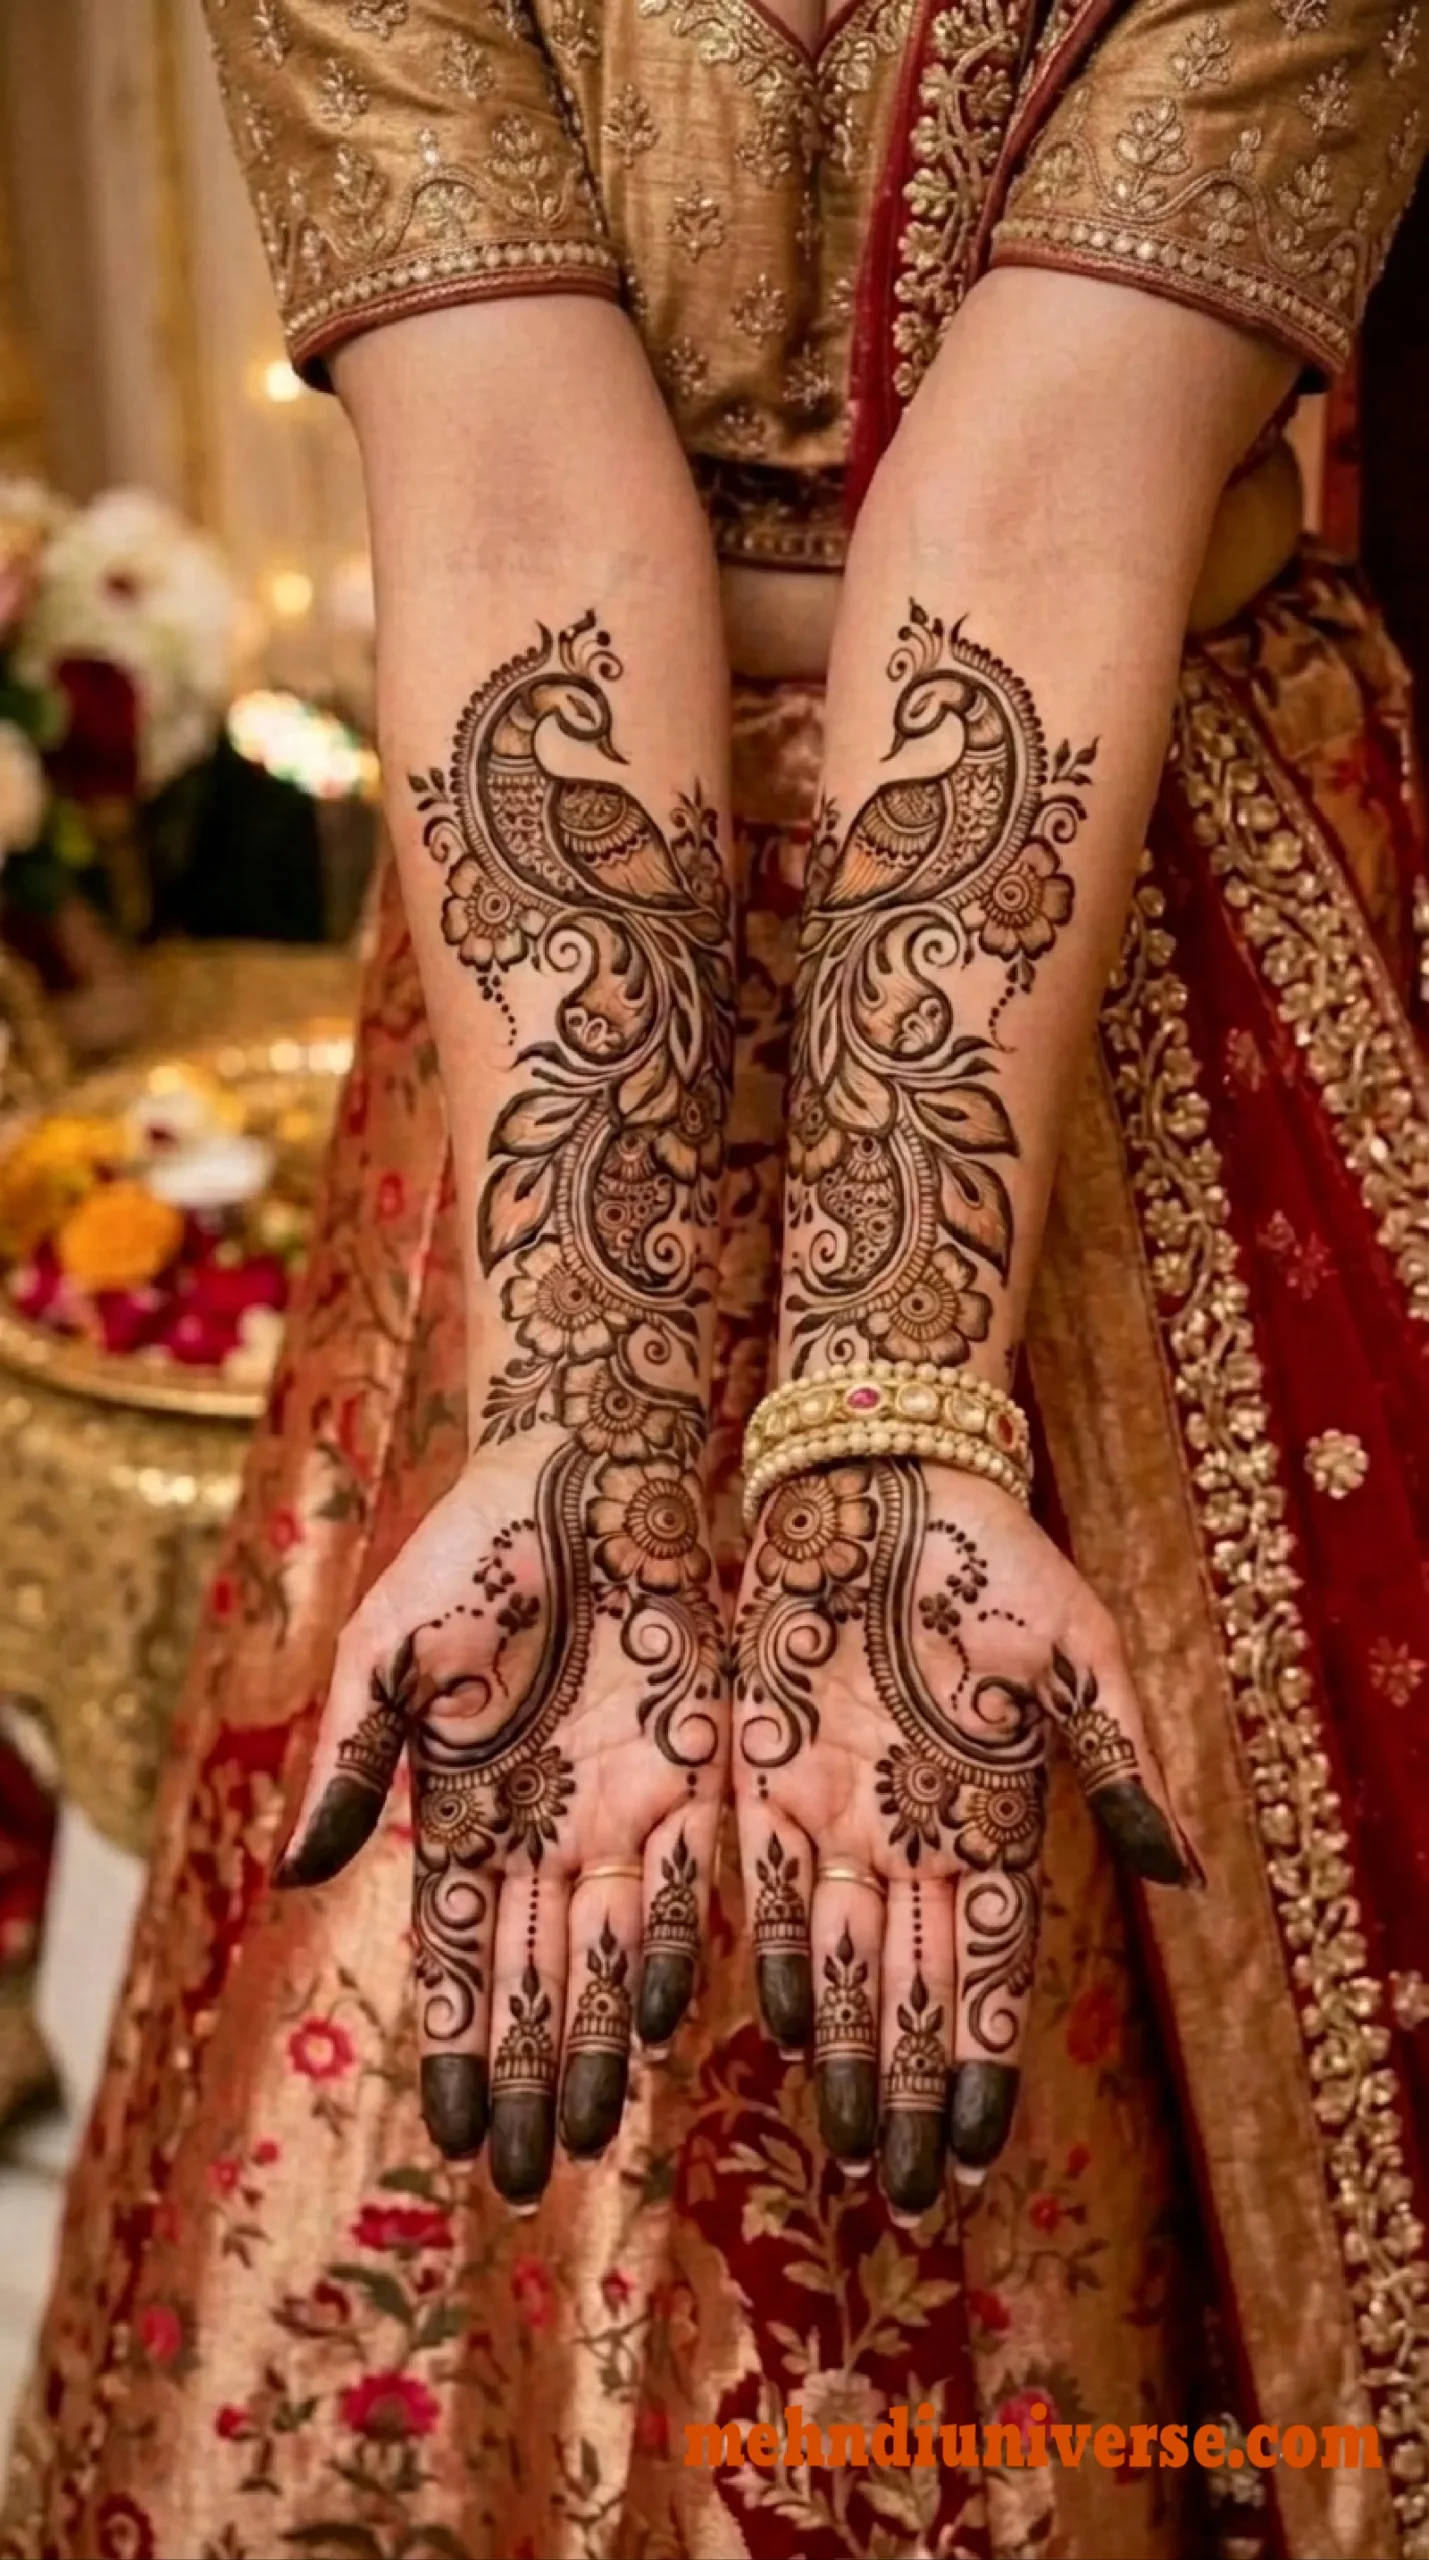
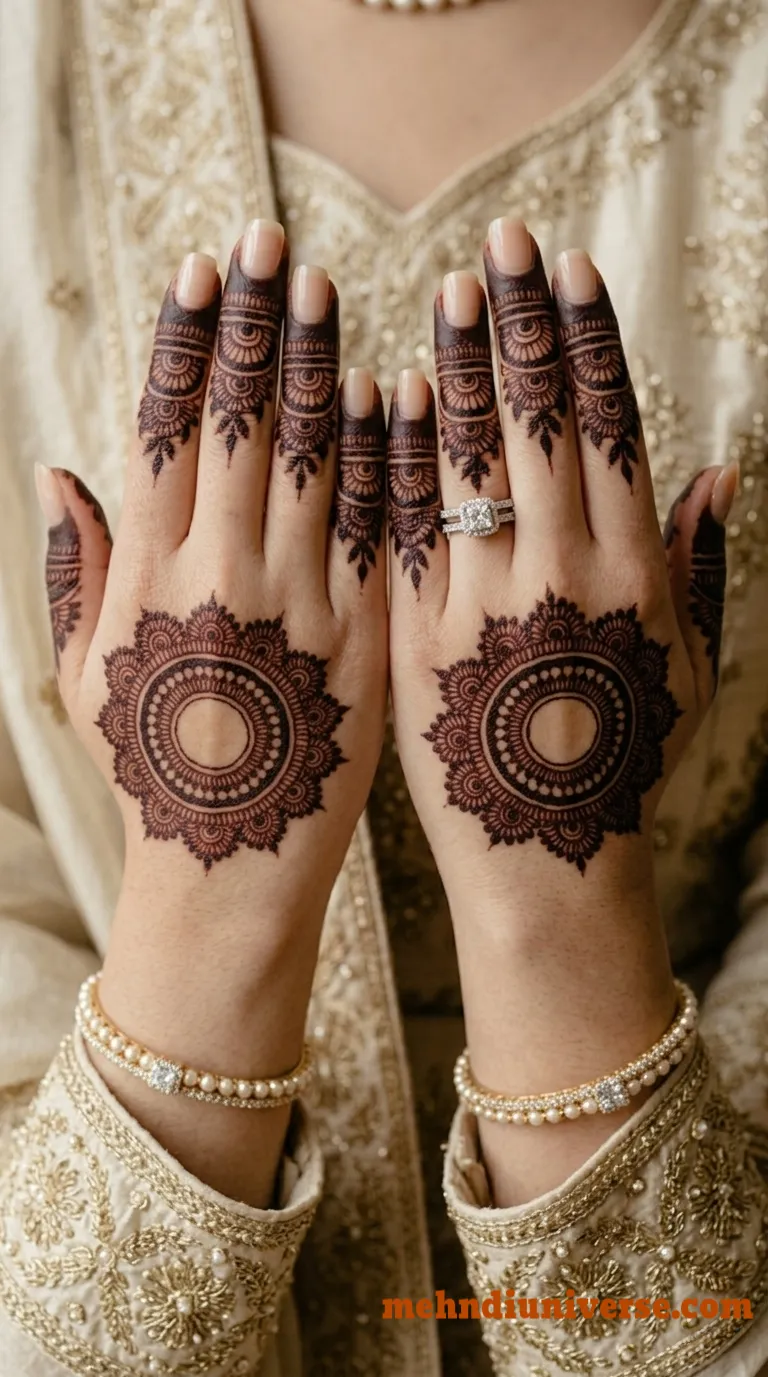
Bridal Mehndi Design – Royal Minimalist Mandala Back Hand
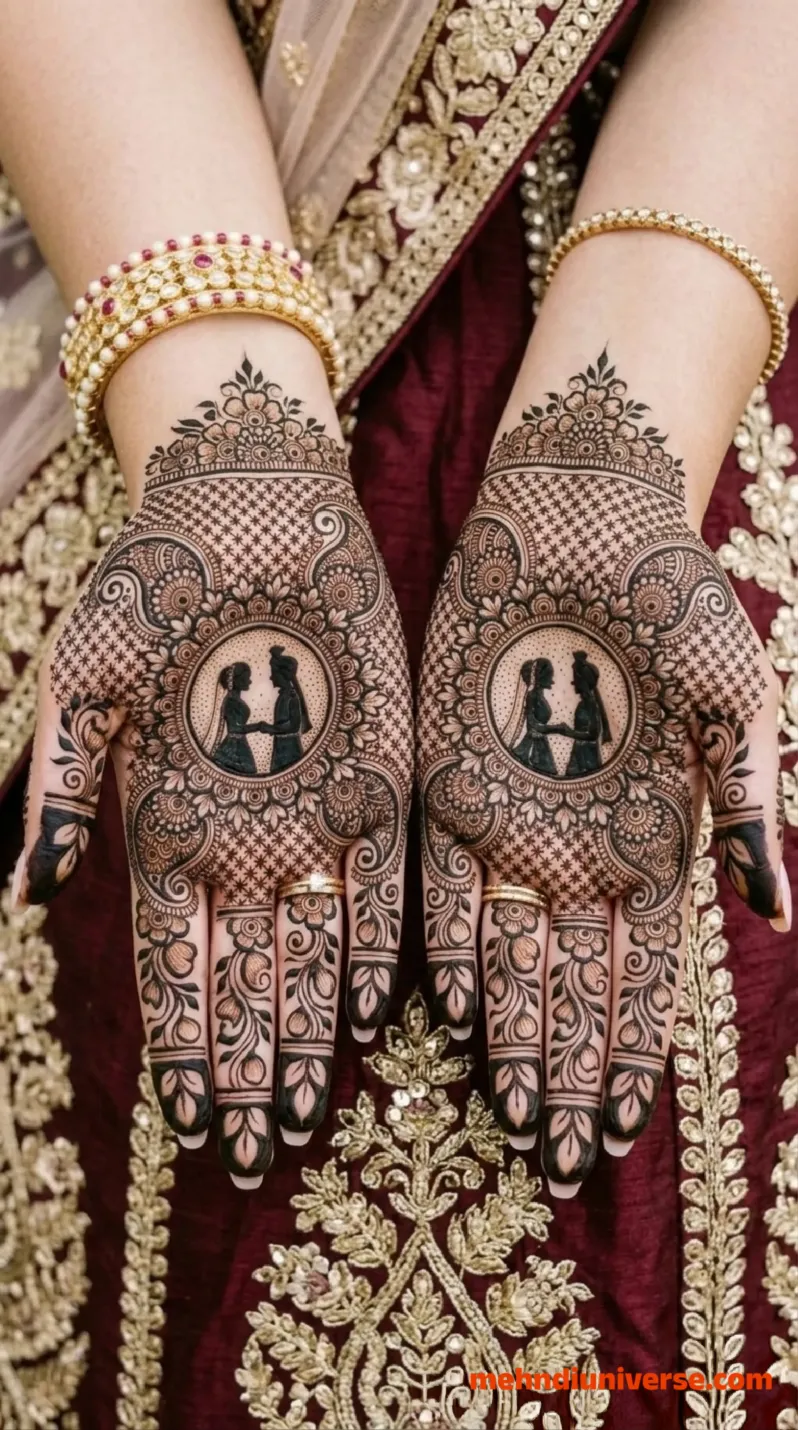
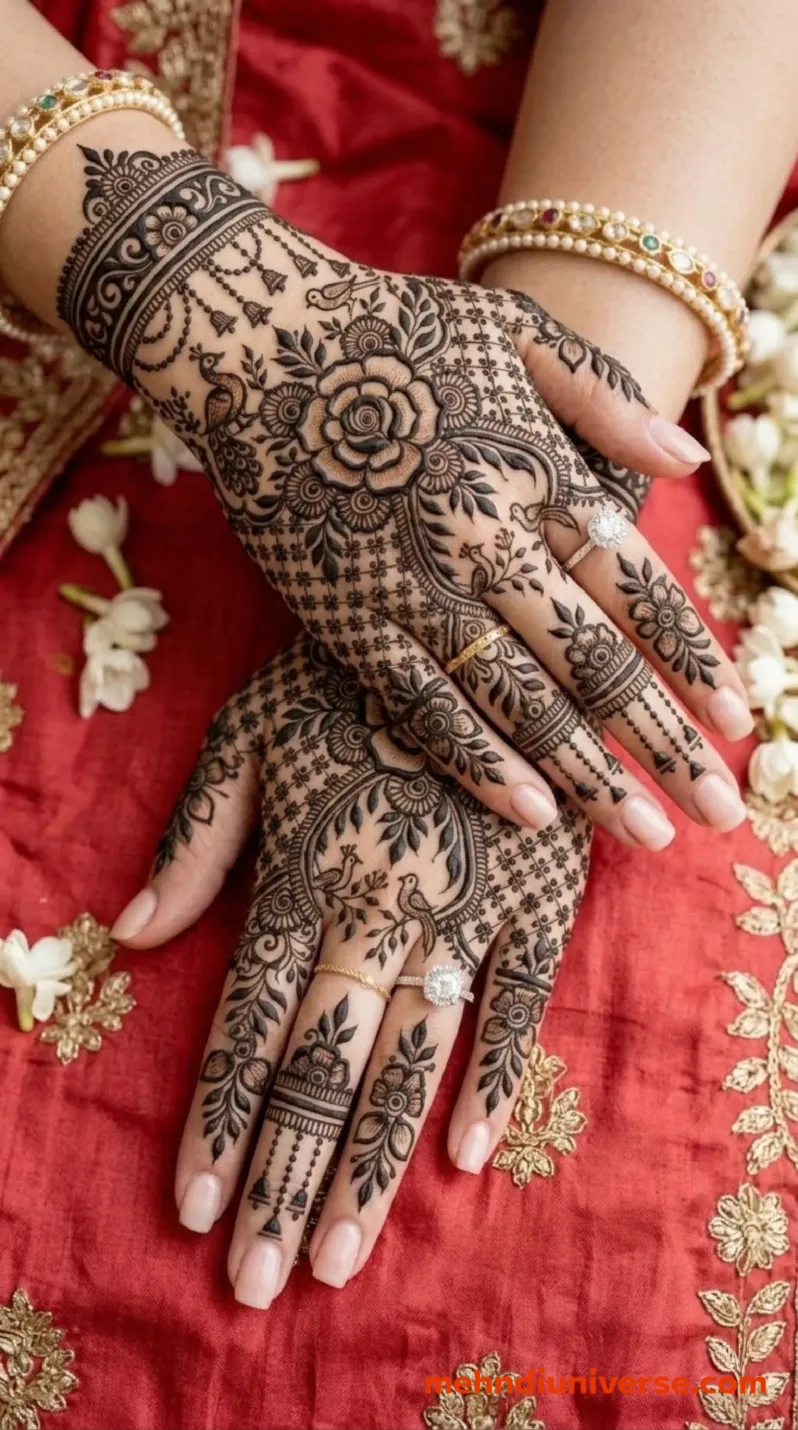
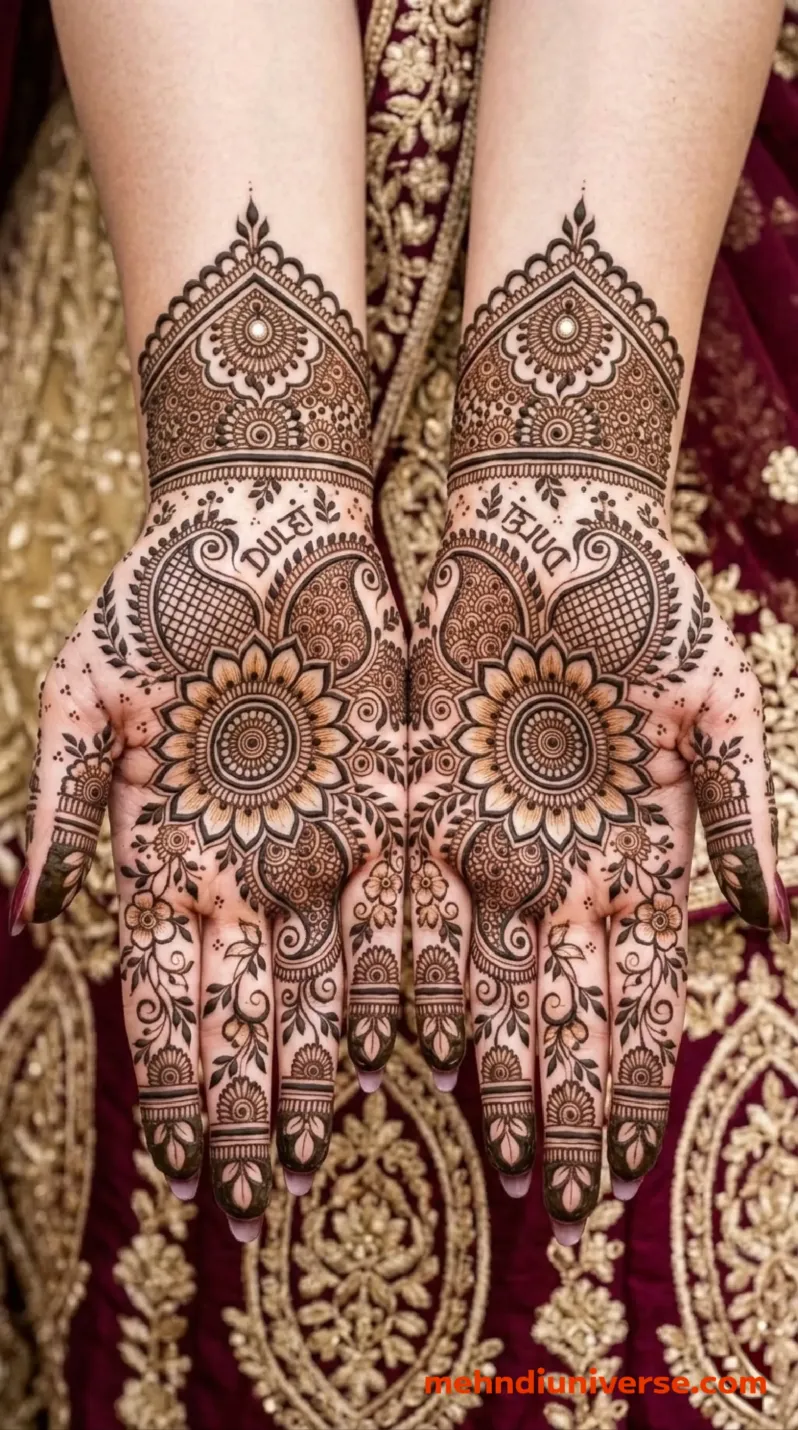
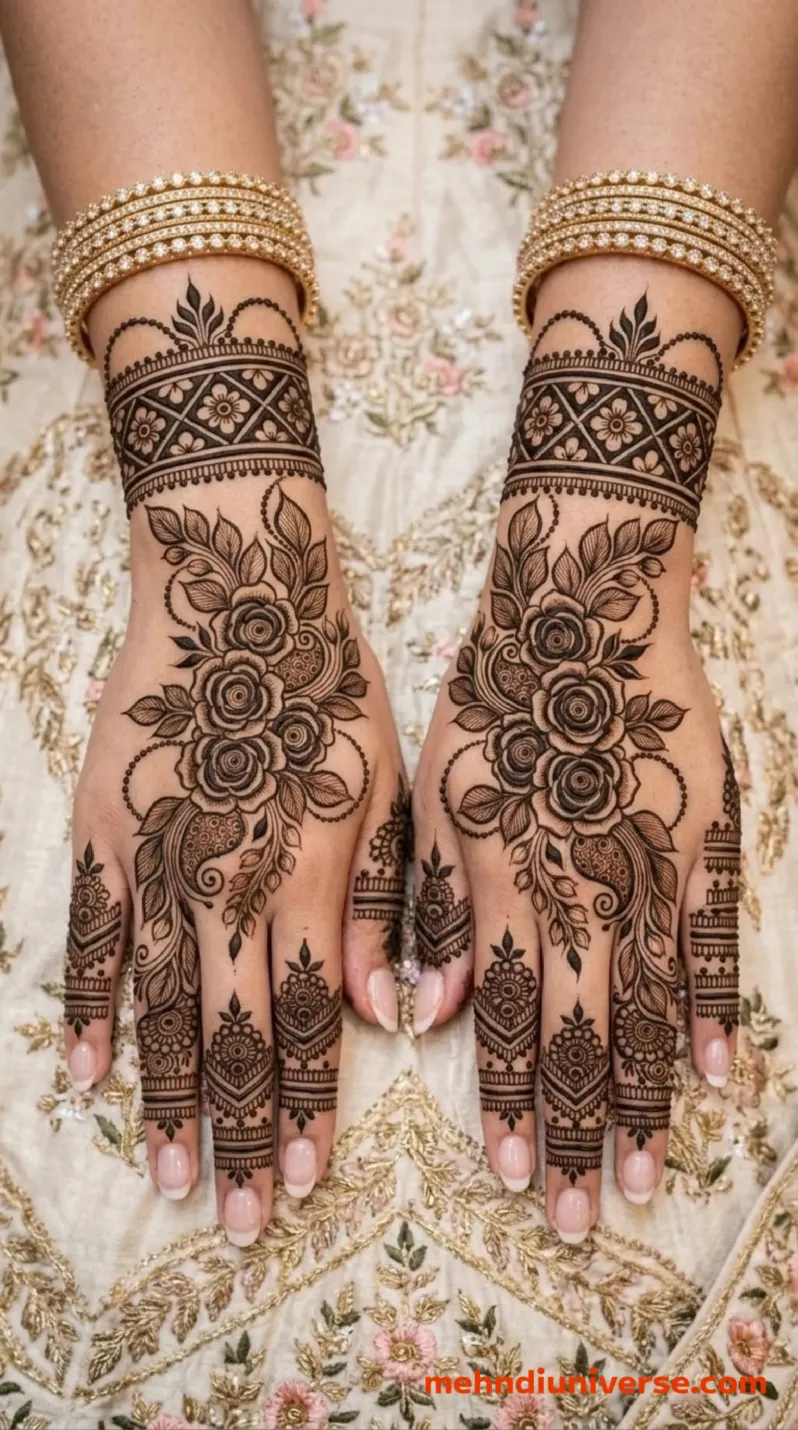
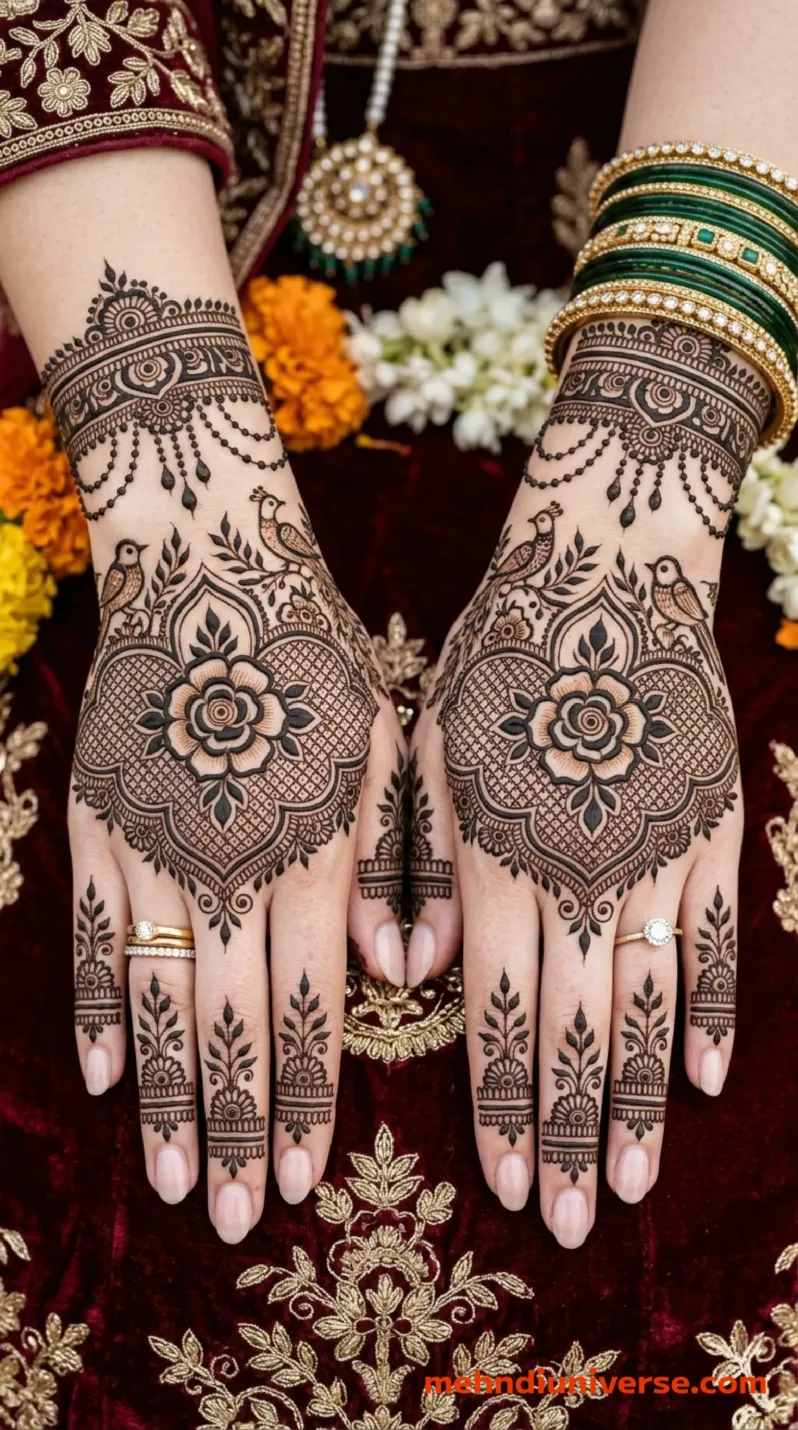
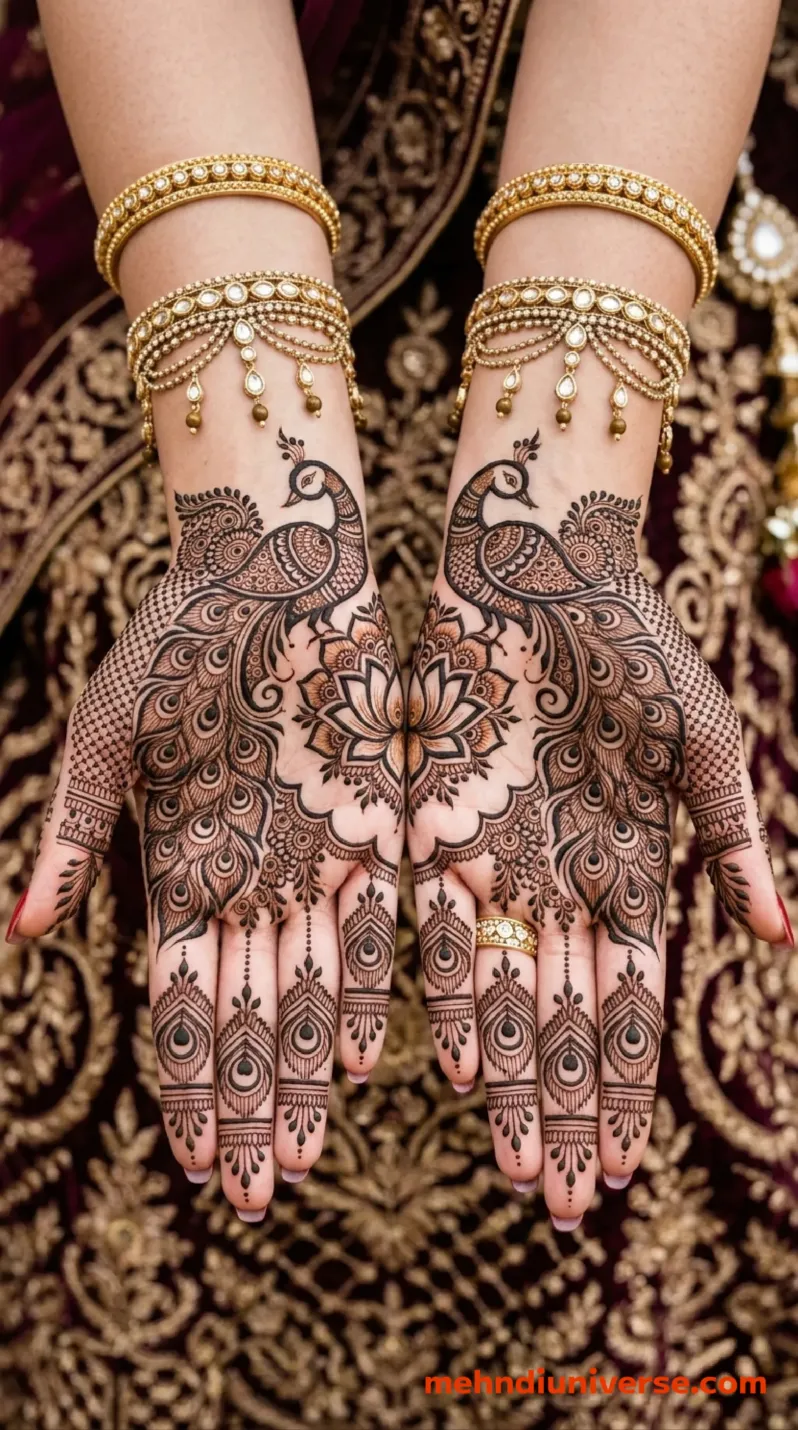
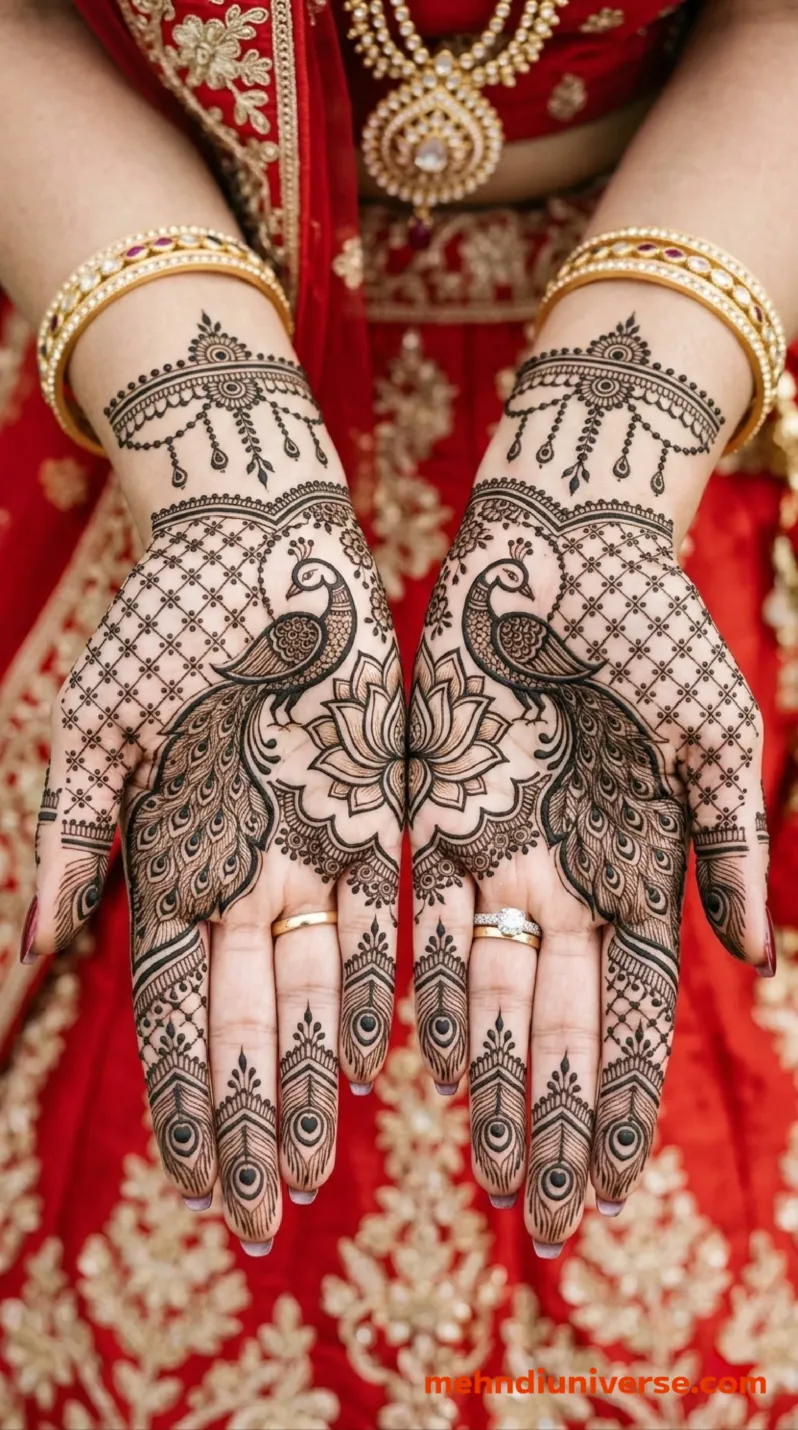
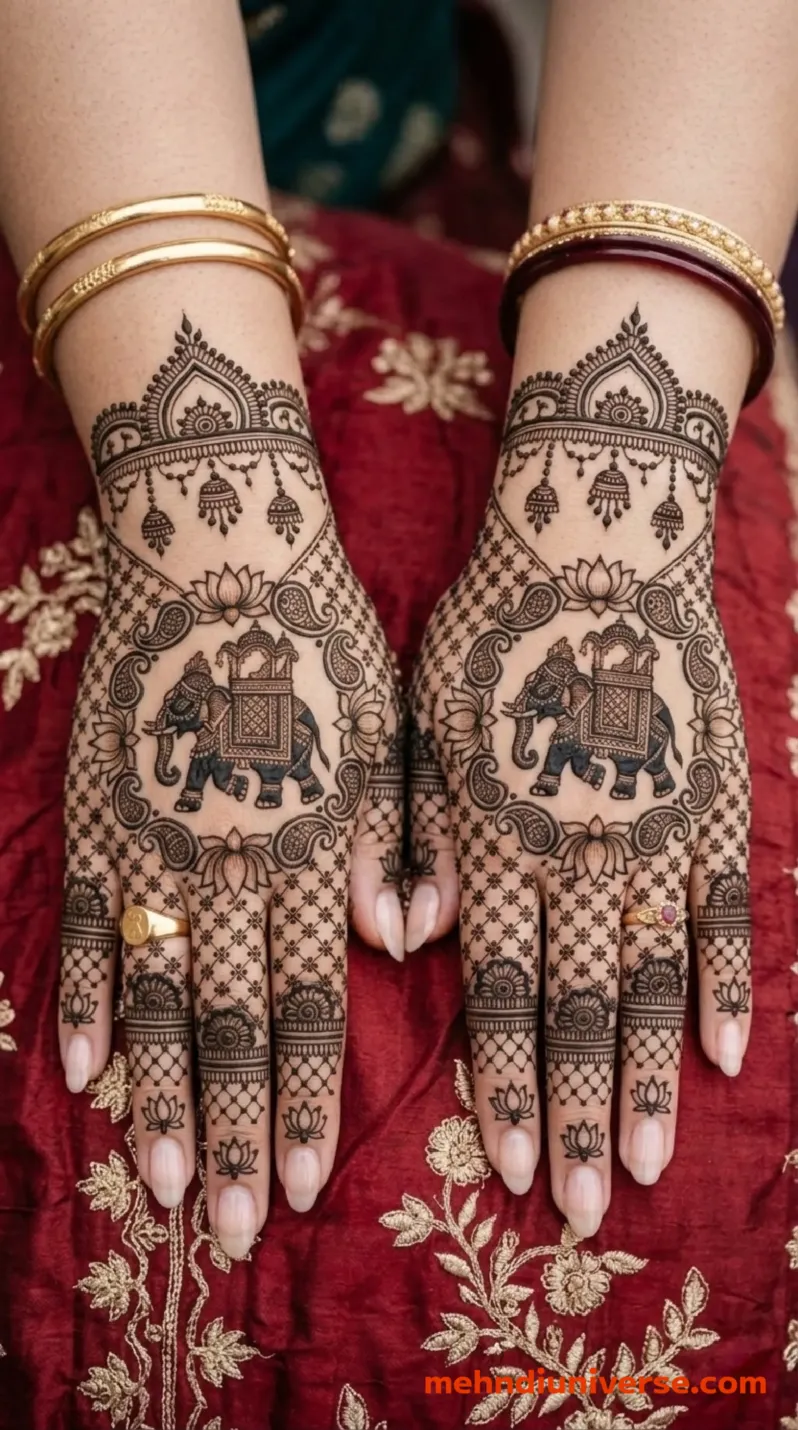
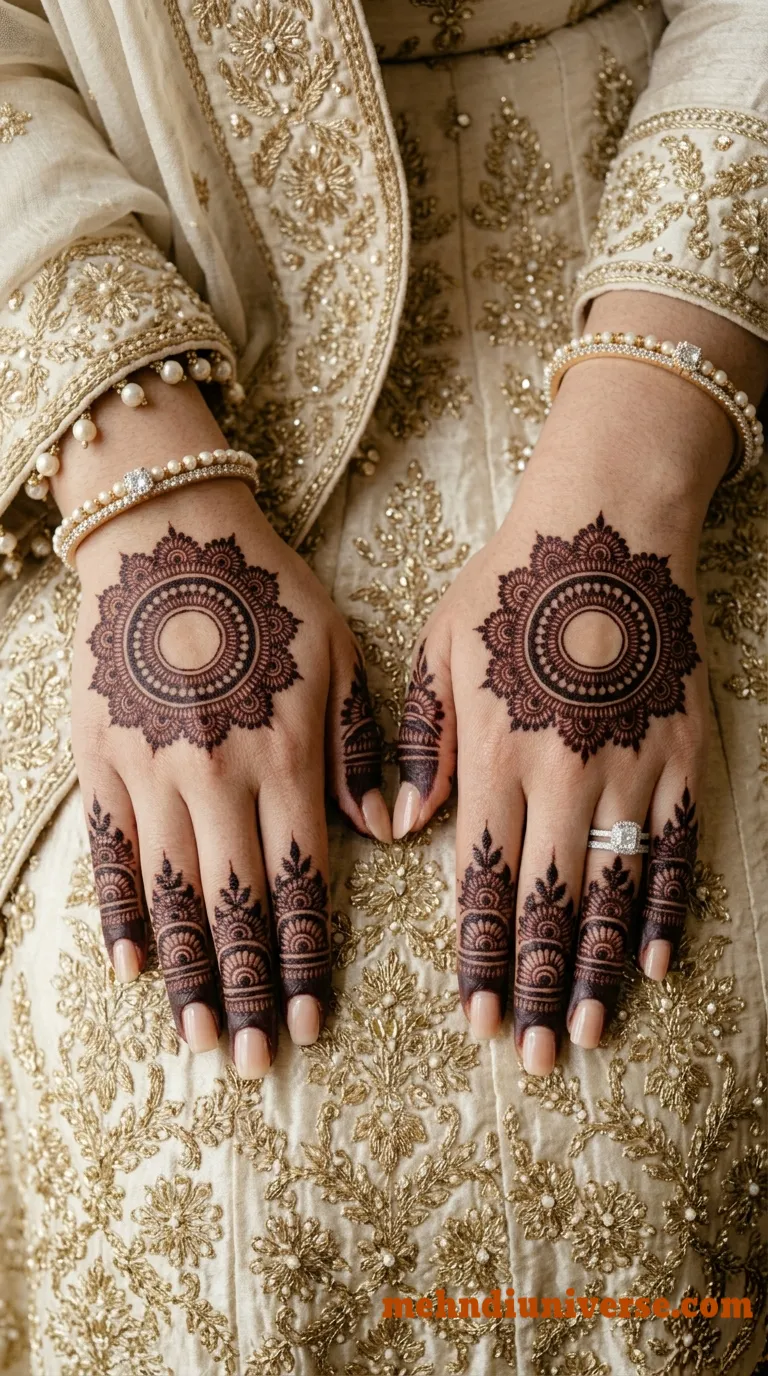
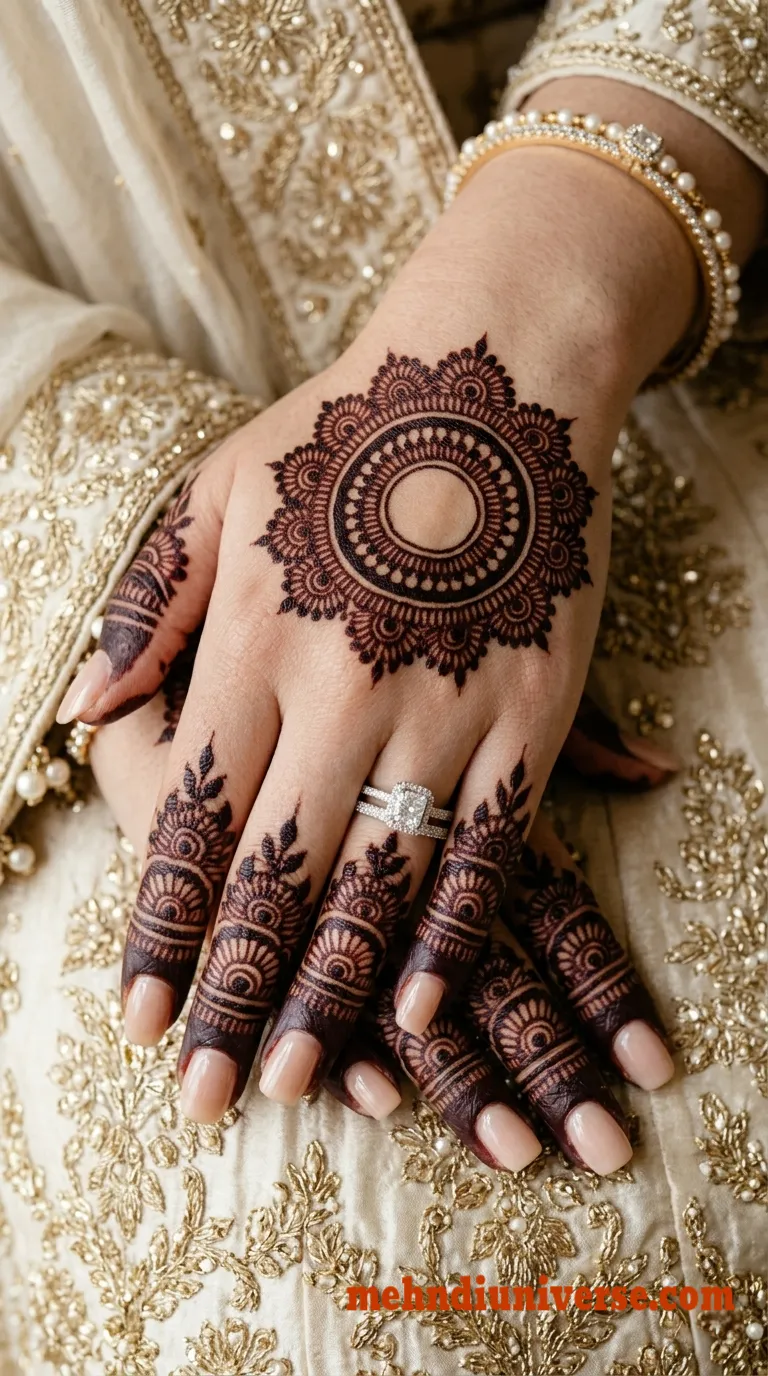
This Simple and elegant Mandala mehndi design is a perfect combination of Royal & Simple look . This design is a perfect choice for modern brides and special occasions. The centeral mandala of this back-hand mehndi is beautifully detailed with clean geometric edges that will instant attention right away. The mandala has very small raindrop dots and concentric circles for a balanced, luxurious look. The knuckles are left naked while the fingers are highlighted with patterned finger caps, which makes the design a elegant & Simple . The design gives a graceful and royal finish and is ideal for those who like Royal mehndi but not full hand coverage. This beautiful mandala mehndi design shows traditional vibe and also gives a modern Royal look .
Style
BridalHand Position
Back HandPattern Elements
mandala, geometric circles, raindrop dots, floral edges, finger caps, lace detailing, circular motifs, layered borders, symmetrical patterns, minimalist detailingDifficulty Level
BeginnerSuitable Occasions
wedding, engagement, bridal function, Eid, Diwali, festive celebration, family gathering, partyApplication Time
Under 20 minUnderstanding the Design Clearly
Step 1: Get your hands ready
Wash your hands well and dry them. If you have oily skin, you can wipe it down with a bit of eucalyptus oil to help the henna adhere better, but don't put on lotion right before.
Step 2: Draw the central mandala
Start with the large circular design on the back of your hand. Begin with the empty circle in the very center. Then, draw the ring of tiny dots, followed by the ring of petals and the outer scalloped edge. Using a compass or a stencil will help you get perfect circles.
Step 3: Fill the mandala details
Use a fine-tipped cone to fill in the small details inside the mandala. Keep your lines thin and neat. The beauty of this design is its precision, so take your time with the concentric circles.
Step 4: Create the finger patterns
This design uses a block-style pattern on the fingers. Instead of vines, draw a geometric or dome-shaped motif at the base of each finger. Then, fill the tips of your fingers heavily with a solid, dark pattern or "cap" to create a strong contrast.
Step 5: Keep the negative space open
Unlike full-hand designs, this look relies on empty space. Do not fill the gaps between the mandala and the finger patterns. Leaving the skin bare is what makes this modern, minimalist design look so elegant.
Tips for a Better Result
· Use a stencil or compass: Drawing a perfect mandala freehand is tough. Use a stencil or a compass and a white pencil to lightly outline the circles on both hands before applying the henna.
· Keep the lines crisp: This design has no heavy filling on the hand, so every line is visible. Use a very fine-tipped cone and avoid going over the same line twice, which can cause smudging.
· Focus on the finger caps: The solid dark tips on the fingers are a bold detail. Keep those edges clean and sharp, as they are highly visible against the bare skin.
· Watch the negative space: The empty skin around the mandala is part of the design. Don't be tempted to add extra dots or vines; keep it clean and minimalist.
· Patience is key: Don't wash it off with water right after you scrape it off. The color will keep darkening for the next 24 to 48 hours. Adding a light balm (like coconut oil) after you scrape the paste off helps protect the skin as the stain settles.