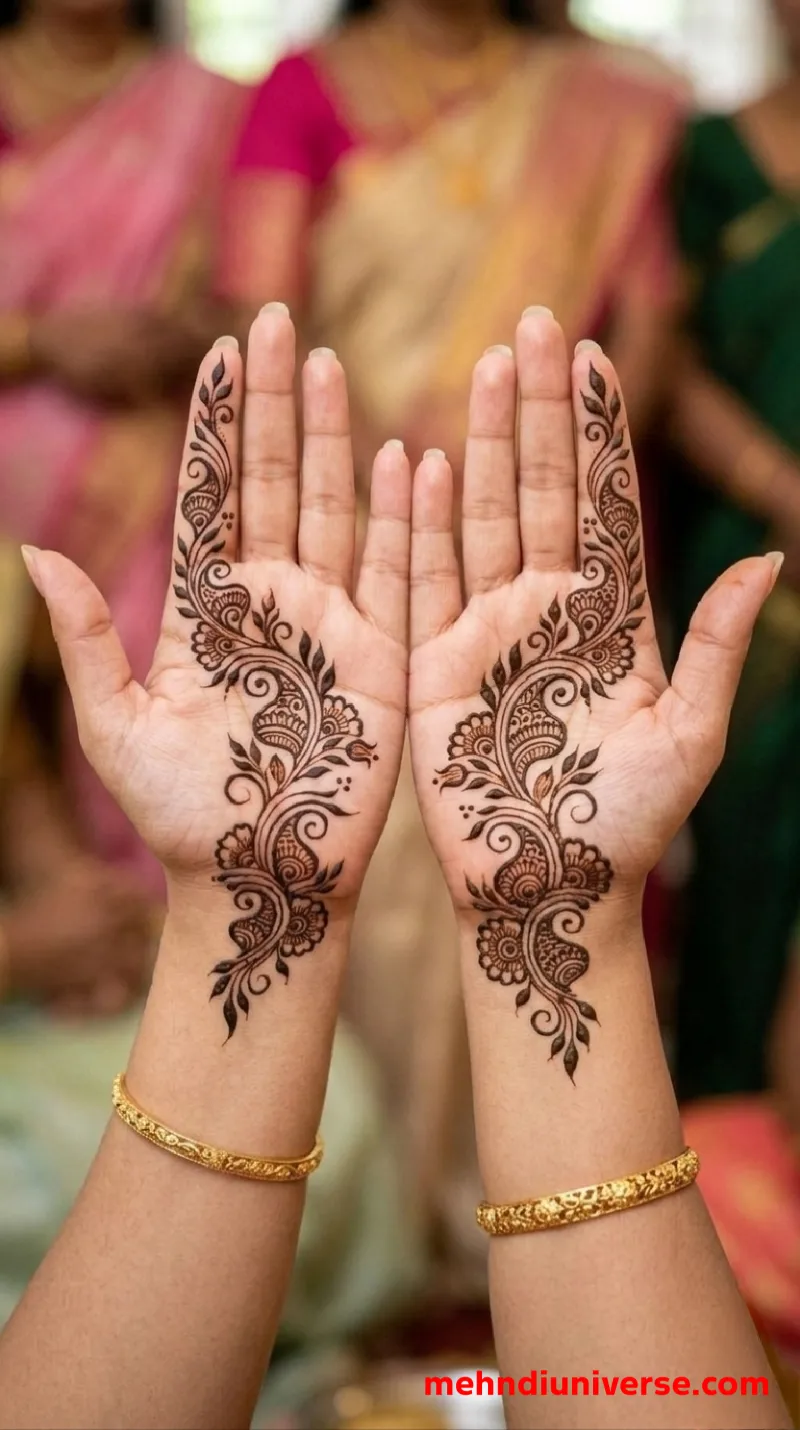
Elegant Paisley and Vine Front Hand Mehndi Design with Wrist Extension
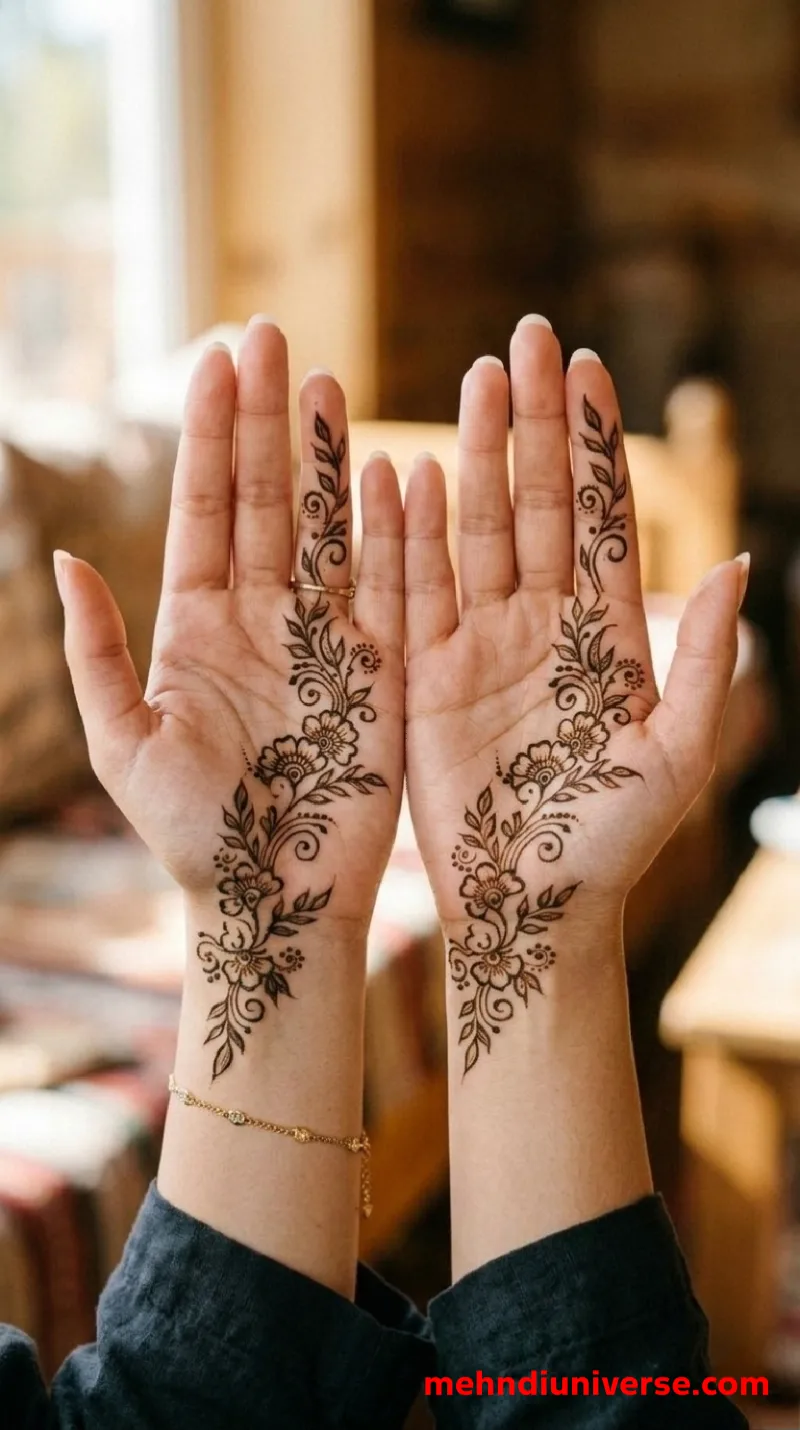
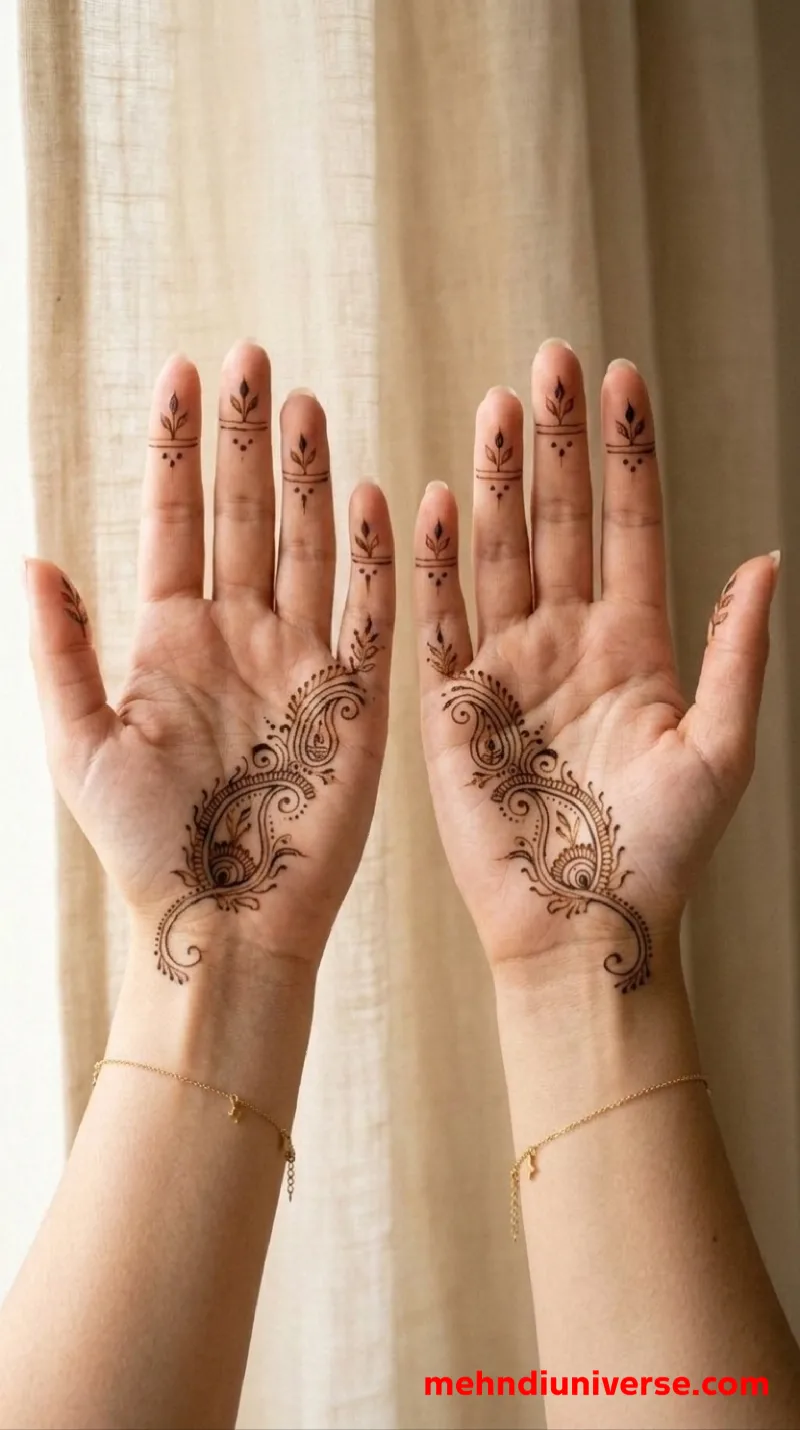
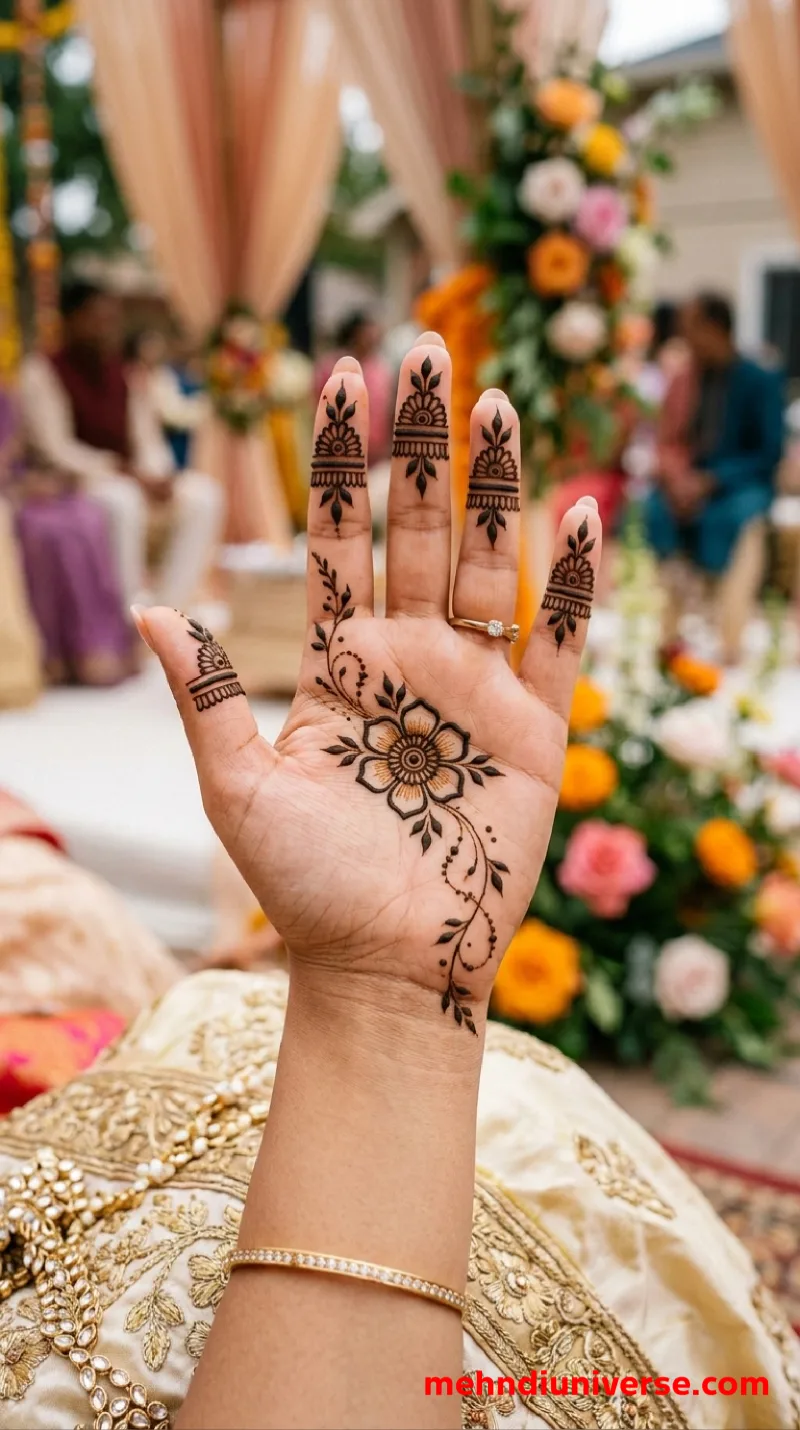
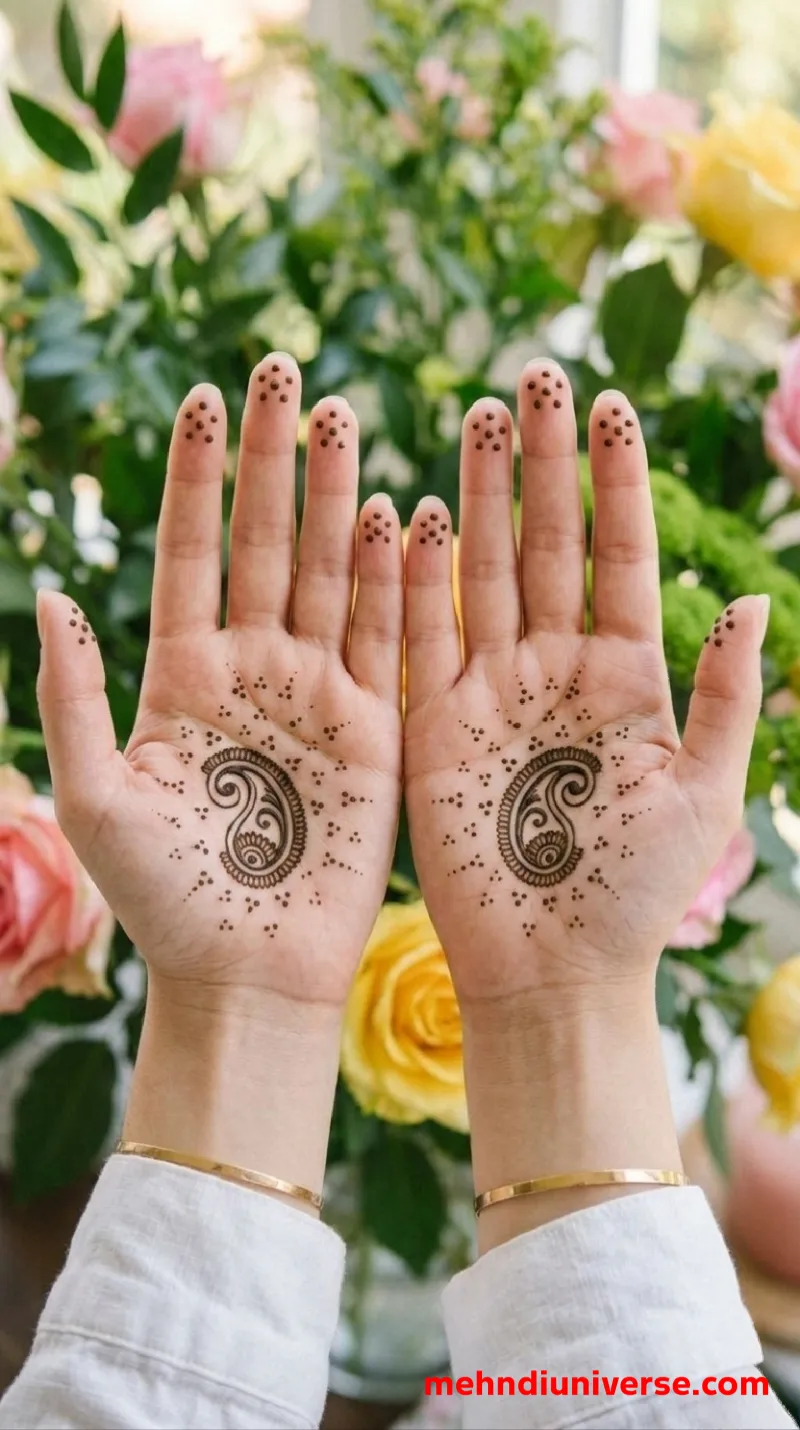
This front hand mehndi design is elegant, flowing, and has a very graceful look. It features an elongated vine motif that starts from the wrist and curves up towards the side of the palm. The main shapes are a prominent paisley, floral clusters, and leafy branches. The design leaves most of the palm and fingers empty, which keeps it light and modern. It is a nice pick if you want something stylish but not too heavy.


Style
SimpleHand Position
Front HandPattern Elements
elongated vine motif, central paisley, floral clusters, leafy branches, swirling lines, scalloped edges, dots, wrist extension, asymmetrical flow, light fillingDifficulty Level
BeginnerSuitable Occasions
weddings, engagement, sangeet, festivals, Teej, Karwa Chauth, Diwali, Eid, family gatherings, modern celebrationsApplication Time
Under 40 minUnderstanding the Design Clearly
Step 1: Clean your hand
Wash your hand and dry it well. Do not apply lotion before starting. If your skin is oily, wipe it with a little eucalyptus oil so the henna sticks better.
Step 2: Start from the wrist
This design flows upwards, so start at the bottom. Draw the leafy vine that begins on the wrist. Use a white pencil to lightly sketch the main curved line that goes from the wrist up towards the side of your palm.
Step 3: Draw the central paisley
Next, draw the main paisley shape in the middle of the vine. Begin with the spiral inside, then add the outer scalloped edge. This is the biggest shape in the design, so take your time to get it right.
Step 4: Add the floral clusters and leaves
Move up the vine towards the fingers. Draw the floral clusters and the leafy branches along the curved line. Add small swirls and dots to fill the spaces around the main motifs.
Step 5: Let it dry and set
Leave the henna paste on for 4 to 6 hours, or overnight for a darker color. Then scrape it off gently. Do not wash with water right away. Apply coconut oil or a light balm. The color will become darker in 24 to 48 hours.
Tips for a Better Result
· Keep the flow smooth: The beauty of this design is in the curve. Try to draw the main vine in one smooth motion. Don't make it too straight or stiff.
· Work from the wrist upward: Since the design starts at the wrist and moves up to the palm, drawing it in that order will help you keep the proportions right.
· Use a fine-tipped cone: The small leaves, dots, and paisley details need thin, clean lines. A fine tip will help you draw them neatly without making a mess.
· Don't overfill: This design looks best when there is some empty space around the vine. Don't add extra lines or dots just to fill the gaps.
· Be patient: The color will not be dark right away. Let it sit on your skin and avoid water for the first few hours after removing the paste.
This design is a lovely choice if you prefer something elegant over heavy coverage. The way the vine flows from the wrist to the palm makes it look very graceful. Give it a try for your next function or festival. It pairs beautifully with simple gold bangles, just like in the picture.