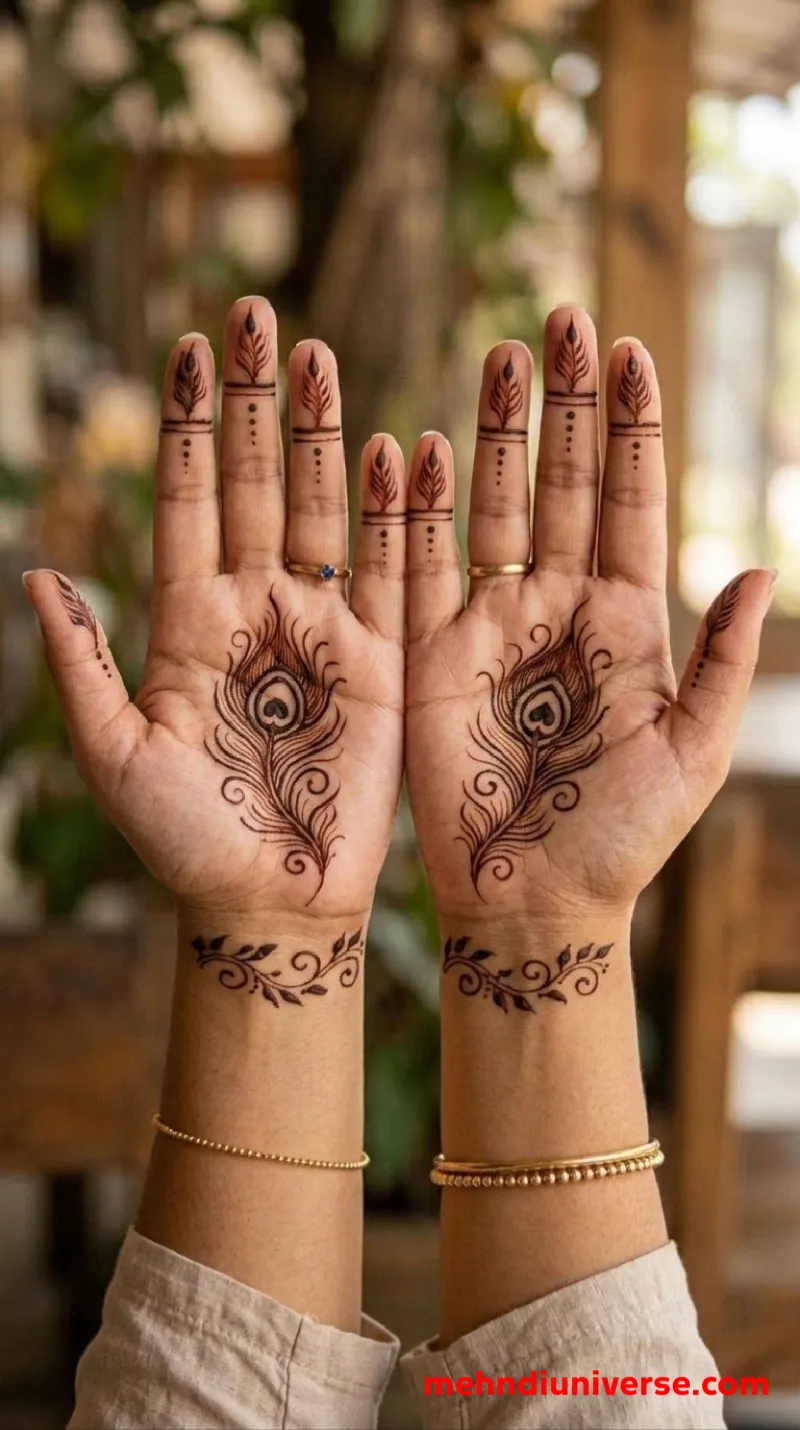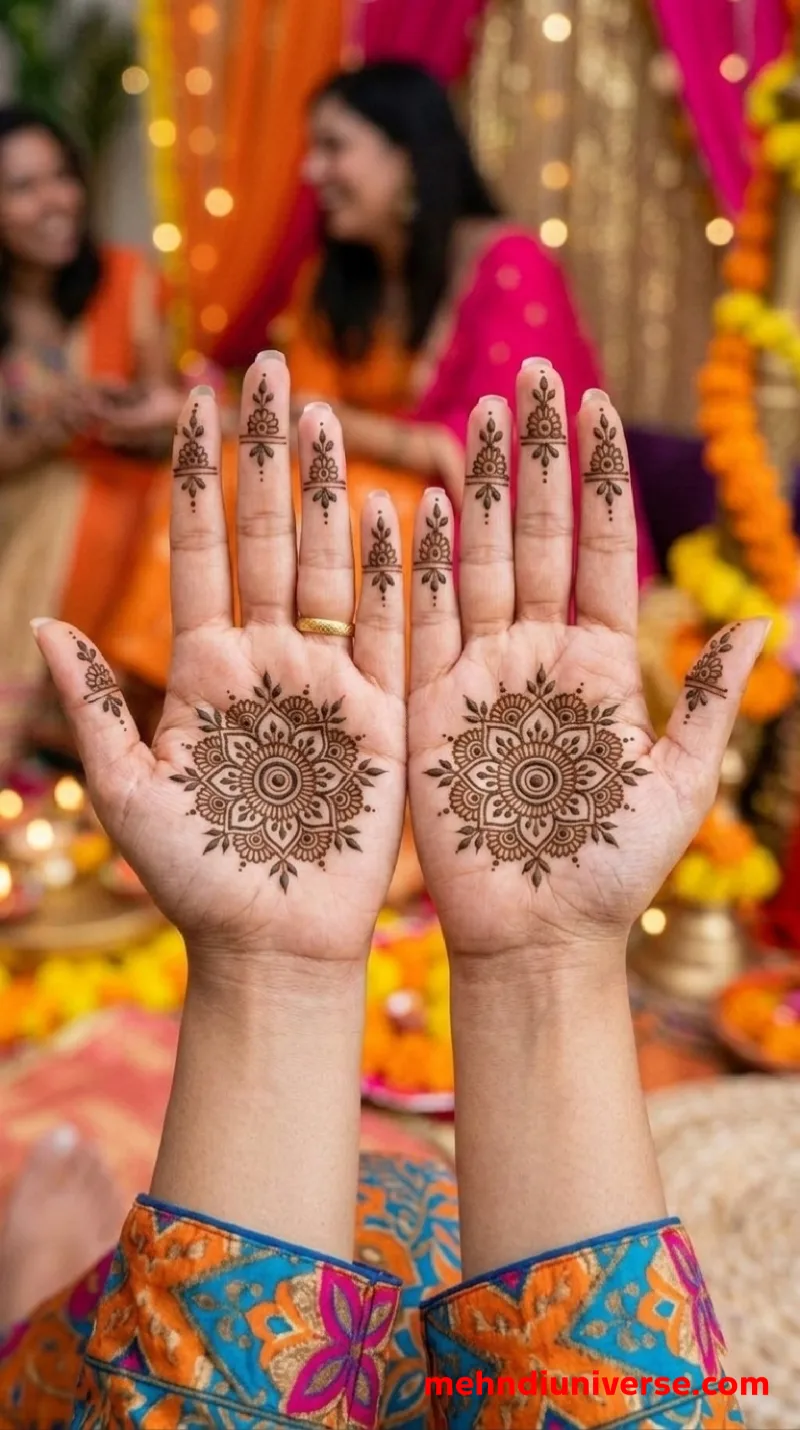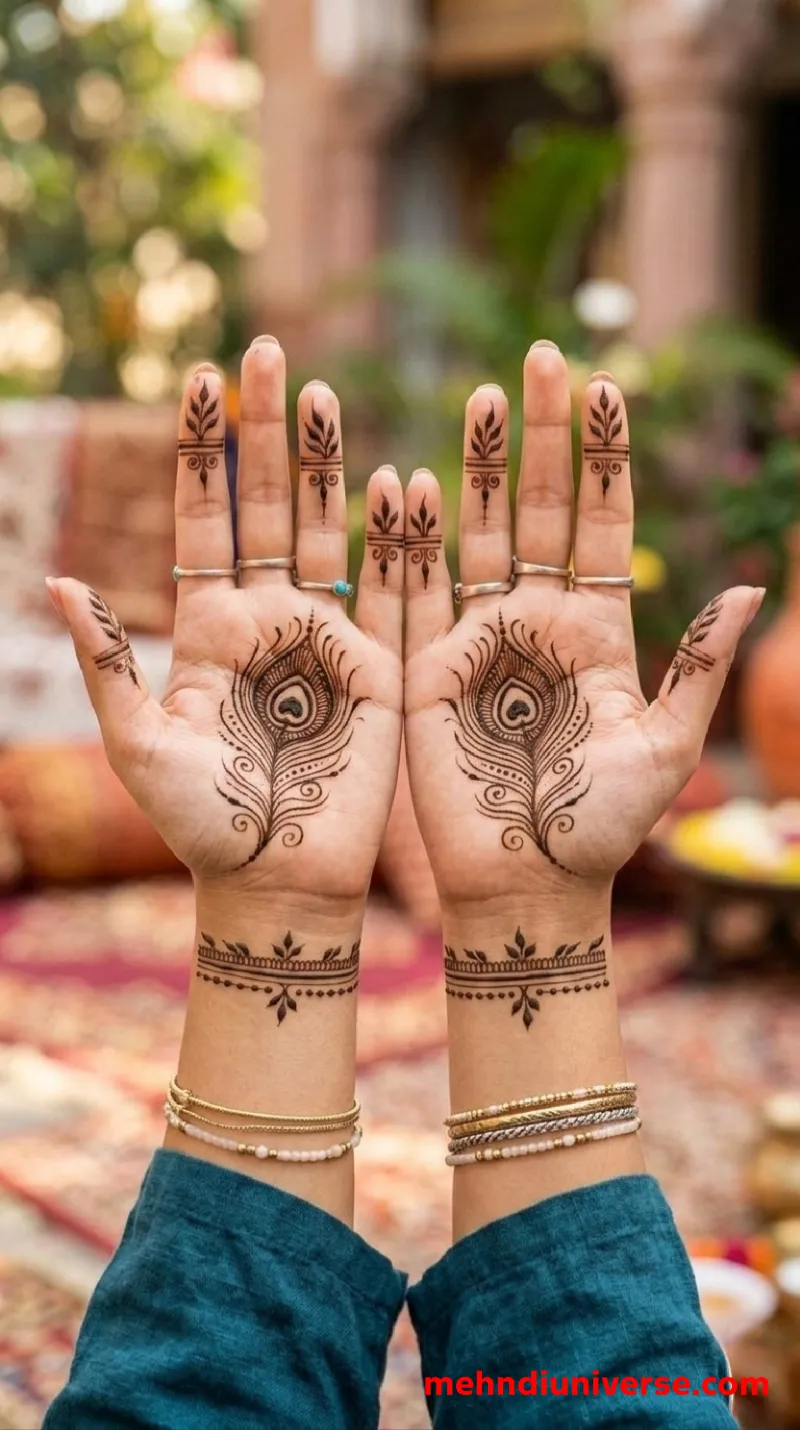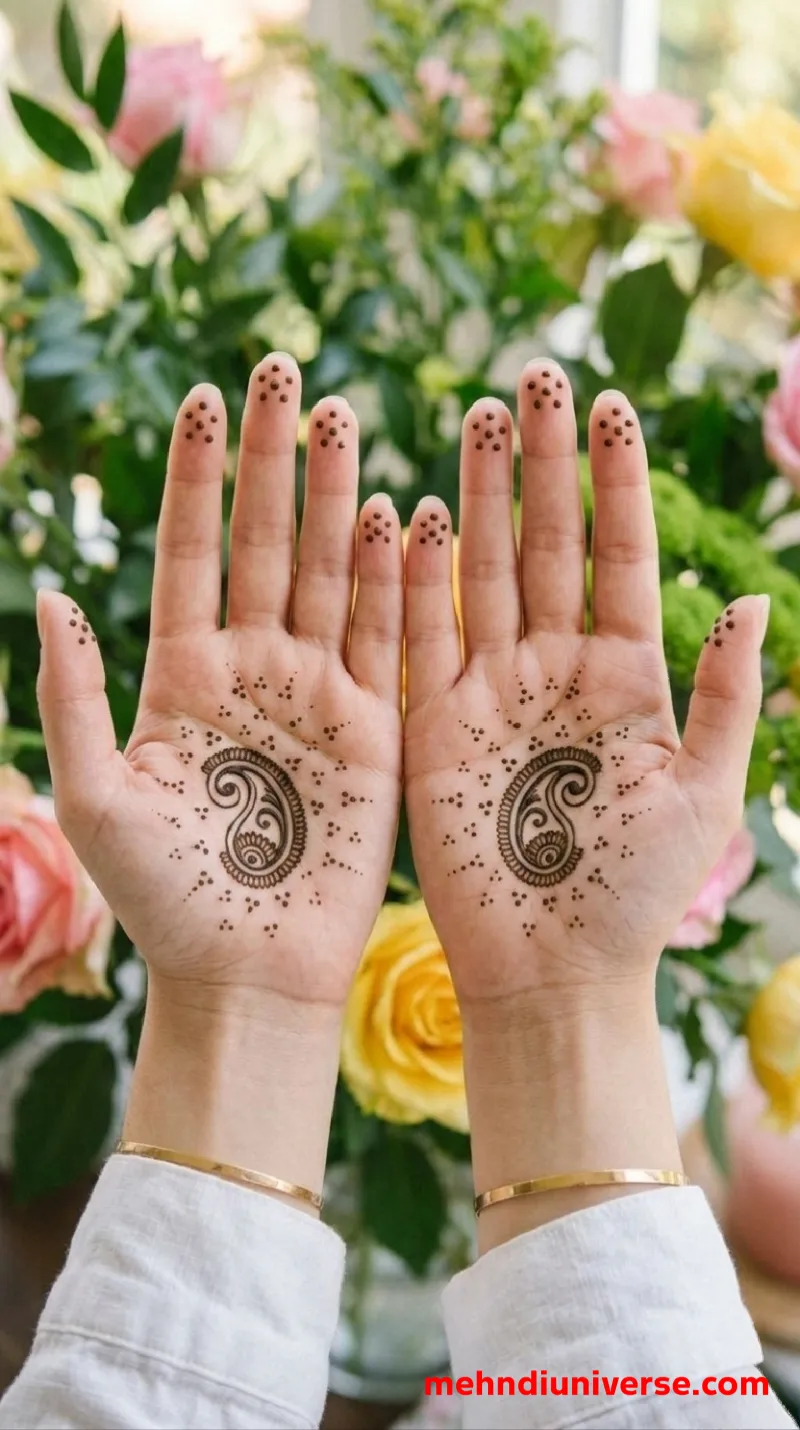
Simple Floral and Vine Palm Mehndi Design with Delicate Finger Details
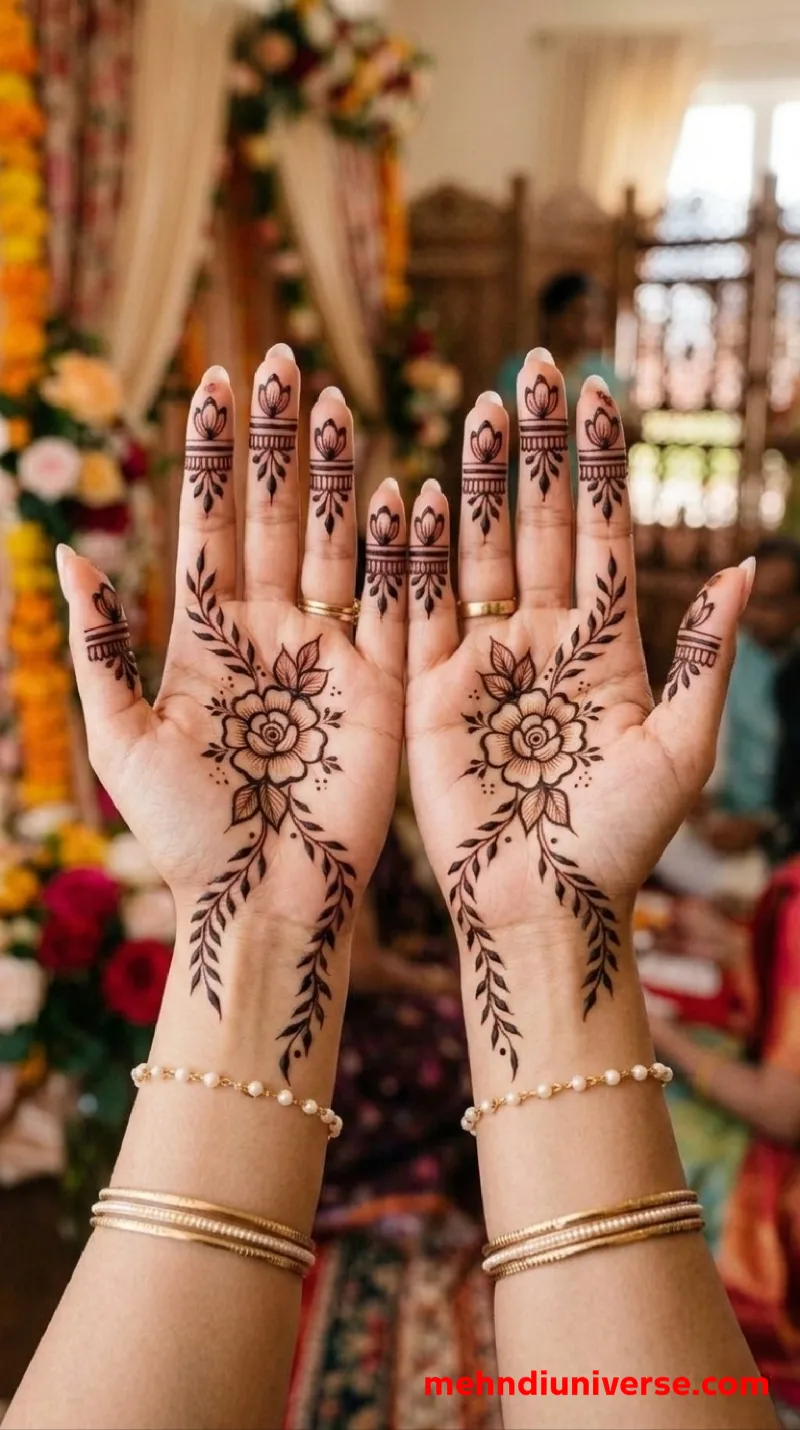
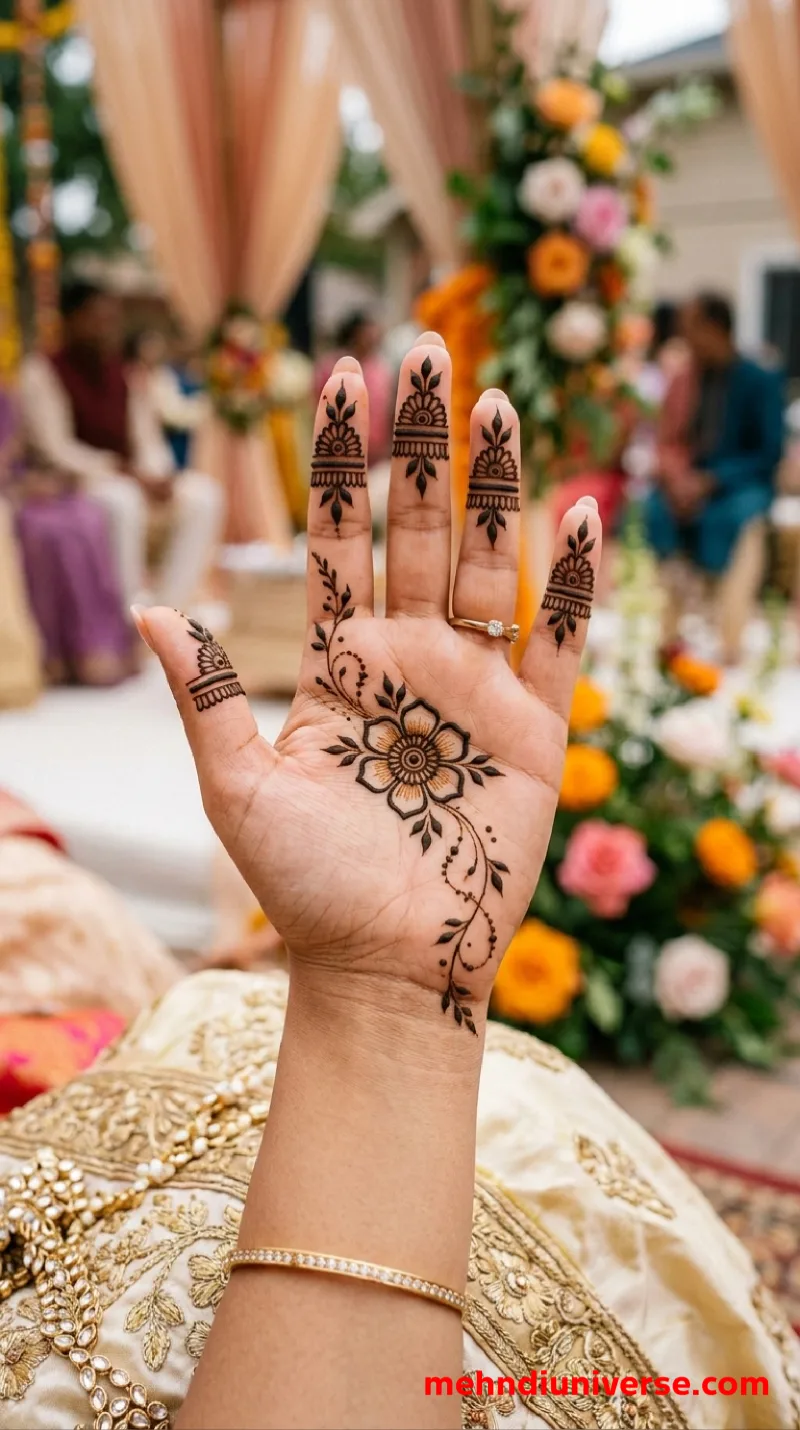
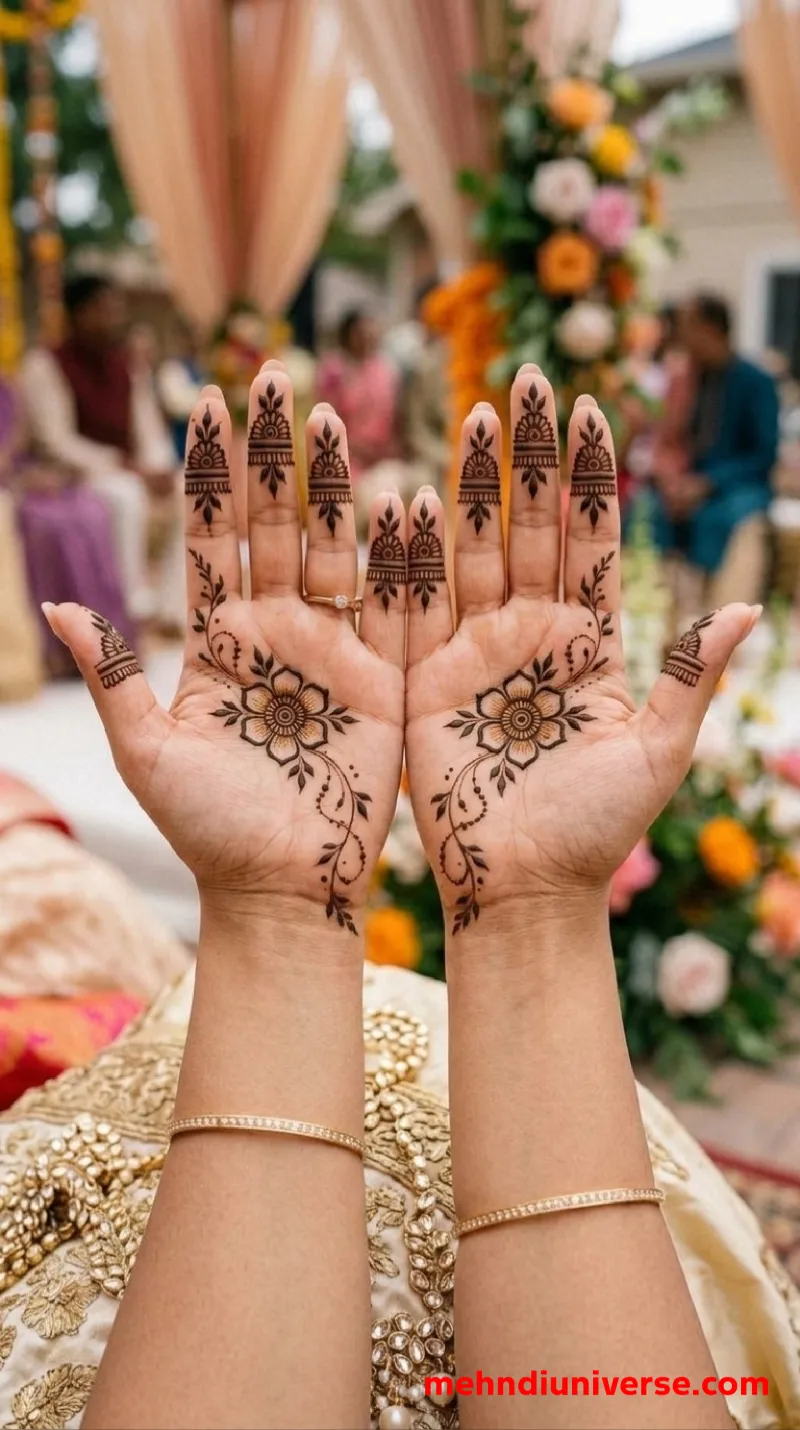
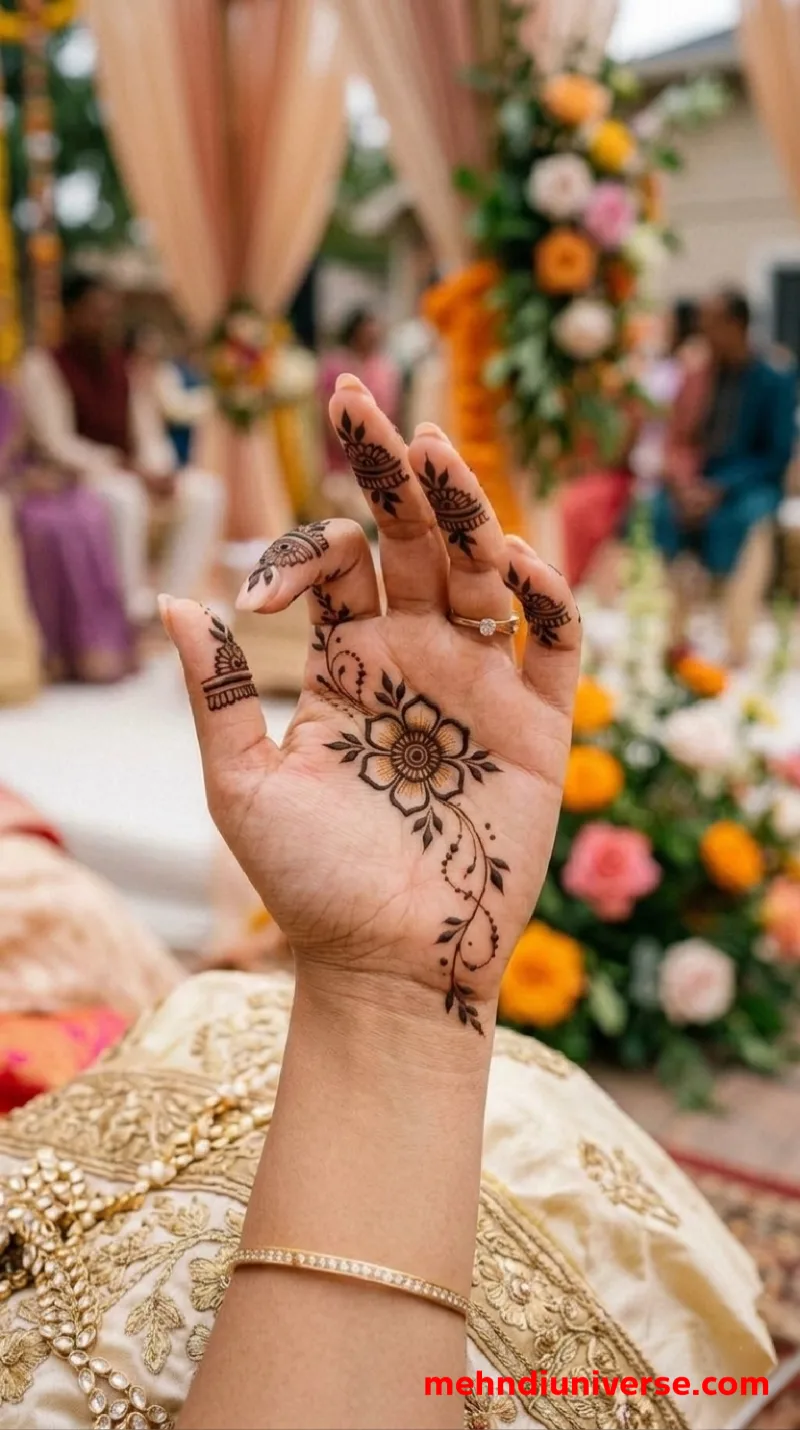
This palm mehndi design is elegant, simple, and has a soft, modern feel. It features a single flower in the center of the palm with light shading inside the petals. A delicate vine with small leaves and dots curves down towards the wrist and up towards the fingers. The fingers have matching caps with a small leafy design and a hanging drop. The design is not very heavy, and there is no wrist coverage. It is a nice choice for a bride who wants something clean, or for anyone who likes light, graceful henna.
Style
SimpleHand Position
Front HandPattern Elements
central flower, leafy vine, finger caps, hanging drops, light shading, simple outlines, dots, curved lines, asymmetrical flow, delicate designDifficulty Level
BeginnerSuitable Occasions
weddings, bridal mehndi, engagement, sangeet, haldi, festivals, Diwali, Eid, family functions, modern celebrationsApplication Time
Under 30 minUnderstanding the Design Clearly
Step 1: Clean your hand
Wash your hand and dry it well. Do not apply lotion before starting. If your skin is oily, wipe it with a little eucalyptus oil so the henna sticks better.
Step 2: Draw the central flower
Start by drawing the main flower in the center of your palm. Begin with the small circle in the middle. Then add the pointed petals around it. Use a fine-tipped cone to add a little shading inside one side of each petal. This gives the flower a soft, full look.
Step 3: Add the leafy vine
Next, draw the vine. Start from the top of the flower and curve it up towards the base of your fingers. Then draw another vine from the bottom of the flower, curving down towards your wrist. Add small leaves and dots along both vines.
Step 4: Draw the finger designs
Move to the fingers. Draw a small cap at the tip of each finger. Inside the cap, draw a tiny leaf or floral shape. Below the cap, draw a straight horizontal line and add a small hanging drop in the center. Keep the design the same on all fingers, but make it smaller for your pinky finger.
Step 5: Let it dry and set
Leave the henna paste on for 4 to 6 hours, or overnight for a darker color. Then scrape it off gently. Do not wash with water right away. Apply coconut oil or a light balm. The color will become darker in 24 to 48 hours.
Tips for a Better Result
· Keep the shading light: The flower has some shading, but don't overdo it. Just a little on one side of each petal is enough to make it stand out.
· Draw the vine after the flower: The vine connects the flower to the fingers and wrist. Draw it after the main flower so you can adjust the curve and make it flow naturally.
· Keep the finger designs consistent: Try to keep the same shape and size on each finger. If you are drawing on someone else, check from a distance to make sure they look even.
· Use a fine-tipped cone: The vine details and the small finger drops need thin, clean lines. A fine tip will help you draw them neatly.
· Be patient: The color will not be dark right away. Let it sit on your skin and avoid water for the first few hours after removing the paste.
This design is light and elegant. It works well if you want something that looks beautiful but doesn't take hours to draw. The vine and flower combination gives it a soft, graceful look. Give it a try for your next function or wedding.